How You Can Paint Over Stained Wood Step by Step
To paint over stained wood, start by removing any old finish and sanding the surface to dull the gloss and guarantee paint sticks well. This step is crucial because stained wood can be tricky to cover if it’s too shiny.
After sanding, clean the wood thoroughly to remove oils or dirt that might prevent the paint from adhering properly.
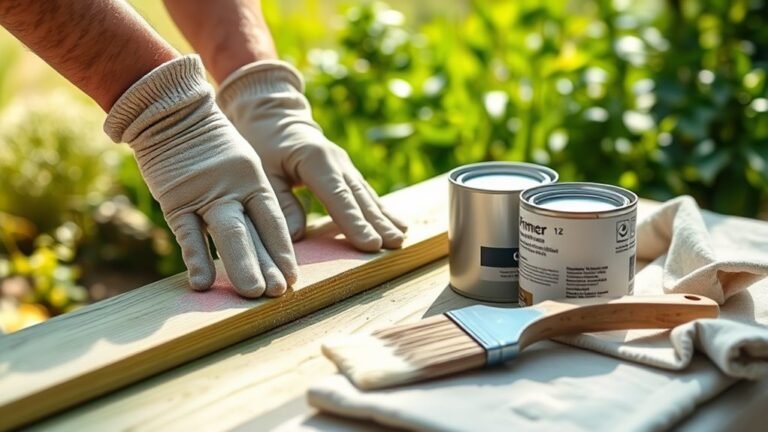
Next, apply a stain-blocking primer. This seals in tannins and helps prevent bleed-through, which can ruin your fresh paint job.
When you’re ready to paint, use thin, even coats. It’s better to apply several light layers than one thick one.
Don’t forget to sand lightly between coats for a smooth finish. Let each coat dry fully, and allow ample curing time to make sure your paint job lasts.
Keep reading to discover tips for a flawless, long-lasting finish you’ll be proud of!
Key Takeaways
- Remove the existing finish by stripping or sanding to expose bare wood. Then, clean it thoroughly to get rid of dirt and oils.
- Next, sand the wood with medium-grit sandpaper. You can also use a liquid deglosser to dull glossy surfaces, which helps the paint stick better.
- Apply a stain-blocking primer, especially if the wood has a lot of tannins or heavy stains. Make sure each coat dries fully before sanding again.
- When painting, use thin, even coats with quality brushes or rollers. Don’t forget to sand lightly between coats to get a smooth, durable finish.
- Finally, let the paint cure for 7-14 days. Avoid putting any pressure or using the surface during this time to ensure your finish lasts and looks professional.
Check Stained Wood and Remove Old Paint or Finish
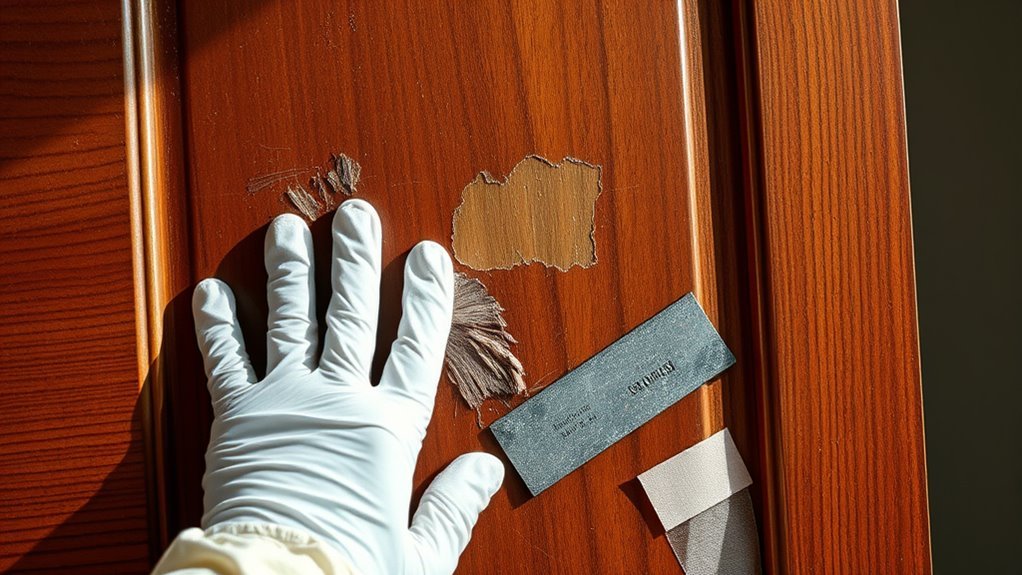
Before you start painting, check the stained wood carefully to determine the existing finish by testing it with water or denatured alcohol. This simple test helps you identify if the surface has varnish, shellac, or another coating.
Once you know the finish, you can decide how to remove old finish properly. If paint, varnish, or polyurethane covers the wood, you’ll need to either strip or sand it to expose the bare wood.
Knowing the finish helps you choose the right method to remove old coatings and reveal bare wood.
Sanding with medium-grit sandpaper is especially effective to dull the glossy surface and improve adhesion. Removing the old finish is vital because paint won’t stick well otherwise.
Taking these steps guarantees your new paint job will last longer and look cleaner. Always inspect for damage before moving on to the next step.
Clean and Sand Stained Wood to Help Paint Stick Better
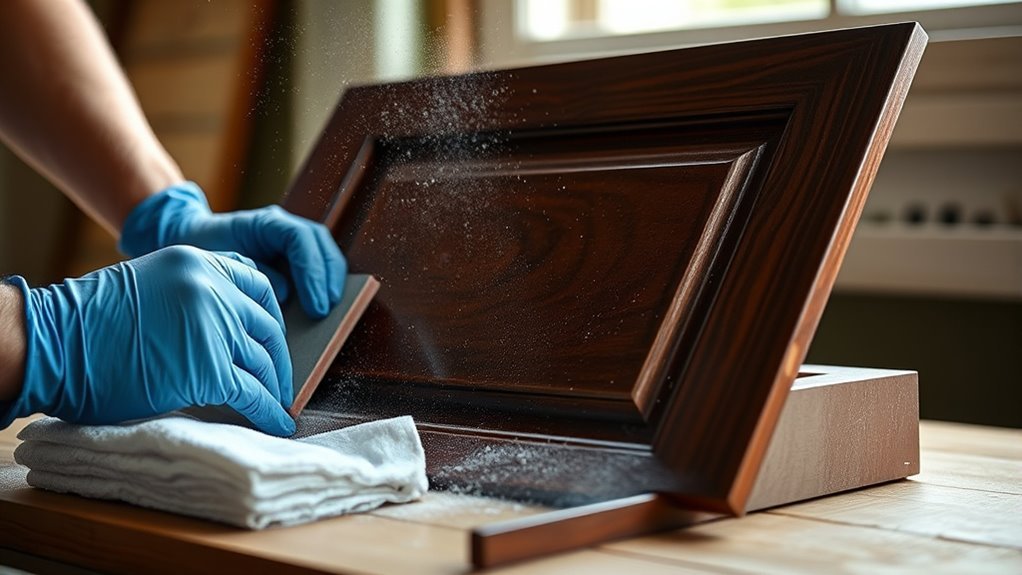
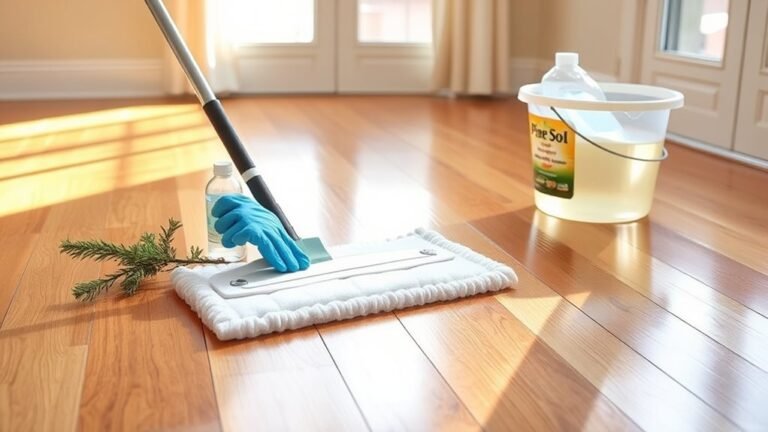
Before you start painting, make sure to clean the stained wood thoroughly with a degreaser or mild detergent. This helps remove any dirt or oils that might be on the surface.
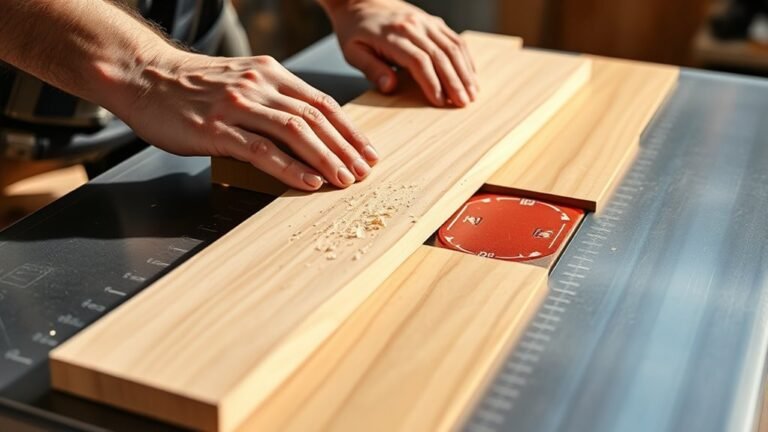
Then, lightly sand the wood with medium-grit sandpaper. This creates a rough texture that helps the paint stick better.
Finally, wipe away all the dust with a tack cloth. Let the wood dry completely before moving on to the next step.
Surface Cleaning Techniques
Since paint won’t stick well to dirty or glossy surfaces, you need to clean and prep stained wood thoroughly before you start. First, grab a degreaser or mild detergent to wash the surface. This gets rid of dirt, oils, and grime that can block paint from sticking.
Next, use a liquid deglosser to take off any shiny finishes that sanding might miss. This step really helps the paint stick better. After that, wipe the wood down with a tack cloth or lint-free cloth to clear away all dust and debris.
This leaves you with a clean, dry surface that’s ready for priming. Following these steps makes sure your paint bonds well and lasts longer. Plus, it gives you a smooth, professional-looking finish. So, proper surface cleaning is key to a successful paint job on stained wood.
Sanding For Adhesion
Though cleaning removes dirt and oils, sanding stained wood is essential to create a rough surface that helps primer and paint adhere better. Use medium-grit sandpaper (120-150 grit) and always sand in the direction of the wood grain. This prevents scratches and guarantees an even, smooth texture.
Sanding breaks down glossy finishes, tannins, and contaminants that interfere with adhesion. After sanding, remove all dust and debris by thoroughly cleaning with a tack cloth or vacuum. If needed, wipe the surface with a damp cloth and allow it to dry completely before priming or painting.
Proper sanding and cleaning work together to create an ideal surface, improving adhesion and ensuring your paint job lasts longer on stained wood. It’s a simple step that makes a big difference!
Choose the Right Primer for Stained Wood
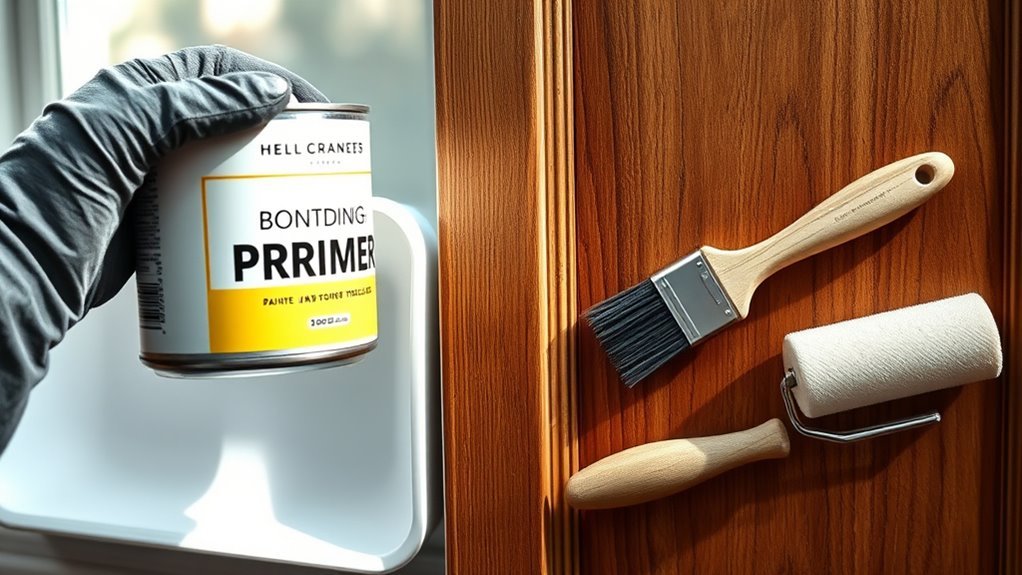
To get the best results, you’ll want to pick a primer designed to block stains and improve adhesion on stained wood. Shellac-based and oil-based primers are great options because they prevent tannin bleed-through effectively.
Always test your primer first to make sure it seals the wood properly before you start painting. It’s a simple step that can save you a lot of hassle down the road.
Primer Types Overview
When you tackle stained wood, choosing the right primer makes all the difference in preventing bleed-through and ensuring a smooth finish. The primer you pick must effectively seal the stain and prepare the surface for paint.
Here are the top three primer types to regard:
- Shellac-based primers (like Zinsser B-I-N) seal tannins and stubborn stains, preventing bleed-through—ideal for heavily stained wood.
- Bonding primers (such as INSL-X STIX) provide excellent adhesion on slick or glossy surfaces, ensuring paint sticks well over stain.
- General-purpose primers (like Bulls Eye 1-2-3) work for less problematic woods with minimal stain issues, offering versatile sealing.
Just make sure to choose a primer compatible with your topcoat type and the specific stain. That way, you’ll guarantee a flawless, lasting finish.
Stain Blocking Solutions
Because stained wood often releases tannins that can seep through paint, choosing the right primer is crucial to block these stains effectively. You’ll want to pick a stain blocking primer or sealant designed to prevent bleed-through.
Shellac-based primers like Zinsser B-I-N are excellent for woods such as pine or cedar, while oil-based bonding primers like INSL-X STIX offer strong adhesion and stain resistance. Sometimes, applying multiple coats ensures complete stain blocking.
Always test your primer on a small area first to confirm its effectiveness. Proper surface prep, including cleaning and sanding, helps the primer seal the wood better and guarantees a smooth finish.
| Primer Type | Best Use |
|---|---|
| Shellac-based | Blocks tannins from pine, cedar, oak |
| Oil-based bonding | Strong adhesion, tough stains |
| Multiple coats | Heavily stained or tannin-rich wood |
Apply Primer to Seal Stains and Prevent Bleed-Through
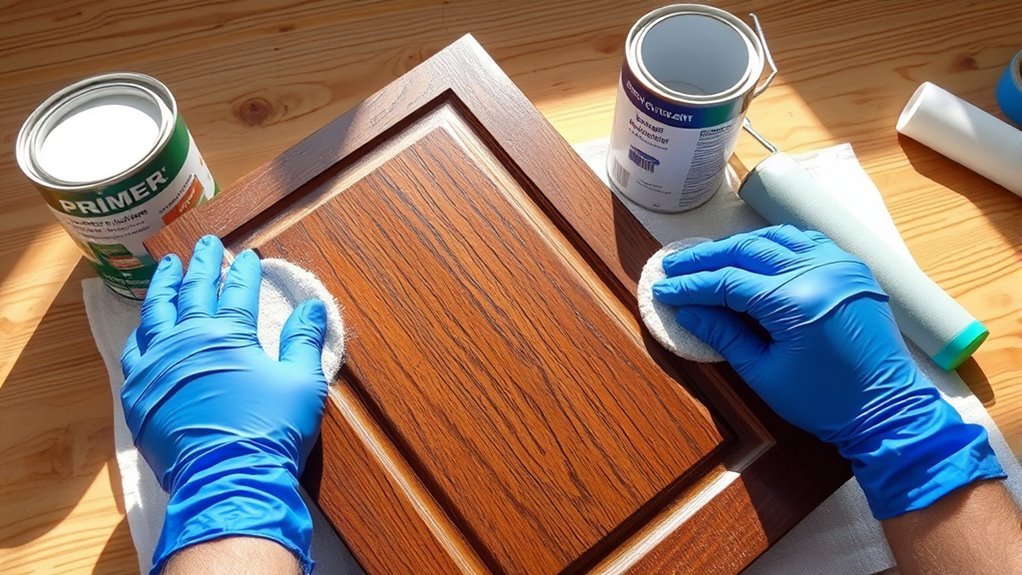
Although stained wood can add character, you’ll need a high-quality, stain-blocking primer like shellac-based Zinsser B-I-N to seal tannins and prevent bleed-through from knots and dark spots. Applying this primer is essential for sealing and preparing the surface for paint.
Here’s how to do it effectively:
- Apply an even coat of stain-blocking primer with a brush or roller, focusing on areas with heavy stains.
- Allow the primer to dry fully per the manufacturer’s instructions. Multiple coats may be necessary for tough tannin-rich woods.
- Lightly sand the primed surface with fine-grit sandpaper to improve adhesion and smoothness before painting.
This sealing step blocks bleed-through, guarantees better topcoat adhesion, and helps you achieve a flawless finish on stained wood.
Choose Paint for Stained Wood Coverage
Selecting the right paint is essential to achieving full coverage and a durable finish on stained wood. After applying a stain-blocking primer, like a shellac-based one, you’ll want to choose paint that adheres well and resists tannin bleed-through.
Water-based acrylic latex paints are great for easy cleanup and durability, while oil-based paints offer a smooth, long-lasting finish. For interior furniture, pick low-VOC, quick-drying options to reduce odors and speed up your project.
Before committing, apply a test patch to ensure the paint bonds properly over the primed stained wood. This step helps you avoid peeling or uneven coverage later.
Paint the Primed Wood in Thin, Even Coats
When you paint primed wood, applying thin, even coats is key to achieving a smooth, professional finish. Thin coats help prevent drips, roller marks, and uneven coverage. This way, your paint job looks flawless.
To get the best results, follow these steps:
For the best finish, follow these simple steps to ensure smooth, even paint application on primed wood.
- Use a high-quality brush or foam roller to apply paint smoothly in the direction of the wood grain.
- Allow each coat to dry completely, following the manufacturer’s recommended drying time.
- Apply multiple thin coats rather than one thick layer to build durability and improve adhesion. It really makes a difference!
Sand Between Paint Coats for a Smooth Finish
To achieve a truly smooth finish, you’ll want to sand between each coat of paint using fine-grit sandpaper, ideally 220 grit. This sanding step smooths out any brush marks, drips, or uneven texture. It also helps each coat adhere better and creates a professional-looking finish.
Make sure each coat is fully dry before you start sanding. You don’t want to smudge or damage the paint underneath.
Use gentle, consistent pressure while sanding to prevent removing too much paint. After sanding, wipe the surface thoroughly with a tack cloth to remove all dust and debris.
This careful sanding between coats ensures your painted wood will have a flawless, smooth finish. In the end, it looks polished and stands up to wear.
Let Paint Dry and Cure Fully Before Use
Although the paint may feel dry within a few hours, you need to let it cure fully for at least 7 to 14 days before using or cleaning the surface. This curing time is essential because the paint might be dry to the touch but not dry completely underneath.
To guarantee your painted wood finishes perfectly, avoid placing objects or applying pressure on the surface during curing time. Also, make sure to follow the manufacturer’s instructions for specific drying and curing times.
Keep the area well-ventilated and try to maintain stable temperature and humidity. These little steps really help the paint cure properly and last longer.
Frequently Asked Questions
Is It Better to Apply Stain With a Roller or Brush?
You’ll want to use a brush for detailed or intricate areas to get better control. Then, switch to a roller for large, flat surfaces to save time.
Combining both gives you a smooth, even stain finish. It’s really the best way to get the job done right without spending too much time.
Can I Use a Rag to Apply Gel Stains?
You can use a rag to apply gel stains like an artist uses a brush—carefully and with control. Just work in small sections, wipe off excess, and use a clean, lint-free rag for a smooth, even finish.
It’s pretty simple once you get the hang of it. Just take your time and don’t rush the process. That way, you’ll get the best results every time.
What Is the Best Finish to Use Over Stained Wood?
You’ll want to use a clear polyurethane or varnish over stained wood for the best protection. Water-based poly gives a matte finish, which is great if you want something subtle.
On the other hand, oil-based varnish adds warmth and durability. It’s perfect for high-traffic areas or furniture pieces that need to stand up to everyday use.
Can You Do a Stain Over Paint?
You can’t stain over paint directly because 90% of stain absorption depends on raw wood.
You’ll need to strip or sand the paint first to expose the wood, ensuring the stain penetrates evenly and looks great.
It’s all about letting that wood soak up the stain properly. Otherwise, it just won’t look right.
Conclusion
Now that you’ve mastered these steps, your stained wood will look as fresh as a dial phone in a smartphone world. Remember, patience is key—take your time with sanding, priming, and painting to guarantee a smooth, long-lasting finish.
With the right prep and care, your project will stand the test of time. Sometimes, a little old-school elbow grease makes all the difference.
Happy painting! By following these guidelines for how you can paint over stained wood, you’ll achieve a beautiful, durable result that transforms your wood surfaces effortlessly. Just stick to the process, and you’ll enjoy a fresh, renewed look that lasts.