Can You Paint Cedar Wood?
You can definitely paint cedar wood, but you’ll need to prepare it properly first. Cedar’s natural oils and tannins can prevent paint from sticking, so getting the wood ready is super important.
Weathering the wood, then cleaning, sanding, and removing old debris is the key to success.
Using a stain-blocking primer is a must, followed by a breathable exterior paint for the best results.
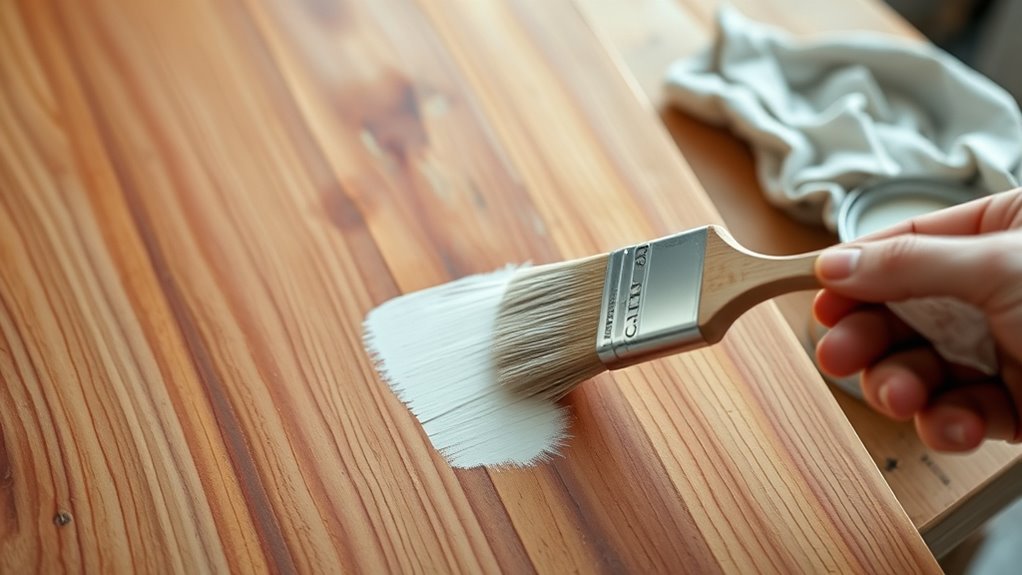
Apply the paint in thin coats during mild, dry weather to avoid issues.
And don’t forget to allow enough drying time between coats.
If you want to guarantee a long-lasting, beautiful finish on your cedar wood, there’s more to think about for the perfect application.
Taking these extra steps will ensure your paint job stands up to the elements and looks great for years.
Key Takeaways
- Yes, cedar wood can be painted, but you need to prepare the surface properly and use a good primer to make sure the paint sticks well.
- It’s a good idea to let new cedar weather for several weeks first. This helps the natural oils to dissipate before you start painting.
- Make sure to clean the wood, sand it down, and remove any old paint or debris. This will give you a smooth surface that’s ready for paint.
- Use an oil-based stain-blocking primer. This stops tannin from bleeding through and helps the paint bond better.
- When you paint, go for a high-quality, breathable exterior acrylic latex paint. Apply it in thin coats, and try to do it during mild, dry weather for the best results.
Can You Paint Cedar Wood?
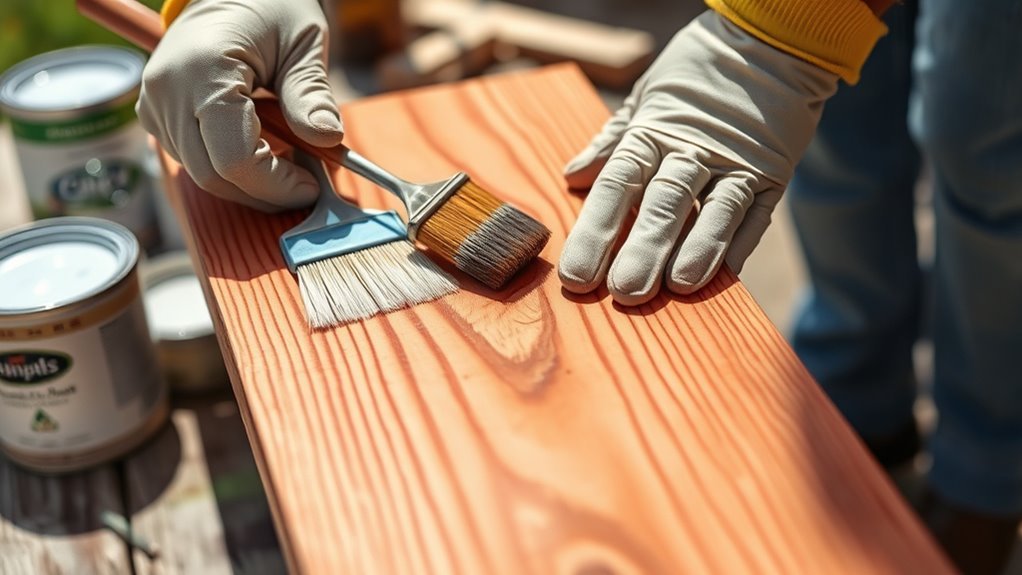
Wondering if you can paint cedar wood? Yes, you can, but it takes proper preparation. Cedar wood contains natural oils that can stop paint from sticking well, so you should let it weather for a few weeks first. This reduces the oil content and helps the paint bond better.
Before painting, clean, sand, and remove any old paint or debris from the surface. Applying a stain-blocking primer is essential since it improves adhesion and blocks stains from bleeding through. Then, use a high-quality, breathable exterior paint designed for wood to guarantee a durable finish that won’t peel easily.
With the right primer and paint, your cedar wood will look great and stay protected for years. Regular maintenance will keep it looking fresh too.
Why Painting Cedar Wood Is Different
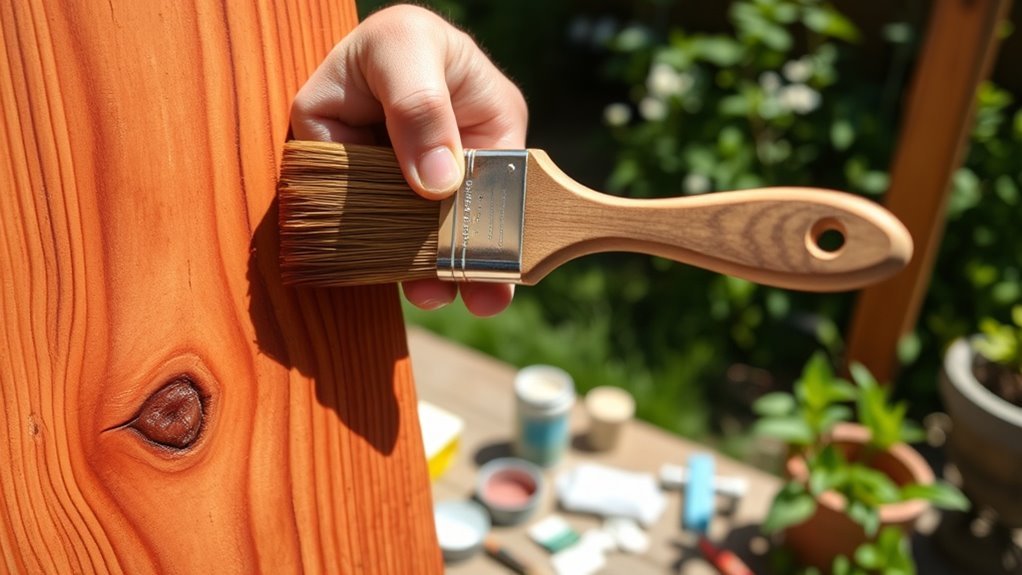
When you paint cedar wood, you need to account for its natural oils and tannins that can prevent paint from sticking properly. Preparing the surface carefully and using the right primer are essential to protect the wood and guarantee lasting results.
It’s all about understanding these unique properties. That way, you’ll achieve a smooth, durable finish every time.
Unique Cedar Properties
Because cedar wood contains natural oils and tannins, painting it requires extra preparation to guarantee the paint sticks properly. These natural oils can interfere with paint adhesion, so proper priming is essential.
Cedar’s fine grain and porous texture mean paint can penetrate deeper when the wood is dry and primed, enhancing durability. You’ll also notice knots and resin spots affect the paint’s look and adherence.
Over time, cedar fades to a silver-gray, which may impact the painted surface’s appearance if not maintained.
| Cedar Property | Effect on Painting |
|---|---|
| Natural oils | Hinder paint adhesion |
| Fine grain | Requires specific priming |
| Porous texture | Improves paint penetration |
| Knots and resin | Affects finish appearance |
| Natural fading | Alters surface color |
Surface Preparation Needs
Cedar’s natural oils and porous texture don’t just affect how paint adheres—they demand a different approach to surface preparation than other woods. Before you paint, thorough cleaning is essential to remove dirt, mildew, and oil that block adhesion.
If your cedar is weathered, expect a rough surface that needs sanding to smooth out the grain and prepare it properly. Fresh cedar’s high oil content means you should wait 30 to 60 days for it to dry before painting.
You’ll also want to address knots and uneven grain since they absorb paint unevenly. While primer plays a critical role in sealing cedar, your focus first has to be on cleaning and smoothing the surface to guarantee the paint sticks well and lasts longer.
Primer Importance
Although painting cedar wood might seem straightforward, skipping primer can lead to disappointing results. Cedar naturally contains oils and tannins that interfere with paint adhesion and may cause unsightly staining or bleeding through your paint.
Using a stain-blocking primer is vital to seal these oils and prevent tannin bleed, especially on new or weathered cedar surfaces. A primer formulated specifically for cedar creates a uniform base, improving adhesion and ensuring your paint lasts longer without peeling or cracking.
Applying a high-quality primer not only enhances the durability of your finish but also preserves the wood’s natural beauty over time. Without primer, your paint job on cedar won’t hold up as well. So, primer is a fundamental step you definitely shouldn’t skip.
Preparing Cedar Wood for Painting
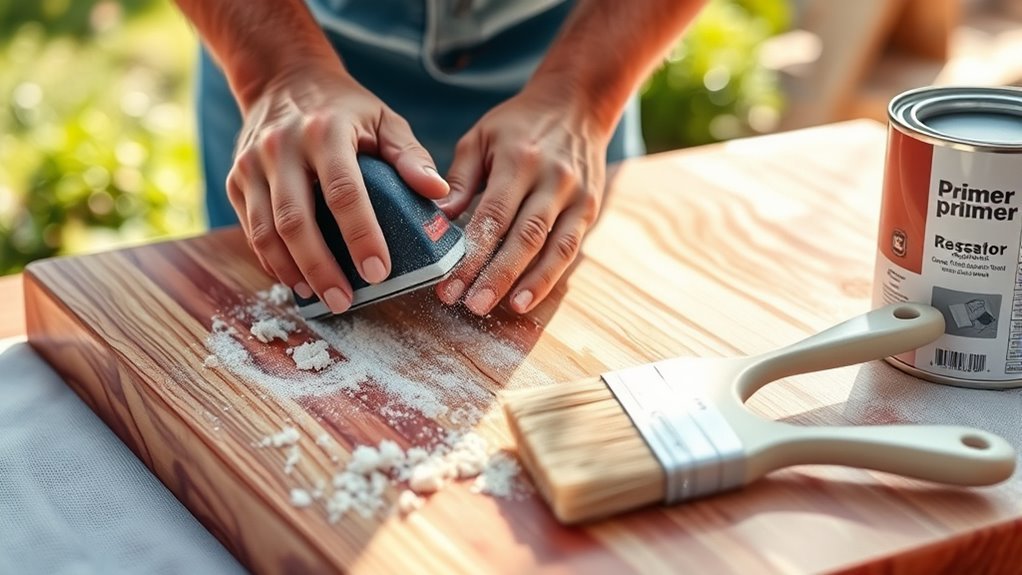
How do you guarantee your cedar wood is ready for painting? Proper preparation is key to a smooth, lasting finish. Start with thorough cleaning to remove dirt, mildew, and any old paint.
Proper preparation ensures cedar wood achieves a smooth, lasting paint finish starting with thorough cleaning.
Next, make sure the moisture content is below 15% to optimize paint adhesion. Lightly sanding the surface removes rough spots and helps the primer bond better.
If you’re working with new cedar, let it dry for 30 to 60 days. This waiting period lets the natural oils dissipate.
Finally, apply a high-quality, stain-blocking primer to prevent tannin bleed-through and create an even base.
- Clean the cedar wood completely
- Check that moisture content is under 15%
- Sand lightly for a smooth surface
- Let new cedar dry for up to two months
- Use a stain-blocking primer before painting
Choosing Paint and Primer for Cedar Wood
When selecting paint and primer for cedar wood, you’ll want to prioritize products that protect the wood while allowing it to breathe. For exterior wood, acrylic latex paint is ideal because it lets moisture escape, preventing rot.
Use a high-quality stain-blocking primer, preferably oil-based, to stop tannin bleed-through and guarantee good adhesion. Satin or semi-gloss finishes offer durability and weather resistance.
| Product Type | Recommended Type | Key Benefit |
|---|---|---|
| Primer | Oil-based stain-blocking | Prevents tannin bleed-through |
| Paint to Use | Acrylic latex | Breathable, weather-resistant |
| Finish | Satin or semi-gloss | Durable, easy to clean |
Choosing the right primer and paint ensures your cedar wood stays protected and looks great for years. It’s definitely worth taking the time to pick the best products.
Step-by-Step Guide to Painting Cedar Wood
Start by cleaning and sanding your cedar to create a smooth, dry surface ready for paint. This step is super important because it helps the paint stick better.
Next, apply a stain-blocking primer to seal the wood and prevent tannin bleed-through. You definitely don’t want those stains ruining your finish.
Finally, use thin, even coats of breathable exterior paint. Make sure to let each layer dry completely before adding the next one. This way, your paint job will look great and last longer.
Surface Preparation Steps
Before you apply any paint, you’ll need to prepare the cedar surface properly to guarantee lasting results. Start with thorough cleaning to remove dirt, mildew, and loose paint, providing a clean base for painting.
Then, sand the wood lightly to smooth rough spots and enhance adhesion. Address any knots or pitch bleed-through to prevent stains.
Finally, apply a quality, breathable primer designed for cedar, which seals the wood and blocks tannin bleed.
- Clean cedar surface with mild detergent or pressure washer
- Sand rough areas to improve paint adhesion
- Remove knots and pitch bleed spots
- Use a cedar-specific breathable primer
- Let the primer dry completely before painting
These surface preparation steps are key to a durable, professional finish.
Primer Application Tips
Although proper surface preparation sets the foundation, applying primer correctly is crucial to protect cedar and guarantee your paint adheres well. Start by choosing a high-quality, stain-blocking primer specifically designed for exterior wood.
Before you apply, confirm the cedar is clean and completely dry to help the primer absorb evenly. Use a brush or roller to apply primer along the wood grain, making sure to cover knots and edges thoroughly.
This priming step prevents stains and promotes strong adhesion. After applying, follow the manufacturer’s instructions for drying times and number of coats.
Wait at least 24 hours before painting to let the primer cure fully. Proper priming sets you up for a durable, beautiful finish on your cedar wood.
Painting Techniques Explained
Once the primer has fully cured, you’re ready to apply paint to your cedar wood. Follow these painting techniques to achieve a smooth, durable finish:
Choose a breathable, exterior-grade acrylic latex or oil-based paint. It’s important to apply in thin, even coats to prevent drips and guarantee proper adhesion.
Try to paint during mild, dry weather between 50°F and 85°F. Avoid direct sunlight or high humidity — this helps the paint dry just right.
Allow 24-48 hours drying time between coats and before exposing the surface to moisture. Using smooth, steady brush or roller strokes following the wood grain will give you the best results.
Painting vs. Staining Cedar Wood
How do you decide whether to paint or stain cedar wood? It really depends on the look and protection you want. Painted cedar siding offers a uniform, opaque finish that hides the wood grain entirely, giving a consistent color and style.
However, it requires primer to guarantee adhesion and block tannin bleed. On the other hand, staining cedar highlights the natural grain, enhancing its natural resistance and beauty without covering it up.
Stains penetrate the wood, often needing less prep and allowing the wood’s texture to shine through. While paint can last up to 15 years with maintenance, stains typically need reapplication every 3-5 years.
If you prefer to show off cedar’s unique grain and natural charm, staining is ideal; if you want solid, lasting color, painting suits better.
Avoiding Problems and Maintaining Painted Cedar Wood
Choosing to paint your cedar wood means you’ll want to take steps to keep the finish looking great and lasting longer. Proper surface preparation is key to prevent peeling and guarantee paint sticks well.
Painting cedar wood requires careful prep to ensure a durable, long-lasting finish without peeling.
Using a quality primer seals tannins, which helps reduce discoloration. Also, avoid painting in extreme weather to stop blistering and cracking.
Regular maintenance keeps your wood protected and vibrant. Here’s how to avoid problems and maintain painted cedar wood:
- Clean and sand thoroughly before painting
- Apply a stain-blocking primer to seal the surface
- Paint during mild, dry weather conditions
- Perform regular maintenance with cleaning and touch-ups
- Repaint every 8-12 years or as needed to prevent peeling
Frequently Asked Questions
What Kind of Paint Do You Use on Cedar Wood?
You should use acrylic latex paint on cedar wood because it’s flexible and resists cracking. Start with an oil-based primer to prevent tannin bleed-through.
Also, choose semi-gloss or satin finishes for durability and easy cleaning. These finishes look great and hold up well over time.
Is Painting Cedar a Good Idea?
Wondering if painting cedar is a good idea? Absolutely! You’ll protect it from weather damage, pests, and fading while enhancing its look.
Just prep well, choose quality paint, and maintain it regularly for lasting beauty. It’s really worth the effort to keep your cedar looking great and lasting longer.
Do I Need to Prime Cedar Before Painting?
Yes, you need to prime cedar before painting to block tannin bleed-through and improve adhesion. Use a high-quality stain-blocking primer.
Also, wait 30-60 days after installation to let the wood dry properly for the best results. This helps the paint stick better and last longer.
Does Cedar Accept Paint?
Yes, cedar accepts paint well if you prepare it properly. You’ll need to clean, sand, and use a high-quality, stain-blocking primer to prevent tannin bleed-through.
This will help guarantee the paint adheres smoothly and lasts longer. Just take your time with the prep work, and you’ll get great results!
Conclusion
Painting cedar wood can be like dressing it in a new outfit—if you prepare it right, it’ll look fresh and last longer. By properly cleaning, sanding, and priming, you give the paint a strong foundation to stick to.
Choosing the right products and following the steps guarantees your cedar stays protected and beautiful. With regular maintenance, your painted cedar will keep impressing, standing out just like a well-tailored suit in a crowd.
So yes, you can paint cedar wood! Just remember, the key to success is in the prep work and using quality paint and primer designed for cedar. This way, your painted cedar wood will not only look great but also stay durable and protected from the elements. With a little care, your painted cedar will maintain its beauty and charm for years to come.