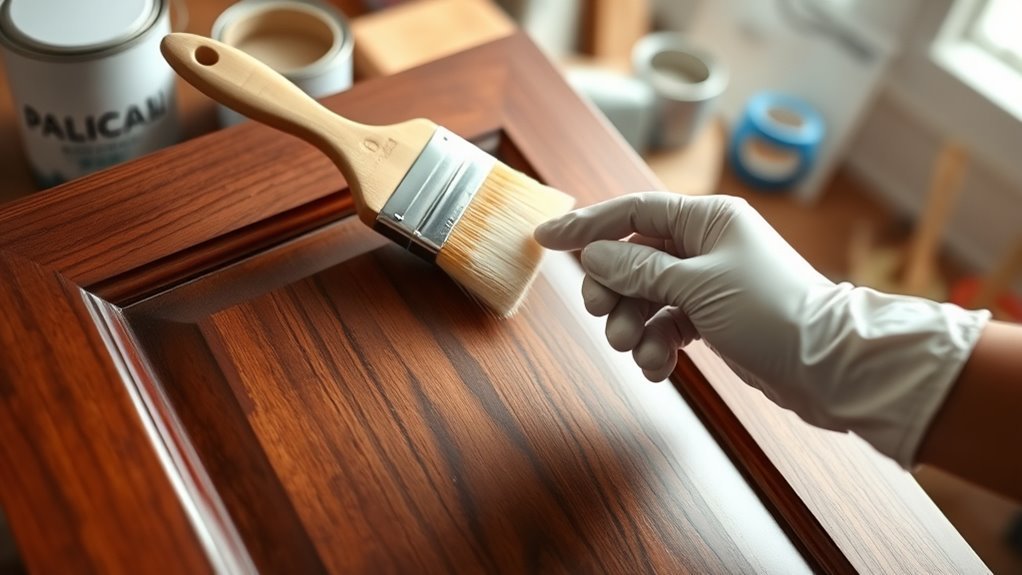
Can I Paint Over Stained Wood?
You can definitely paint over stained wood, but the key is to prepare it properly first. Start by lightly sanding the surface to de-gloss it, especially on shiny areas. This helps the paint stick better and gives you a smoother finish.
Next, make sure to clean away all the dust thoroughly. Dust can cause the paint to peel or look uneven, so don’t skip this step. After that, apply at least two coats of stain-blocking primer. This prevents any stain from bleeding through the paint and guarantees good adhesion.
Be sure to choose quality paint that’s compatible with your primer for durability. Taking these simple steps helps you avoid peeling and uneven coverage, giving your project a flawless, long-lasting result.
Keep reading to uncover more tips for painting over stained wood like a pro!
Key Takeaways
- Yes, you can paint over stained wood by properly sanding to de-gloss and clean the surface for better paint adhesion. This step is key to making sure the paint sticks well and looks great.
- Apply at least two coats of stain-blocking primer to prevent tannin bleed-through and ensure a durable base. Trust me, skipping this can lead to ugly stains showing through your paint later on.
- Use high-quality primer and compatible oil-based or latex enamel paint for a smooth, long-lasting finish. Choosing the right products makes a big difference in how your project holds up.
- Focus on even paint application with multiple coats, allowing adequate drying time between layers. Taking your time here really pays off with a professional-looking result.
- Proper surface preparation and quality materials prevent peeling, uneven coverage, and enhance overall durability. So, put in the effort upfront and enjoy a finish that lasts!
Can You Paint Over Stained Wood Without Sanding?
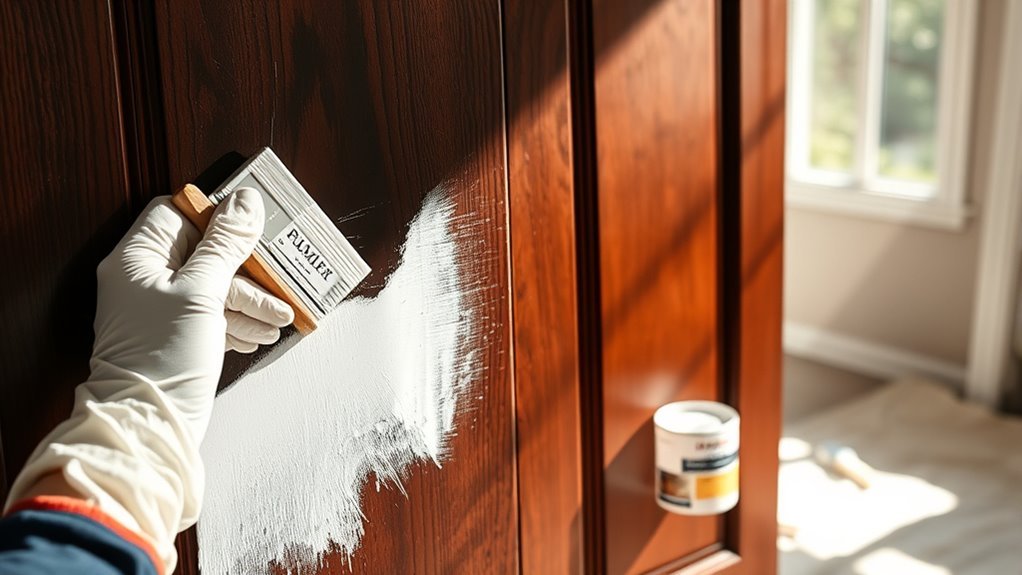
Wondering if you can paint over stained wood without sanding? Technically, yes, you can paint over stained wood without sanding, but skipping proper surface preparation often leads to poor adhesion.
Sanding plays an essential role by removing the glossy finish and roughening the surface, which helps paint stick better. If the wood has a lacquered or shiny finish, painting directly over it risks uneven coverage and peeling later.
While using a de-glosser or liquid sander can sometimes replace sanding, these methods don’t always create the ideal surface texture. For the best, longest-lasting results, light sanding before you paint over stained wood is highly recommended.
It guarantees your paint job stays smooth and durable, avoiding peeling and wear. So, even though sanding might feel like a hassle, it’s really worth the effort!
How to Prepare Stained Wood for Painting
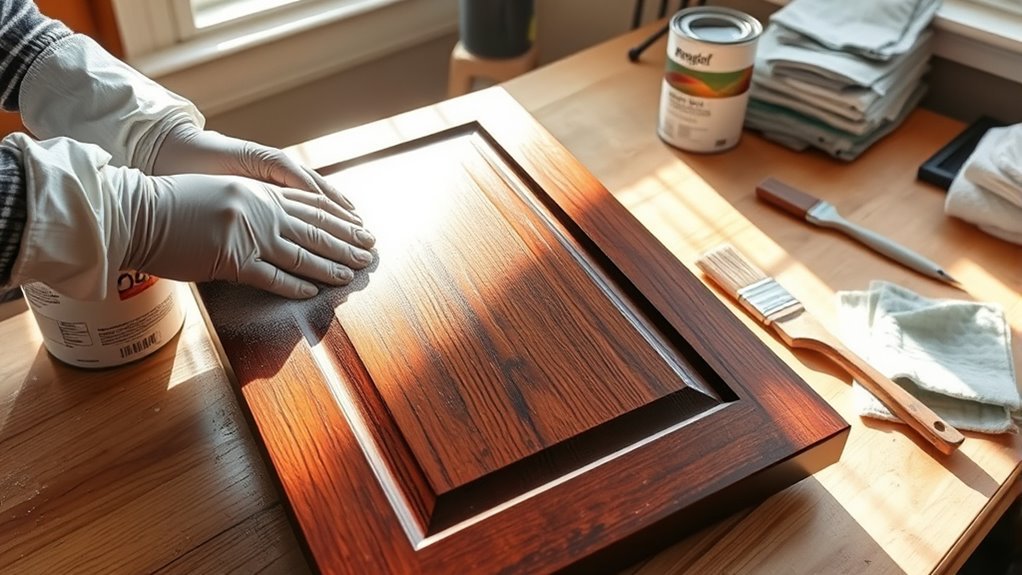
Before you start painting over stained wood, you need to prepare the surface properly to guarantee the paint adheres well and lasts. To prepare stained wood, sand it with 150-grit sandpaper to de-gloss the finish, improving paint bonding without removing all the stain.
After sanding, clean the surface thoroughly with a tack cloth to remove dust and debris. This preparation ensures a smooth, durable finish.
| Step | Purpose |
|---|---|
| Sand with 150-grit | De-gloss to improve adhesion |
| Focus on gloss | Don’t remove all stain |
| Clean with tack cloth | Remove dust and dirt |
| Degloss finish | Smooth existing finish |
| Prepare surface | Achieve smooth, lasting finish |
Why You Need a Stain-Blocking Primer

Although sanding preps the wood surface, you’ll still need a stain-blocking primer to stop tannins and discolorations from bleeding through your paint. A stain-blocking primer seals knots and other stained areas, preventing tannin bleed-through that can ruin your finish.
These primers contain shellac or high-performance resins designed to block stubborn stains effectively.
Here’s why you need a stain-blocking primer:
- It seals knots, stopping their natural oils from discoloring your paint.
- It prevents tannin bleed-through, ensuring a clean, uniform look.
- It blocks water and other stains, providing a smooth base for your paint.
Applying two coats of stain-blocking primer guarantees better coverage and long-lasting results on stained wood.
How to Deal With Knots Before Painting Stained Wood
When you’re preparing stained wood for painting, you need to address knots carefully to prevent tannin bleed-through that can ruin your finish. Start by sanding knots lightly with fine-grit sandpaper to improve adhesion and smooth the surface.
Next, apply two coats of a stain-blocking primer, like a shellac-based primer or Zinsser BIN, to seal the knots effectively. This primer acts as a barrier, preventing tannins from bleeding through over time.
Make sure to let the primer fully dry and cure before adding your topcoat. Taking these steps ensures the knots are properly sealed, protecting your paint job and giving you a clean, professional finish on your stained wood.
How to Choose Paint Colors When Painting Over Stained Wood
Sealing knots properly sets the stage for a flawless paint job, but choosing the right paint color will determine the final look of your stained wood. When selecting paint colors, consider how they interact with the wood’s natural tones and your room’s style.
Here’s how to make the best choice:
- Test color samples on a small, hidden area to see how the paint looks over the stained wood in different lighting.
- Choose lighter shades like white or off-white to brighten surfaces or bold colors like navy blue to create contrast.
- Opt for neutral tones if you want a subtle, versatile backdrop that complements the wood without overpowering it.
Should You Use Semi-Gloss or Glossy Paint on Trim?
When choosing paint for your trim, you’ll want to think about semi-gloss for its subtle shine that hides imperfections well. It’s a great choice if you want something that doesn’t scream for attention but still looks polished.
Glossy paint offers a brighter, more durable finish, perfect for areas that need frequent cleaning. So, if your trim gets a lot of wear and tear, glossy might be the way to go.
Ultimately, your choice depends on the look you want and how much wear your trim will face. Think about what fits your style and needs best before making a decision.
Semi-Gloss Advantages
Why choose semi-gloss paint for your trim? Semi-gloss offers a durable finish that stands up well on wood surfaces, especially in high-traffic areas like trim and moldings. It provides a subtle sheen that enhances the natural beauty of your wood without the harsh reflectiveness of glossy paint.
Here are three key advantages of using semi-gloss on your trim:
- Durability: Semi-gloss resists moisture and stains, making it perfect for areas prone to wear and tear.
- Surface Forgiveness: It hides minor imperfections better than glossy finishes, so your trim looks smoother.
- Balanced Shine: Semi-gloss gives a soft glow that’s elegant yet practical, making maintenance easier without sacrificing style.
Choosing semi-gloss helps you achieve a polished look with long-lasting protection on your wood surfaces. It’s a smart choice that balances beauty and function really well.
Glossy Finish Benefits
Although both semi-gloss and glossy paints offer durable, washable finishes ideal for trim, choosing between them depends on the look and practicality you want.
A glossy finish gives a sleek, modern appearance but highlights imperfections. Semi-gloss offers balanced durability with a softer shine, masking minor flaws better.
Both finishes protect trim from moisture, scuffs, and fingerprints, ensuring long-lasting durability. So, it really comes down to whether you prefer that shiny pop or a more subtle glow.
| Feature | Semi-Gloss |
|---|---|
| Sheen | Softer shine |
| Appearance | Subtle, hides flaws |
| Durability | High, washable |
| Cleaning Ease | Easy |
| Ideal Use | Interior trim |
| Feature | Glossy |
| Sheen | High shine |
| Appearance | Sleek, highlights flaws |
| Durability | Very high, washable |
| Cleaning Ease | Very easy |
| Ideal Use | Modern trim finishes |
Choosing Based On Preference
Deciding between semi-gloss and glossy paint for your trim ultimately comes down to your personal taste and the look you want to achieve. Both finishes offer durability, but your preference will shape the final appearance of your space.
Semi-gloss provides a softer sheen that highlights trim details subtly, while glossy paint creates a shiny, mirror-like finish that can make trim pop but may emphasize imperfections.
Consider these points when choosing your finish:
- If you want a classic, understated look, semi-gloss is ideal for a balanced appearance.
- For a bold, polished effect, glossy paint enhances the trim’s shine dramatically.
- Think about lighting and room style to ensure your finish complements the overall design.
At the end of the day, your preference dictates how your trim will stand out or blend in. It’s all about what feels right for your space!
How to Paint Interior and Hollow Doors
When you paint interior and hollow doors, choosing the right preparation and materials makes a big difference in the final look and durability. Start by deciding whether to keep your hollow door or replace it with a solid one for a sturdier finish.
If your door isn’t pre-primed or factory-finished, apply a high-quality primer designed specifically for doors. This prevents stains from bleeding through and guarantees better paint adhesion.
Select a semi-gloss or gloss paint to give your door a professional, durable finish that’s easy to clean. While white is the classic choice, don’t hesitate to customize with colors that suit your space.
Proper priming and the right paint will transform your door with a smooth, lasting finish you’ll appreciate. It’s really worth taking the time to do it right!
Tips for Painting Staircase Banisters Over Stained Wood
Start by sanding your banisters with fine-grit sandpaper. This removes the gloss and helps the paint stick better.
Next, choose a stain-blocking primer. It seals the wood and prevents any bleed-through from knots or tannins.
Finally, pick a durable semi-gloss or gloss paint. This will give your banisters a smooth, long-lasting finish.
Preparing Banister Surface
Although stained banisters have a beautiful finish, you’ll need to prepare their surface carefully before painting. This guarantees the new paint sticks well and lasts.
Proper preparation involves sanding, priming, and cleaning. These steps create the ideal base for your paint finish.
Follow these steps to prepare your banister surface:
- Sand the stained banister with 150-grit sandpaper to de-gloss the surface. This improves paint adhesion.
- Clean the sanded surface thoroughly using a tack cloth. Make sure to remove all dust and debris.
- Apply at least two coats of a stain-blocking primer, like Zinsser BIN. Allow each coat to dry fully. This seals knots and prevents tannin bleed-through, ensuring a smooth, durable finish.
Taking these steps will set you up for a flawless paint job on your staircase banister.
Choosing Paint And Finish
How do you choose the right paint and finish for a stained wood banister? Start with proper surface preparation—sand the wood smoothly and apply a stain-blocking primer like Zinsser BIN. This primer prevents tannin bleed-through and improves paint adhesion.
For durability, pick an oil-based or latex enamel paint, both tough enough to withstand daily wear. When selecting a finish, semi-gloss or gloss options work best, giving your banister a shiny, durable coating that resists scuffs.
Make sure to apply at least two coats, allowing adequate drying time between each to ensure a smooth, professional finish. By focusing on quality primer, paint, and finish, you’ll protect your banister while transforming its look with lasting results.
Common Problems When Painting Over Stained Wood and How to Fix Them
If you skip proper preparation when painting over stained wood, you’ll likely face issues like uneven coverage, peeling, and visible brush marks. To avoid these problems, focus on three key steps:
First, Sanding and Primer. Sand the surface thoroughly to remove gloss and promote paint adhesion. And don’t forget to apply a stain-blocking primer, especially over knots, to prevent tannin bleed-through.
Start by sanding to dull the surface, then apply a stain-blocking primer for lasting paint adhesion.
Next, Surface Cleaning. Make sure to clean the wood well to remove dust and debris that can cause imperfections in the finish.
Finally, Paint Quality and Compatibility. Use high-quality paint that works well with your primer. This helps prevent cracking and peeling over time.
Tips for a Long-Lasting Finish on Painted Stained Wood
To get a long-lasting finish on your painted stained wood, start with proper surface preparation by cleaning and lightly sanding the wood.
Next, apply a high-quality, stain-blocking primer to stop tannin bleed-through and help the paint stick better.
These steps set the foundation for a durable, smooth finish that will hold up over time. Just take your time with each step, and you’ll see great results!
Surface Preparation Essentials
Why does surface preparation matter when painting over stained wood? It’s the foundation for a durable, professional finish. Without proper surface preparation, paint won’t stick well, which can cause peeling or uneven coverage.
Here’s how to get it right:
- Clean thoroughly – Remove dust, dirt, and grease before you start sanding. This helps make sure the paint sticks properly.
- Sand the surface – Use fine-grit sandpaper (around 150 grit) to reduce gloss. This also creates a texture that helps the paint adhere better.
- Remove dust – After sanding, wipe the wood with a tack cloth to get rid of any leftover dust or debris.
Following these surface preparation essentials sets you up for a smooth, long-lasting paint job on stained wood. You’ll be glad you put in the effort!
Primer Application Tips
Once you’ve thoroughly prepped your stained wood, applying the right primer takes your project to the next level. Start with a high-quality, stain-blocking primer like Zinsser BIN to seal the surface and prevent tannin bleed-through.
Don’t skip sanding before priming; smooth, clean wood helps the primer adhere better. Apply two coats of primer, allowing each to dry fully to guarantee strong adhesion and durability.
This extra step creates a solid base for your paint, especially on knotty or previously finished wood. Proper sanding combined with the right primer not only boosts paint adhesion but also extends the life of your finish.
Taking these primer application steps seriously assures your painted wood looks great and lasts longer. It’s worth the effort, trust me!
Frequently Asked Questions
What Are the Downsides of Staining Wood?
You’ll face issues like highlighted imperfections and strong fumes that need good ventilation. Also, if the wood isn’t sealed properly, it can suffer water damage.
It’s tough to change the color later on, so you have to be sure about your choice. Plus, some people might experience allergic reactions from the stain.
Staining limits your flexibility, and you’ve got to apply it carefully to avoid any problems. It’s not always as simple as it seems!
Can You Paint Over Sanding Sealer?
You can absolutely paint over sanding sealer, but don’t skip sanding it first; think of it like prepping a canvas. Sand lightly, clean thoroughly, then apply primer for the best, long-lasting paint adhesion and finish.
It really makes a difference in how the paint sticks and looks. So, take that extra step—it’s worth it!
Can I Just Paint Over Wood Furniture?
Yes, you can just paint over wood furniture, but you’ll want to sand or degloss it first for better adhesion.
Using a primer and quality paint guarantees a smooth, durable finish that looks professional and lasts longer.
It’s a simple step that really makes a big difference in how your paint job turns out.
How to Paint Over Oil-Based Stains?
You can paint over oil-based stains by sanding the surface and applying an oil-based or stain-blocking primer. Let it dry completely before moving on.
Then, lightly sand the area again. After that, apply your paint for a smooth, durable finish that sticks well. It’s pretty straightforward once you follow these steps!
Conclusion
Painting over stained wood isn’t as tricky as it seems—you just need the right prep. Think of it like dressing for a big event: sanding, priming, and blocking knots are your outfit’s foundation. Skip these, and your paint might not stick or look smooth.
With the right colors and careful steps, you’ll turn that old wood into a fresh masterpiece that lasts. So roll up your sleeves and let your creativity shine through every brushstroke!
Remember, painting over stained wood requires patience and the proper prep work to ensure a durable finish. Sanding removes the glossy surface, primer helps the paint adhere, and blocking knots prevents stains from bleeding through. By following these steps, your painted wood will look great and stand the test of time. Embrace the process and enjoy the transformation of your stained wood into a beautifully painted surface.