How Can You Safely Use Bleach on Wood Floors?
You can safely use bleach on wood floors by first cleaning and lightly sanding the area.
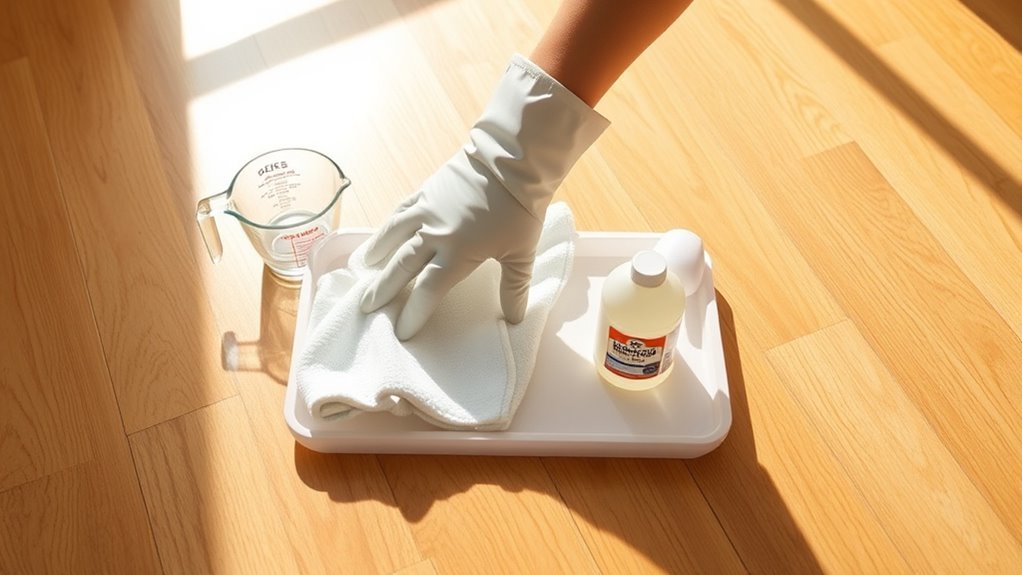
Next, test a diluted bleach solution—one part bleach to ten parts water—on a hidden spot to see how the wood reacts.
When applying the bleach, use a sponge and avoid pouring it directly onto the floor.
Rinse thoroughly after a short exposure to prevent any damage.
After the floor dries, lightly sand the area again and apply a finish to protect the wood.
Taking these careful steps helps prevent damage and guarantees a beautiful result.
Keep exploring to find out how to restore and maintain your floor afterward.
This way, your wood floors stay looking fresh and last longer!
Key Takeaways
- Clean and lightly sand the floor, then test bleach on a hidden spot to ensure safety and even absorption.
- Dilute bleach with water at a ratio of 1:10 and apply with a sponge or cloth. Avoid pouring it directly onto the wood.
- Limit bleach exposure time by applying it briefly. Then rinse thoroughly to prevent any wood damage.
- Rinse the floor completely after bleaching. Let it dry fully before you start sanding or staining.
- Protect yourself by wearing gloves and goggles. Make sure the area is well-ventilated, and don’t forget to neutralize any bleach residue after use.
Bleaching Wood Floors: What You Need to Know
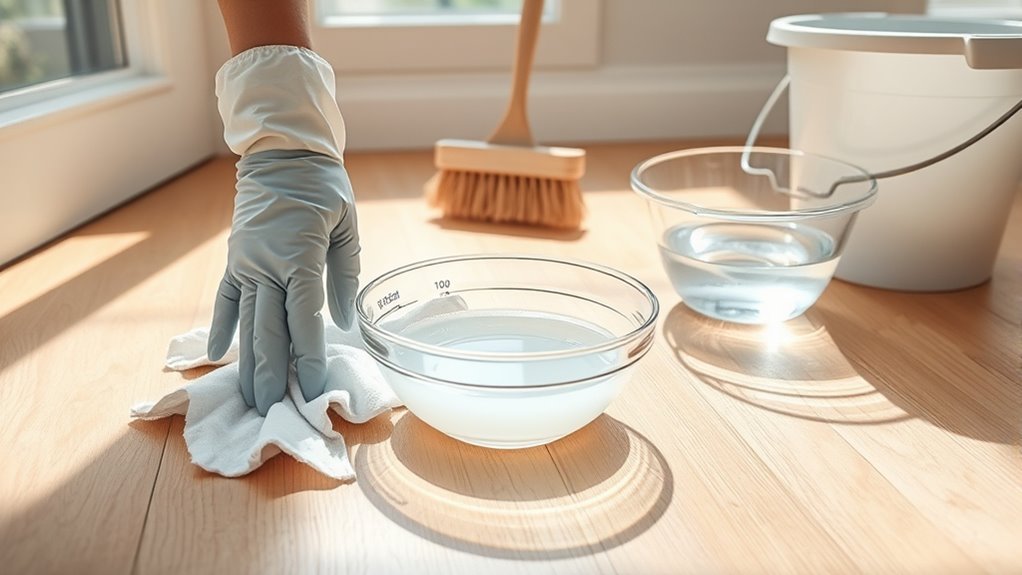
While bleach can effectively lighten wood floors, you need to apply it carefully to prevent damage and uneven coloring. Before you start, always test bleach on a small, hidden section of your floor to see how the wood reacts.
Use a sponge or applicator to apply bleach in thin, controlled layers rather than pouring it directly on the wood. This approach helps you avoid over-lightening and potential damage.
Follow the product instructions closely, especially regarding timing and application methods. Once you finish bleaching, sanding and sealing the floor is essential to achieve a smooth, uniform color and protect the wood from future wear.
How to Prepare Your Wood Floor for Bleaching
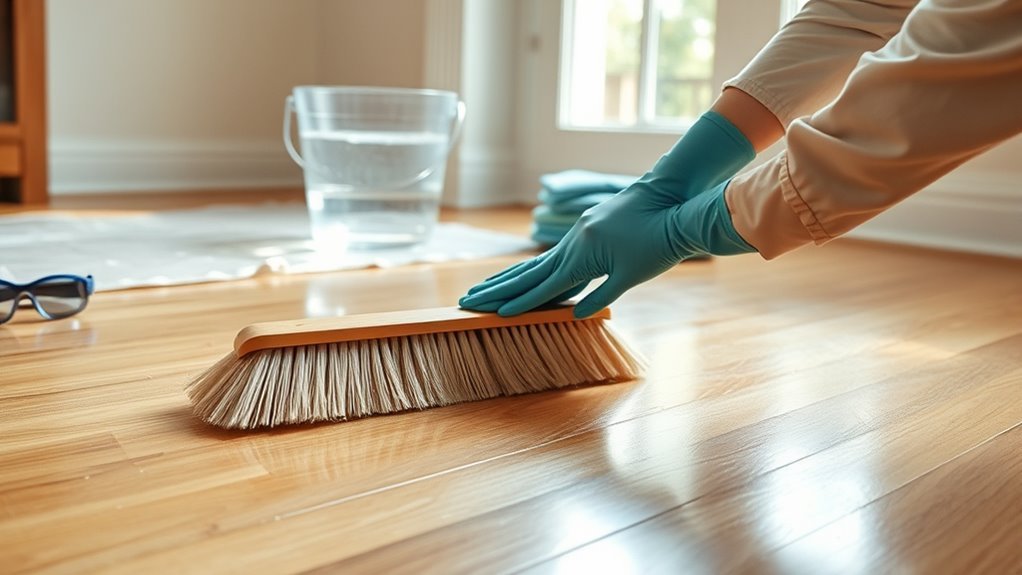
Before you start bleaching your wood floor, you need to prepare the surface properly to guarantee the bleach penetrates evenly and safely. Begin by thoroughly cleaning the floor to remove dirt, dust, and debris.
Next, sand the surface lightly to open the wood pores. This helps the bleach absorb uniformly. Don’t forget to test the bleach on a small, hidden area first to see how the wood reacts.
This way, you can decide if the lightening effect meets your expectations. Make sure the room is well-ventilated to handle any fumes safely.
Finally, always wear protective gear like gloves and goggles to prevent skin and eye contact. Taking these steps will help you prepare your wood floor effectively for bleaching.
How to Apply Bleach Safely on Wood Floors

Because bleach can damage wood if used improperly, you should always dilute it with water according to the manufacturer’s instructions before applying it.
Before treating the entire floor, test your bleach solution on a small, hidden spot to verify it won’t cause discoloration or damage.
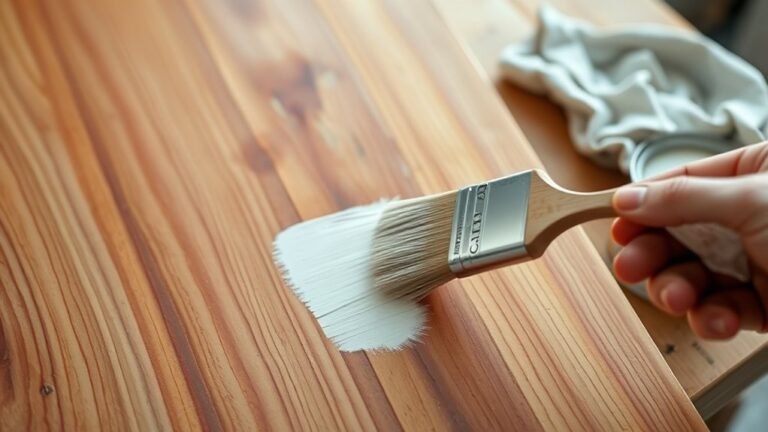
When you apply bleach, use a sponge or soft cloth to spread it gently and evenly—never pour it directly onto the wood.
Keep the bleach on the surface only briefly to avoid soaking the wood, then rinse thoroughly with water to remove any residue.
After the floor dries, lightly sand the area to open the wood pores, making it easier to restore color or apply further treatments.
This careful method helps you safely apply bleach without harming your wood floors.
How to Control Bleach Exposure to Avoid Damage
Applying bleach carefully is just one part of protecting your wood floors. To control bleach exposure and avoid damage, always dilute it—typically one part bleach to ten parts water—to reduce its strength.
Before treating the entire floor, test this solution on a small, hidden spot to check for discoloration or harm. Apply the diluted bleach briefly, then rinse or wipe it off thoroughly to limit contact time and prevent overexposure.
Wear gloves and goggles to protect yourself, and never pour bleach directly onto the wood to avoid splashing. After bleaching, neutralize or clean the floor completely to stop the chemical reaction, ensuring the wood finish stays intact.
These steps help you safely manage bleach exposure and protect your floors from damage. Just take it slow and steady, and your wood will thank you!
How to Restore and Maintain Your Floor After Bleaching
Once you finish bleaching, make sure to rinse your wood floor thoroughly with water or a damp cloth to remove any leftover bleach. This will stop any further lightening from happening.
Let the floor dry completely before sanding lightly. This helps smooth the surface and open the pores for better finish adhesion.
Use a stain or finish that matches the new lightened color to restore an even look. Then, apply a protective finish like polyurethane or wood sealant to keep your floor looking beautiful.
Maintain your floor regularly by cleaning gently and avoiding excess moisture. This will help prolong the effects of your restoration.
| Step | Action | Purpose |
|---|---|---|
| Rinse | Use water or damp cloth | Remove residual bleach |
| Sand | Light sanding | Smooth surface, open pores |
| Finish & Maintain | Apply sealant, gentle care | Protect and prolong restoration |
Frequently Asked Questions
What Does Bleach Do to Wooden Floors?
Bleach lightens wooden floors by breaking down pigments and stains. You’ll notice it can remove dark spots, which is pretty handy.
But, overusing it can weaken wood fibers. That might cause damage or uneven discoloration if you’re not careful with how you apply it.
What Is the Best Way to Clean Wood Floors?
Think of your wood floor as a delicate canvas—use a damp microfiber mop and pH-neutral cleaner to gently erase dirt. Avoid harsh chemicals and excess water.
Sweep often to keep it shining without damage. It’s all about being gentle and consistent.
What Causes Dark Spots on Hardwood Floors?
Dark spots on your hardwood floors come from mold, mildew, water damage, or mineral deposits. If spills aren’t cleaned quickly, moisture seeps in, causing discoloration.
Dirt buildup and previous damage can also create these dark patches. So, it’s really about keeping things dry and clean to avoid those pesky spots.
What Is the Best Homemade Floor Mopping Solution?
The best homemade floor mopping solution mixes warm water with a few drops of mild dish soap or white vinegar. Add essential oils for scent, avoid excess water, and always test on a small area first to protect your wood floors.
It’s pretty simple to whip up, right? Just remember not to soak your floors — too much water can cause damage over time. Give it a quick test spot before going all in, just to be safe!
Conclusion
When using bleach on your wood floors, remember to tread carefully and don’t bite off more than you can chew. Preparing the surface, applying bleach evenly, and controlling exposure are key to avoiding damage.
Once you’ve bleached your floors, restoring and maintaining them keeps that fresh look intact. Follow these steps, and you’ll bring new life to your wood floors without any headaches—turning a tough task into a walk in the park.
Safely using bleach on wood floors means taking it slow and being mindful throughout the process. By preparing properly, applying bleach carefully, and managing exposure time, you protect your floors from harm. After bleaching, restoring and maintaining the wood ensures your floors stay beautiful longer. Stick to these simple steps, and you’ll enjoy the benefits of bright, refreshed wood floors without any stress or damage.