How to Use Acrylic Paint on Wood Step by Step
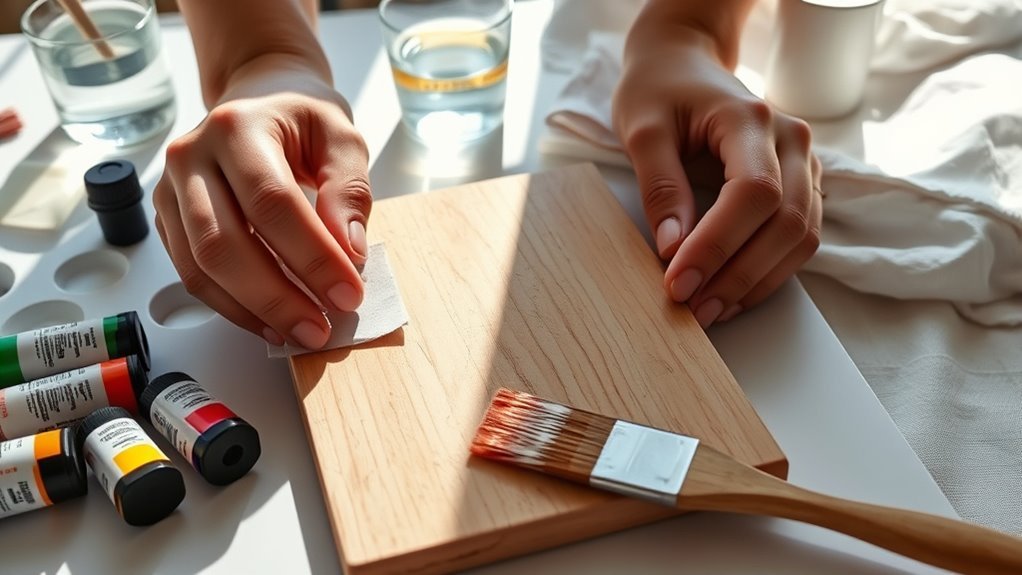
To use acrylic paint on wood, first pick smooth, dry wood and sand it for an even surface. This helps the paint stick better and gives you a nice, clean base to work on.
Applying a thin layer of gesso or primer is a great next step because it seals and protects the wood, making your paint look more vibrant. Make sure to let it dry fully before moving on.
When you start painting, use large brushes for your base layers and blend the colors smoothly. Once those layers are dry, switch to smaller brushes to add fine details.
This way, your painting will have depth and precision. Finally, sealing your work with clear varnish preserves the vibrancy and durability of your artwork. Keep going to explore some handy tips for flawless results and creative textures!
Key Takeaways
- Choose smooth, dry wood and sand it with fine-grit sandpaper to ensure proper paint adhesion. This step really helps the paint stick better and last longer.
- Apply a thin, even coat of acid-free gesso or primer and let it dry completely before sanding lightly. It’s like prepping your canvas so the colors pop just right.
- Paint a smooth base layer with large brushes, allowing each layer to dry fully before adding more color. Taking your time here makes a big difference in the final look.
- Use small brushes for fine details and add texture with techniques like dry brushing or palette knives. These little touches bring your piece to life.
- Seal the finished painting with multiple thin coats of clear varnish, letting each coat dry thoroughly. This protects your artwork and gives it a nice finish.
How to Pick the Best Wood for Acrylic Painting
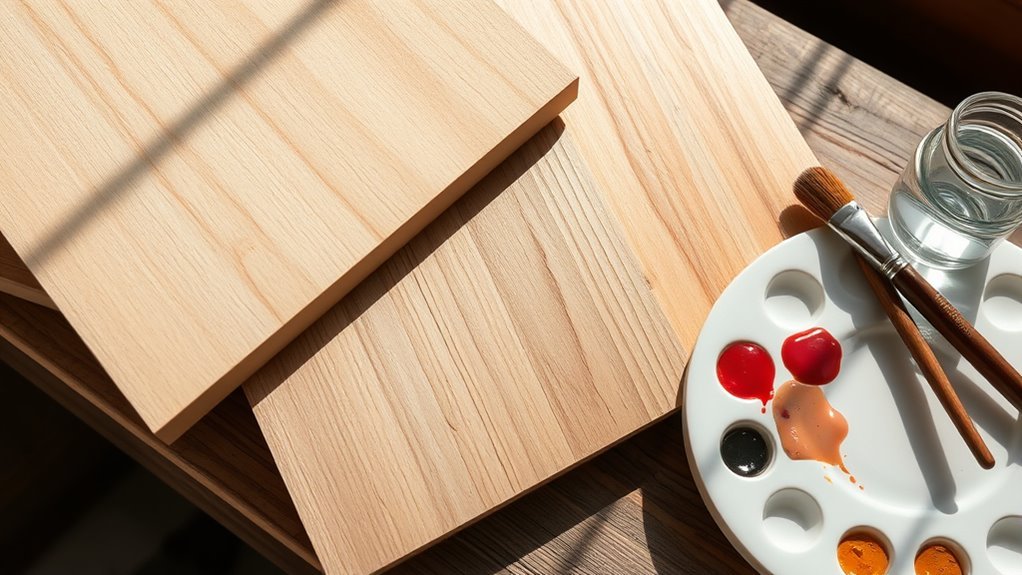
When selecting wood for acrylic painting, you’ll want to pick smooth, pre-sanded surfaces like MDF, plywood, or basswood to guarantee your paint goes on evenly. These pre-sanded woods provide a smooth surface that helps your brush glide effortlessly, making it easier to paint with acrylics.
Before you start, make sure to seal the wood properly; applying a wood primer or gesso will protect the surface and improve paint adhesion. This step also enhances the vibrancy of your colors and prevents the paint from soaking into the wood fibers.
Choosing wood free of oils and with low moisture content prevents warping and assures your artwork lasts. By selecting the right wood and sealing it, you’re setting yourself up for a successful acrylic painting project.
Preparing and Sanding Wood for a Smooth Finish
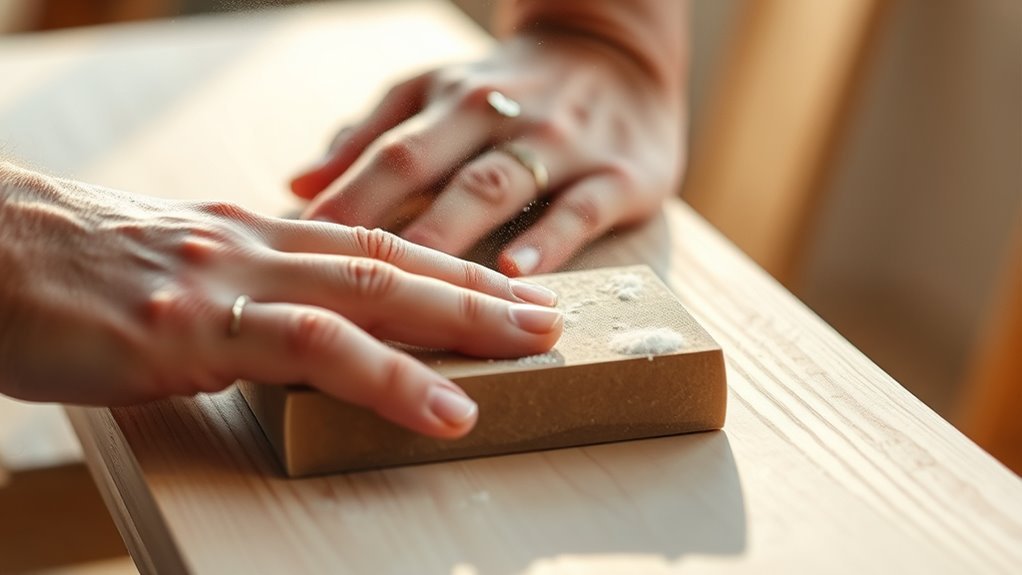
Selecting the right wood and sealing it properly lays a solid foundation. But achieving a flawless acrylic paint finish really depends on how well you prepare and sand your surface.
Start by checking if the wood surface has already been sanded. If it has, you can skip this step. If not, use fine-grit sandpaper (140-180 grit) to gently sand the wood. This creates a smooth finish that’s ideal for painting.
First, verify if sanding is needed; if not, gently sand with fine-grit paper for a smooth painting base.
After sanding, carefully remove all dust and debris with a clean, dry cloth. This step guarantees proper paint adhesion.
For larger or fragile pieces, reinforce the wood to prevent warping. Also, make sure the wood’s moisture content is below 12% to avoid cracking.
Proper surface preparation is key to a professional, long-lasting acrylic paint result. Trust me, taking the time here really pays off!
Applying Primer or Gesso to Seal and Protect Wood
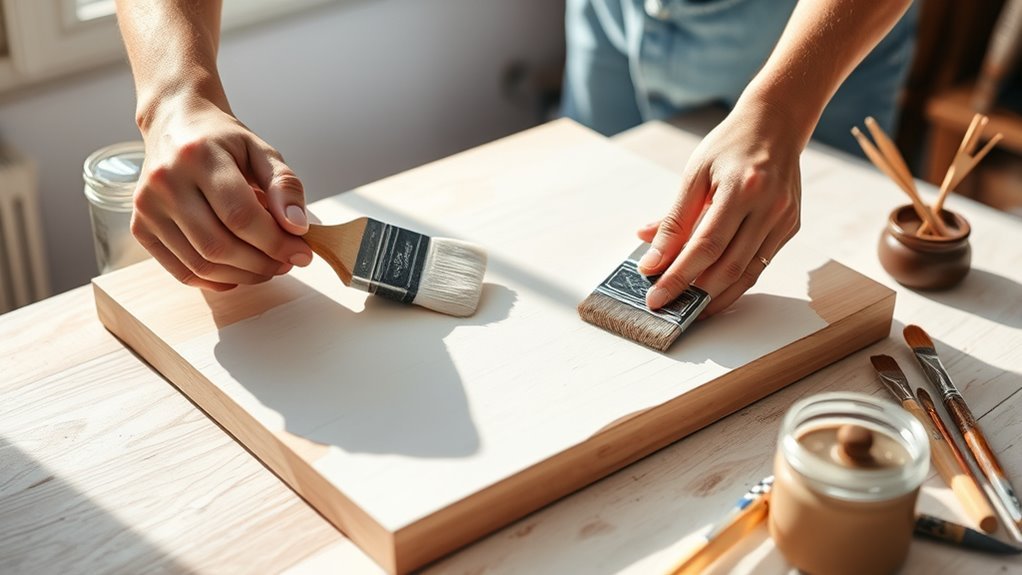
Although sanding gets your wood surface ready, applying a primer or gesso is a must before painting. This step seals and protects the wood, so the paint doesn’t soak in too much. Plus, it helps the paint stick better.
That way, your acrylics stay vibrant and last longer. Here’s how to do it right:
- Apply a thin, even layer of acid-free gesso or primer to seal the wood surface.
- Let each coat dry completely to avoid peeling or uneven textures.
- Lightly sand between multiple coats to create a smooth, uniform base.
- Use primer or gesso to protect the wood from moisture and deterioration over time.
Painting Base Layers and Acrylic Blending Techniques
Before you start painting, apply a smooth, even base layer using large, flat brushes to guarantee your acrylics adhere well and lay down color uniformly. This creates a sealed, smooth surface that’s perfect for building your artwork.
Begin with a smooth, even base layer to ensure acrylics adhere and colors apply evenly for a flawless start.
Once dry, use the layering technique to gradually build up color intensity. For acrylic blending, try the wet-on-wet method by applying wet acrylics side by side on the wood, then softly merge the edges with a clean, damp brush.
This allows seamless color gradations and smooth progressions. Remember, each layer must dry thoroughly before adding the next to keep your colors clean and vibrant.
Mastering base layers and acrylic blending sets a strong foundation for your painting’s depth and richness. You’ll see how much richer your work looks once you get the hang of these techniques.
Fine Details and Texture in Acrylic Paint on Wood
To capture fine details on wood, use small, precise brushes like liners or detail brushes for sharp lines and intricate patterns. You can add texture by layering thin glazes or applying thick strokes with a palette knife to create depth.
Don’t forget to let each layer dry completely before working on details. This helps keep your design crisp and clean. It really makes a difference!
Brush Techniques For Details
When you want to capture fine details and textures in acrylic paint on wood, choosing the right brush is essential. Fine-tipped brushes, like round or liner brushes, give you precise control for intricate detail work.
Here are key brush techniques to master:
- Dip your brush in water often to keep bristles soft and paint flowing smoothly.
- Load just a small amount of paint on your brush to avoid blotchy or blurred lines.
- Use dry brushing or stippling with fine brushes to create subtle texture effects.
- Always clean brushes thoroughly between colors to maintain sharp tips and prevent unwanted mixing.
Adding Texture Effects
Although adding texture to acrylic paint on wood can seem challenging, you can easily create rich, tactile effects using simple tools like dry brushes, sponges, or palette knives. Start by applying thick paint with a dry brush or sponge in small, controlled areas to build texture on the wood surface.
Use palette knives to create impasto effects, adding dimension and a bold tactile quality. You can also mix textured mediums or gels with your acrylics to enhance surface relief, mimicking natural textures like bark or stone.
Try employing dry brushing techniques with minimal paint to highlight raised areas, which adds subtle rustic textures. Finally, give stencils or sponges a go to apply repetitive patterns. This will enrich your artwork’s depth and visual interest through varied texture techniques.
Sealing Your Acrylic Painting for Long-Lasting Protection
Since acrylic paint can be vulnerable to scratches, moisture, and UV damage, sealing your painting with a clear varnish is crucial for long-lasting protection. After your paint is fully dry, apply a sealant to create a durable protective layer.
Follow these steps for effective sealing:
- Choose a varnish finish—gloss, satin, or matte—that suits your desired look.
- Decide between spray-on sealant for even coverage or brush-on for more control on details.
- Apply multiple thin coats, allowing each layer to dry completely before the next.
- Ensure full drying after the final coat to lock in protection.
Proper sealing preserves your artwork’s vibrancy and greatly extends its lifespan. It really makes a difference in keeping your painting looking fresh for years to come.
Essential Tips for Flawless Acrylic Paint on Wood
To achieve flawless acrylic paint on wood, start by preparing the surface thoroughly—make sure it’s smooth, clean, and sanded with fine-grit sandpaper. Next, apply multiple thin coats of primer or gesso to seal the wood, preventing paint absorption and ensuring better adhesion.
Use high-quality acrylic paints and brushes designed for wood to get vibrant colors and precise application. Work from light to dark shades, allowing each layer to dry fully before adding details to avoid smudging.
Finally, focus on finishing by applying a protective sealant, like varnish, to enhance durability and achieve your desired matte, satin, or glossy look. These steps guarantee a smooth, professional result that lasts.
Frequently Asked Questions
Can I Paint Acrylic Paint Straight Onto Wood?
Yes, you can paint acrylic paint straight onto wood, but you’ll want to sand and clean the surface first.
Using a primer or sealant helps the paint stick better and last longer, giving you a smoother, more vibrant finish.
It’s definitely worth taking these extra steps to make your project look great and hold up over time.
What Are the Disadvantages of Using Acrylic Paint on Wood?
You’ll face cracking, peeling, and discoloration if you don’t prep or seal the wood properly.
Acrylic paint can absorb unevenly, warp, or fail to stick well, especially on oily or high-moisture wood surfaces without a primer.
Will Acrylic Paint Stick to Wood Without Primer?
Acrylic paint can stick to wood without primer, but it’s like planting seeds in rocky soil—your colors might struggle to root and fade fast.
Using primer gives your artwork a solid foundation to thrive and last beautifully. It helps the paint adhere better and stay vibrant longer.
How Do I Seal Acrylic Painting on Wood?
To seal your acrylic painting on wood, start by applying a thin isolation coat first. This helps protect your artwork from any potential damage.
Next, use multiple thin layers of clear varnish—matte, satin, or glossy—depending on the finish you want. Make sure to let each layer dry completely before adding the next one.
This process not only protects your painting but also gives it a professional, durable finish. It’s worth taking your time with each step for the best results.
Conclusion
Using acrylic paint on wood is like planting a seed in fertile soil—you prepare, nurture, and protect it carefully. By choosing the right wood and sanding it smooth, you set the perfect foundation for your project. Layering your paint thoughtfully gives your artwork the roots it needs to grow strong and vibrant.
Sealing your piece is the final embrace, making sure your creation stands strong through time. It helps protect your work from wear and tear, keeping those colors bright and fresh. Embrace each step of this process, and watch your vision blossom into a vibrant, lasting masterpiece.
When you use acrylic paint on wood, preparation and patience really pay off. From sanding to sealing, every step matters to create a durable, beautiful finish. So take your time, follow these steps, and enjoy the rewarding experience of turning plain wood into a stunning work of art.