How You Can Install Wood Over Tile Step by Step
To install wood over tile, first make sure your tile surface is clean, level, and completely dry. This is super important because any dirt or uneven spots can cause problems later on.
Next, choose a quality moisture barrier and underlayment to create a smooth, stable base for your wood floor.
Deciding between a floating or glue-down method depends on your needs and the condition of your tile. Once you’ve picked the method, carefully lay your wood planks, making sure to leave proper expansion gaps and stagger the joints.
Finally, finish up with connection strips and trim to give your floor a seamless, polished look.
Keep following these steps, and you’ll find plenty of detailed tips to help you achieve a flawless wood-over-tile floor that looks great and lasts long!
Key Takeaways
- Clean and level the tile surface, making sure it’s dry and free of debris. This step is key for the wood planks to stick properly.
- Next, pick out a compatible underlayment and moisture barrier. This will give you a smooth, waterproof base right over the tile.
- Now, decide if you want a floating floor or a glue-down installation. Think about the condition of your subfloor and how stable you want the floor to be.
- When you start laying the wood planks, leave a 10-15mm expansion gap around the edges. Also, make sure to stagger the joints by at least 6 inches to keep everything sturdy.
- Finally, finish off by putting in transition strips and trim. This will cover up any gaps and give your floor a clean, professional look.
Get Your Tile Surface Clean, Level, and Dry
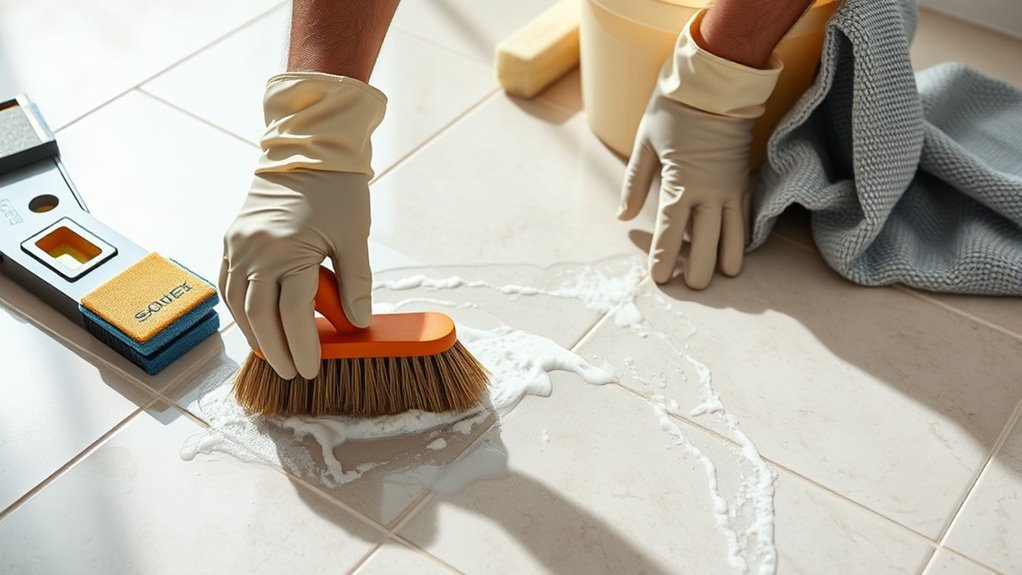
Before you begin installing wood over tile, make sure your tile surface is clean, level, and dry. Start by thoroughly cleaning the tile surface to remove all dirt, grease, and debris, guaranteeing proper adhesion.
Check the moisture content with a moisture meter; it should be below 12% to confirm a dry surface. Repair any loose or cracked tiles using appropriate adhesives or fillers to create stability.
If your tiles are glossy or smooth, lightly sand them to improve bonding. Next, verify the floor is level within 3mm over a 1-meter span using a spirit level or straightedge.
Address any uneven areas with leveling compounds during surface preparation. These steps ensure your wood flooring will adhere securely and last longer over your tile surface.
Select Underlayment and Moisture Barriers for Wood Over Tile
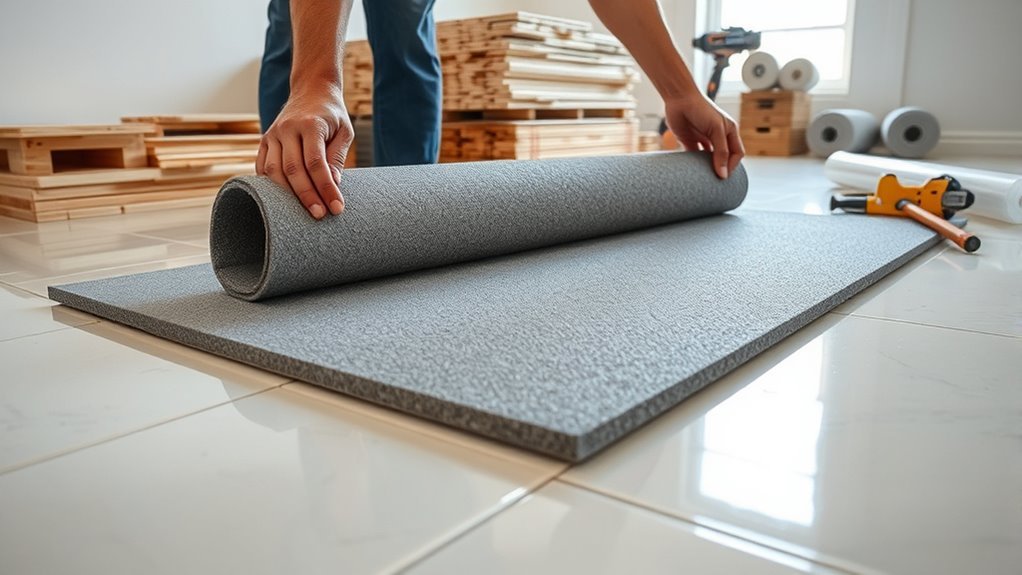
Once your tile surface is clean, level, and dry, the next step is choosing the right underlayment and moisture barrier. Select a high-quality moisture barrier, like a polyethylene sheet or specialized underlayment, to prevent moisture transfer from tile to wood flooring.
Ensure your tile is clean and dry, then choose a quality moisture barrier for wood flooring protection.
If your tile surface is uneven, use a leveling compound or underlayment designed to create a flat, smooth base. Make sure the underlayment you pick works well with both your wood flooring and tile to promote proper adhesion and stability.
For added waterproofing and soundproofing, especially if you’re installing floating wood floors, pick an underlayment that offers those benefits. When you install the underlayment, be sure to carefully seal seams and edges to keep moisture out.
Following these steps will give you a solid, moisture-resistant foundation for your wood over tile project. It’s worth taking the time to do it right!
Choose Between Floating and Glue-Down Installation Methods
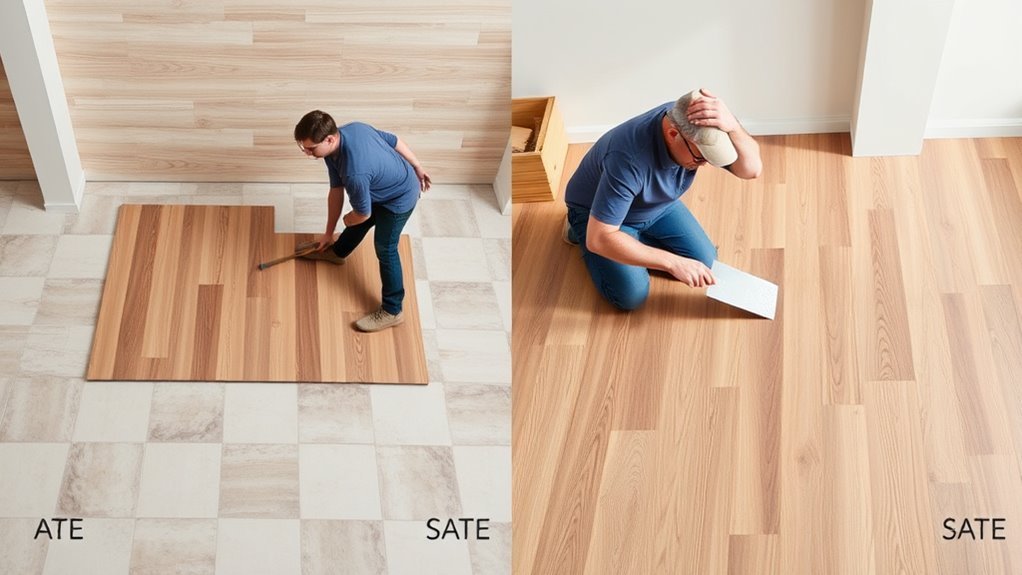
When deciding how to install wood flooring over tile, you’ll need to choose between floating and glue-down methods. Floating installation locks planks together over an underlay without bonding directly to the tile, making it a popular choice for DIY projects.
It handles minor subfloor imperfections well and speeds up installation but may feel less stable underfoot. On the other hand, glue-down installation uses adhesive to bond planks directly to the tile, offering greater stability and soundproofing, ideal for high-traffic areas.
However, this method demands thorough surface preparation and precise subfloor preparation to avoid moisture issues. Ultimately, your choice of installation method depends on your subfloor’s condition, desired stability, and whether you prefer a simpler DIY approach or a more permanent, professional finish.
Install Wood Planks With Proper Gaps and Alignment
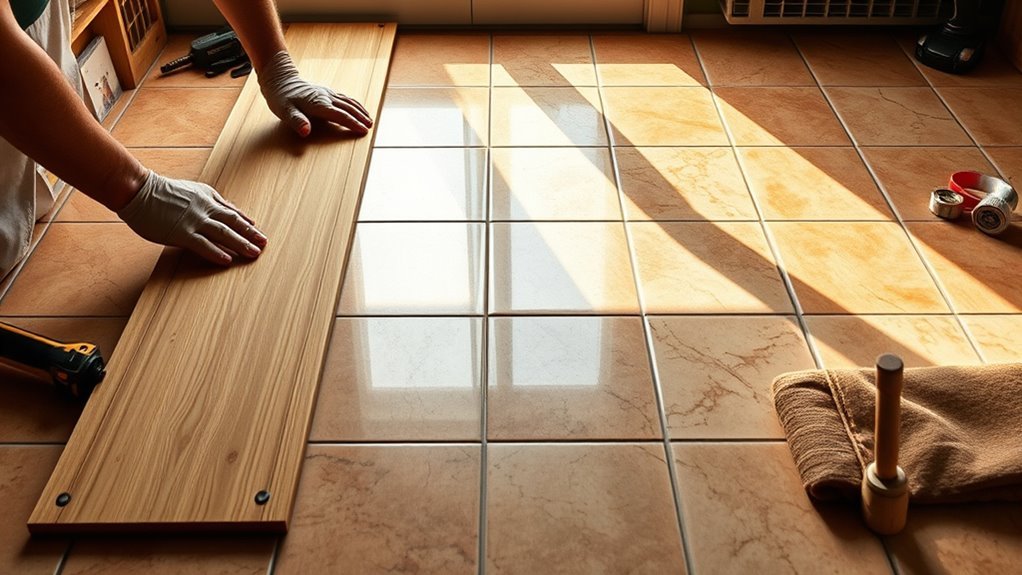
Choosing the right installation method sets the stage for laying your wood planks correctly. Start by leaving a consistent expansion gap of 10-15mm around the room’s perimeter to allow for natural wood movement.
Use spacers to maintain these gaps between the planks and walls during installation. For proper placement, verify plank alignment by checking each row with a straightedge or laser line, keeping a straight line throughout.
Stagger joints at least 6 inches between adjacent rows to enhance stability and visual appeal. Regularly verify plank alignment using a level or straightedge to avoid crooked seams.
Maintaining consistent gaps and straight rows ensures your wood floor over tile looks professional and lasts long. Proper alignment and spacing make all the difference in your flooring project’s success.
Add Transition Strips and Trim to Finish Your Wood Over Tile Floor
Although your wood floor installation looks great, adding transition strips and trim is essential to cover expansion gaps and create smooth connections to other surfaces. Start by measuring the spaces where your wood meets tile or carpet to guarantee a seamless transition.
Use bullnose or T-molding transition strips to bridge any height differences and provide proper leveling, preventing tripping hazards. Secure fastening with nails or adhesive keeps the strips firmly in place, assuring durability.
Finally, install matching or complementary trim around the edges to cover gaps and enhance the floor finish. This step not only protects your wood but also gives your installation a polished, professional appearance.
Taking your time here guarantees a flawless, long-lasting wood-over-tile floor you’ll be proud of. Trust me, it’s worth the effort!
Frequently Asked Questions
Can You Install Wood Over Tile?
Yes, you can install wood over tile if you clean, level, and dry the surface first.
Make sure to use the proper underlayment or leveling compound. Then, follow your wood flooring’s installation method for a secure, lasting finish.
How to Cover Tiles With Wood?
To cover tiles with wood, you’ll start by cleaning and repairing the tile surface. This step is important to make sure everything is smooth and ready for the next layers.
Next, apply a bonding agent to help the materials stick properly. After that, install a suitable underlayment to create a stable base for your wood flooring.
Finally, lay your wood flooring using either a floating or glue-down method. This will give you secure, durable results that look great and last a long time.
How to Attach Wood to Tile?
You’ll want to sand and prime the tile first for better grip. Then, spread flexible adhesive evenly with a notched trowel.
Press the wood firmly onto the tile and hold it until the glue sets completely. This way, you’ll make sure everything sticks just right.
How to Lay Wooden Flooring Over Tiles?
You’ll start by cleaning and leveling the tile, then apply a primer and moisture barrier if needed.
Choose floating or glue-down installation, lay the wood planks, and finish by leaving expansion gaps around the room’s edges.
It’s pretty straightforward once you get the hang of it! Just take your time with each step to make sure everything fits perfectly.
Conclusion
Now that you’ve mastered installing wood over tile, your floor will look so amazing it could stop traffic!
By cleaning, leveling, and drying your tile, choosing the right underlayment, and deciding between floating or glue-down methods, you’re set for success. Don’t forget those essential gaps and alignment for a perfect fit.
Finishing touches like transition strips and trim really pull the look together. You’ve got this—your new wood floor will transform your space beyond your wildest dreams!
Installing wood over tile might seem tricky at first, but with the right steps, it’s totally doable. This method not only refreshes your floors but also adds warmth and style to any room. So go ahead, follow these tips, and enjoy your beautiful, durable wood floor for years to come!