Do It Yourself Wood Signs in 3 Easy Steps
To make a DIY wood sign in three easy steps, start by choosing smooth, durable wood like 3/4″ birch plywood. This type of wood is perfect for creating beautiful, lasting wood signs. Gather your paints, brushes, and sealing supplies to have everything ready before you begin.
Next, sand and prime the wood to prepare a smooth surface. This step helps your paint go on clean and crisp. After priming, apply your base coats for a fresh, even finish.
Finally, transfer your design using transfer paper, then paint it in carefully. Once your design is complete, seal your work with a weatherproof topcoat. This protects your sign for outdoor use and keeps it looking great over time.
Keep exploring, and you’ll master every detail for lasting, beautiful signs.
Key Takeaways
- Choose smooth, durable 3/4″ birch plywood for a sturdy, paint-ready wood sign base. It’s the perfect foundation for your project.
- Sand the wood surface thoroughly and apply primer to ensure smooth, even paint adhesion. This step really helps your paint go on nicely.
- Use painter’s tape and transfer paper to outline your design accurately on the wood. It makes painting your design so much easier and cleaner.
- Paint your design with acrylic, chalk, or latex paints, allowing each coat to dry fully. Take your time here to get the best results.
- Seal the finished sign with a clear weatherproof topcoat to protect against outdoor elements. This will keep your sign looking great for a long time.
Choose Wood for Your DIY Wood Sign and Gather Supplies
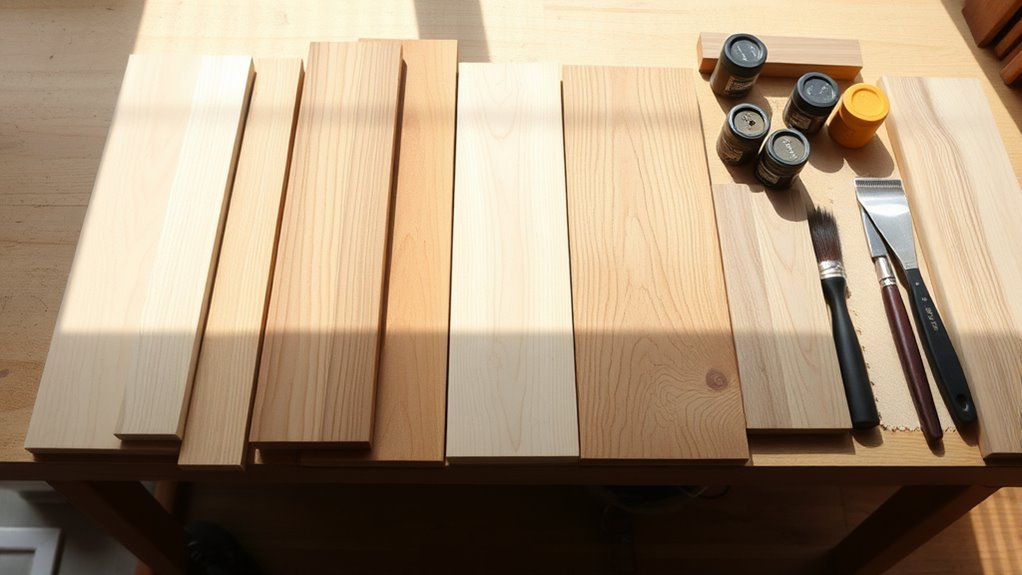
Before you start your DIY wood sign project, choose a high-quality, smooth wood like 3/4″ birch plywood to guarantee durability and a clean finish. Avoid thin or warped plywood, such as 1/4″ sheets, since they can warp and make painting or attaching decorations tricky.
Once you have your wooden base, gather your essential supplies: paint (latex, chalk, or acrylic), brushes, foam rollers, painter’s tape, and primer if needed. For tools, get a saw or pre-cut plywood panels, a hammer or nail gun for framing, sandpaper to smooth edges, and sealing products for outdoor signs.
Planning your design with a ruler, pencil, or transfer paper helps you prep efficiently. Having the right wood, materials, supplies, and tools sets you up for a flawless DIY wood sign.
Prep and Paint Your Wood Sign Base
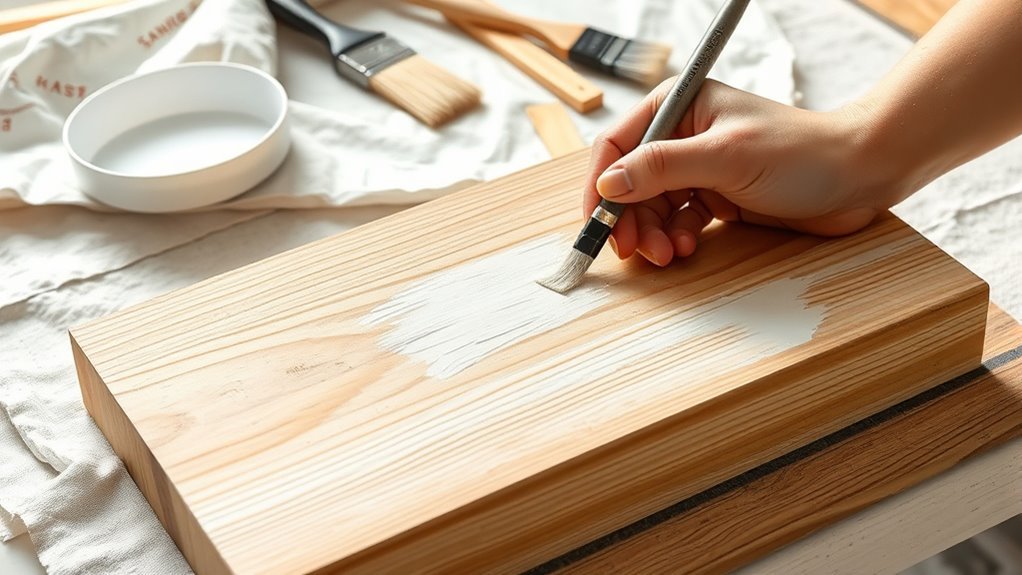
Once you’ve selected your wood, sand the surface thoroughly with 220 grit sandpaper to eliminate splinters and create a smooth, paint-ready finish. Sanding guarantees the wood surface is even and ready for primer application.
Next, apply a primer coat if you plan to use latex or acrylic paint. This step improves adhesion and helps you get a vibrant, long-lasting paint finish.
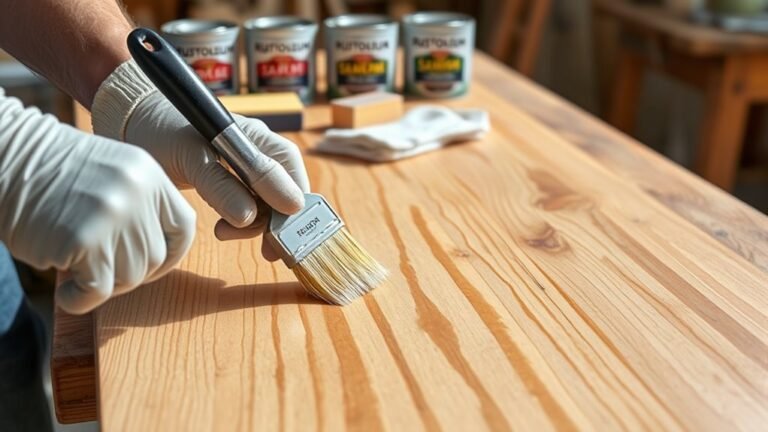
After the primer dries, use craft paint, chalk paint, or exterior paint to cover the wood in one or two even coats. Make sure to let each layer dry completely before adding the next.
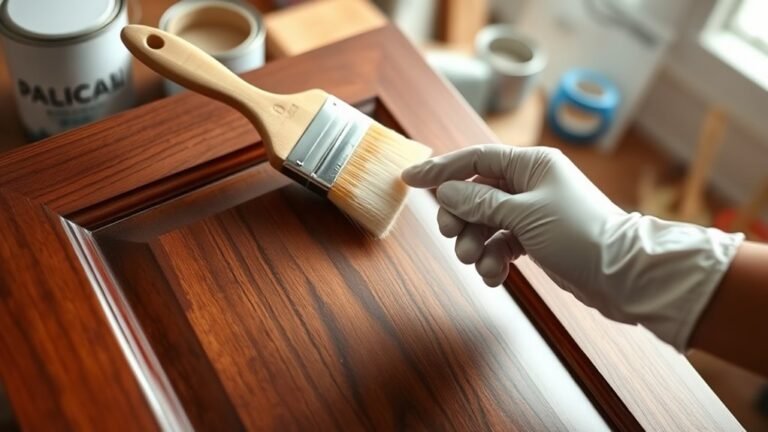
Finally, if you’re making outdoor signs, protect your painted surface by sealing it with a clear weatherproof topcoat. This sealing step guards against moisture and UV damage, keeping your DIY wood sign looking great for years.
Transfer Your Design and Finish Your Wood Sign
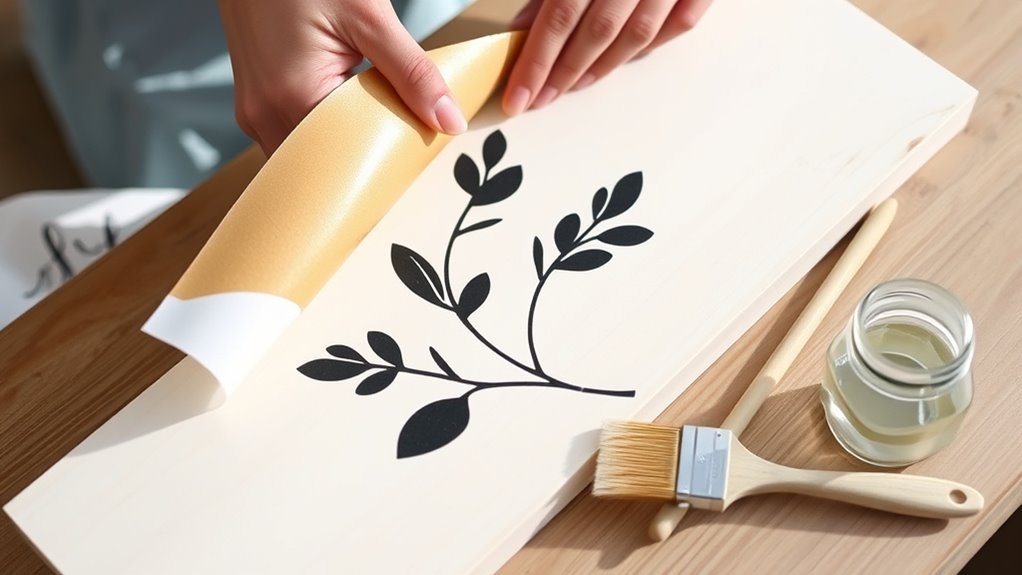
When you’re ready to bring your design onto the wood, position transfer paper face down and tape it securely to keep it from shifting while you trace. Use a stylus or ballpoint pen to carefully trace the design outline, applying steady pressure to transfer it onto your wood sign.
Remove the transfer paper gently to reveal the transferred outline. Next, fill in your design with paint or markers for a clean, precise look.
Finish your DIY project by applying a protective topcoat to preserve the painting and enhance durability.
| Step | Action |
|---|---|
| 1. Transfer | Secure transfer paper & trace |
| 2. Reveal | Remove paper to see outline |
| 3. Painting | Fill in design with paint |
| 4. Finishing | Apply protective topcoat |
Frequently Asked Questions
How Can I Make My Own Wooden Signs?
You can make your own wooden signs by selecting quality wood, transferring your design with templates or freehand, painting carefully with layers, sealing for protection, and adding hardware to hang or display your personalized creation confidently.
First, pick out some good wood that fits your style and size needs. Then, transfer your design onto the wood using templates or just freehand it if you’re feeling creative.
Next, paint your design carefully, adding layers to make the colors pop and last longer. Once the paint’s dry, seal the wood to protect your sign from wear and weather.
Finally, add the hardware you need to hang or display your sign. That way, you can show off your personalized creation with confidence!
How to Make an Easy Sign?
You’ll nail an easy sign by choosing smooth wood, painting the background, and then transferring and filling in your design carefully.
Don’t rush drying or sealing—it’s the secret to a lasting, polished look you’ll love.
What Is the Best Type of Wood to Use for Making Wooden Signs?
You’ll want to use 3/4″ thick birch plywood for smoothness and durability. It’s a solid choice that holds up well.
For outdoor signs, cedar, pine, or oak work great. These woods can handle the elements better and last longer outside.
Just avoid thin plywood because it warps and doesn’t hold paint well over time. Thicker wood really makes a difference in the final look and lifespan.
How Do I Make My Own Custom Sign?
You start by choosing smooth wood, then transfer your design using carbon or graphite paper.
Next, carefully paint or stencil the design with light coats.
Finish by sealing and adding hardware before displaying your custom sign.
It’s pretty simple once you get the hang of it! Just take your time and enjoy the process.
Conclusion
Now that you’ve created your own wood sign in just three simple steps, you might wonder if DIY truly saves time and money. While buying pre-made signs seems quicker, crafting your own adds a personal touch no store can match.
Plus, the hands-on process can be surprisingly relaxing and rewarding. So, don’t just follow the trend—embrace the creativity and satisfaction that comes with making something uniquely yours.
DIY wood signs are not only budget-friendly but also give you full control over the design and style. When you make your own wood sign, you’re investing in a project that brings both fun and fulfillment. It’s a great way to express your creativity while saving money and enjoying the process from start to finish.