How to Do and Install a Wood Burning Stove in 10 Easy Steps
To install a wood burning stove in 10 easy steps, start by choosing a safe location with proper clearances. Make sure to install non-combustible floor and wall protection to keep everything safe.
Next, inspect or install a suitable chimney or vent system. Then, assemble and securely connect the stove and stovepipe.
Seal all joints carefully, add safety features like chimney caps and gaskets, and perform a test burn to guarantee a good draft.
Learn fire-starting techniques and follow safety precautions for safe, efficient use.
Keep going to uncover tips for mastering each step.
Key Takeaways
– Choose a safe installation site with proper clearances. Install non-combustible floor and wall protections around the stove.
This helps prevent any fire hazards and keeps your home safe.
– Inspect and select a suitable UL-approved chimney or venting system. Make sure it has the proper height and clearances above the roof and nearby structures.
Getting this right is crucial for good airflow and safety.
– Assemble and securely connect stovepipe sections to the stove’s flue collar. Seal all joints with high-temperature cement and screws.
This ensures no smoke leaks and keeps everything tight.
– Perform smoke leak tests and draft assessments using smoke pencils or incense. This helps verify proper draft and seal integrity before you light the stove.
Taking this step prevents any surprises later.
– Light an initial fire with kindling and newspaper. Monitor draft performance and adjust vents for optimal burn and safety during operation.
With these steps, your wood burning stove will work efficiently and safely.
Choose the Right Location for Your Wood Stove
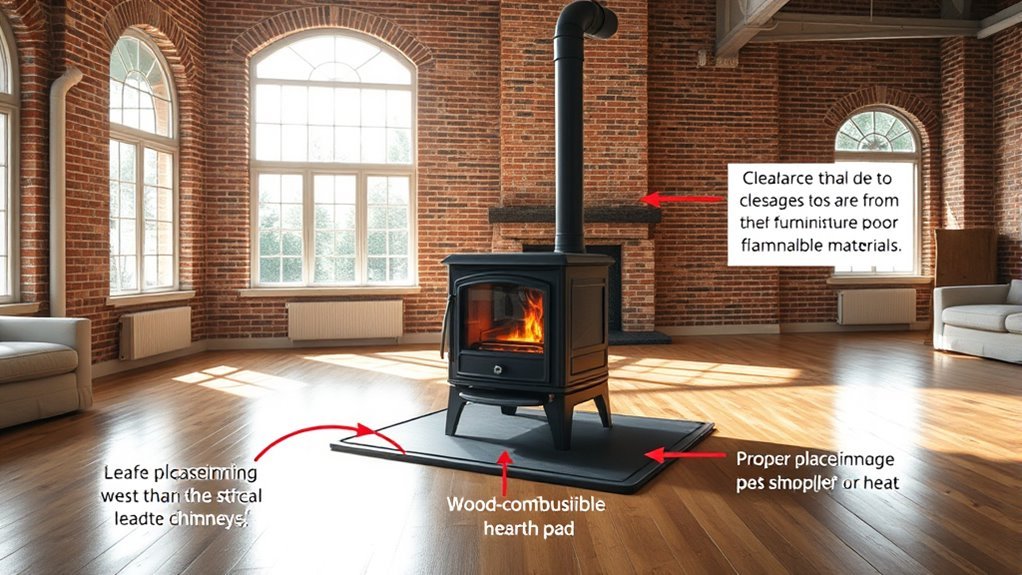
Before installing your wood stove, you’ll need to choose a location that meets safety and functionality requirements. Make sure there’s at least 18 inches of clearance from any walls unless you use proper shields or fireproof barriers. This clearance prevents heat damage and reduces fire risk.
Check that the spot allows for efficient venting by connecting to a properly installed chimney or flue system. Avoid areas with drafts or excessive moisture, as these can disrupt airflow and reduce safety.
Position your stove where it can distribute heat evenly throughout the room and where you can safely load wood and perform maintenance. Following these guidelines guarantees your stove operates safely and effectively in your home with the right balance of clearance, venting, and fireproof protection.
Prepare the Floor and Wall Protection
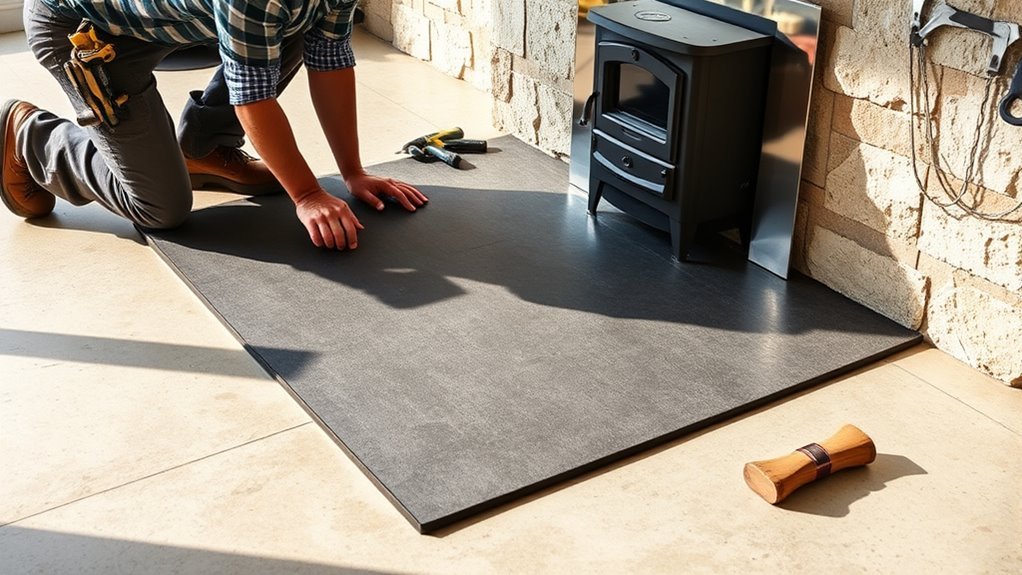
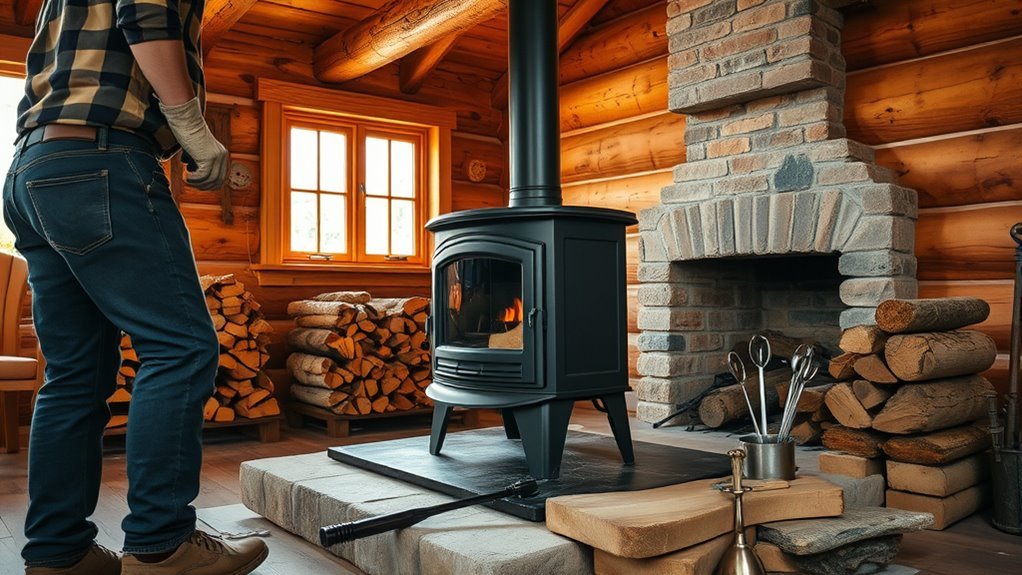
When installing your wood stove, you’ll need to prepare the floor and wall with proper protective materials to prevent fire hazards. Start by installing a non-combustible floor protection that extends at least 8 inches around the stove and 18 inches in front of loading doors. Use materials like concrete slabs, UL-listed stove boards, or ceramic tile over cement underlayment.
For wall protection, choose fire-resistant options such as brick, stone, or cement board. Make sure to keep a minimum 1-inch air gap between the wall and any shields or panels you mount. Secure the floor protection firmly to avoid shifting or gaps exposing combustible surfaces.
Always check that your floor and wall protection meet local building codes and manufacturer requirements for safe clearance and heat resistance. And don’t forget to regularly inspect these protections to maintain their integrity over time. It’s better to be safe than sorry!
Select and Inspect the Chimney or Venting System
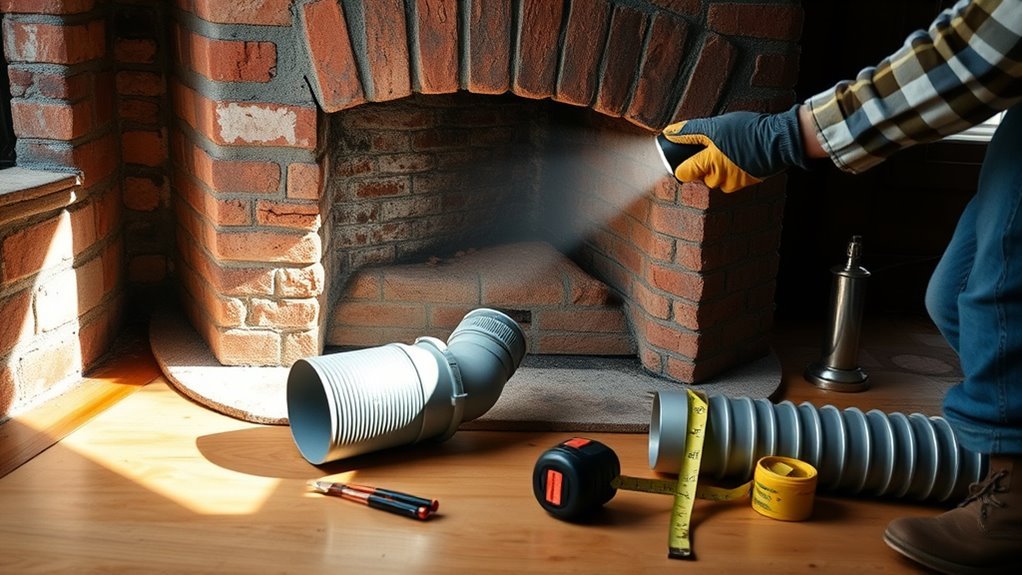
Although selecting and inspecting the chimney or venting system might seem challenging, making certain you have a UL-approved stainless steel Class “A” pipe or a solid masonry chimney is essential for safety and efficiency.
Start by confirming the chimney extends at least 3 feet above the roof and 2 feet above any nearby structures within 10 feet to ensure proper draft.
Ensure your chimney rises 3 feet above the roof and 2 feet above nearby structures within 10 feet.
Perform a thorough inspection to check for oversize flues, uninsulated sections, or poor clearances.
If the existing chimney has issues, consider relining it with a UL-approved stainless steel liner.
Also, make sure the chimney is capped with a spark arrestor and weatherproof cover to keep out debris and animals.
Ultimately, verify that the stovepipe connects securely without passing through unapproved openings or unlined spaces.
Assemble the Stove and Stovepipe Components
Ensuring your chimney and venting system are properly set up lays the groundwork for safely assembling your wood stove and stovepipe components. Start by unboxing all parts, checking for damage and completeness.
Assemble stovepipe sections with three sheet metal screws per joint, sealing with furnace cement if needed. Connect the stovepipe to the stove’s flue collar securely and level.
Use double-wall stovepipe for closer clearances, following manufacturer guidelines. Adjustable slip joints help fit heavier gauge pipes and allow trimming for proper clearance.
| Step | Feeling |
|---|---|
| Unboxing components | Anticipation |
| Screwing stovepipes | Control |
| Sealing joints | Assurance |
| Connecting flue collar | Confidence |
| Adjusting pipes | Satisfaction |
Install the Chimney or Relined Masonry Flue
Properly installing your chimney or relined masonry flue is essential for safe and efficient stove operation. First, verify the chimney or flue is correctly sized and insulated. It should extend at least 3 feet above the roof or 2 feet above any nearby structure within 10 feet to maintain ideal draft.
For masonry chimneys, inspect for damage and consider relining with UL-approved stainless steel liners if the flue is oversized, uninsulated, or deteriorated. Use UL-approved stainless steel or insulated Class “A” chimney systems, securely supported, and extending the required height.
Don’t forget to install a spark arrestor cap on top to prevent ember escapes and debris entry. Proper installation ensures your wood stove vents safely and performs efficiently.
Connect and Secure the Stovepipe to the Chimney
When you connect the stovepipe to the chimney, use UL-approved pipe and secure each joint with three sheet metal screws to guarantee a tight fit. Start by attaching the stovepipe to the stove’s flue collar, making sure each section fits snugly but isn’t over-tightened, allowing for expansion.
When connecting to a masonry chimney or liner, insert the stovepipe securely into the chimney collar; use furnace cement if needed for added stability. Keep a minimum clearance of 18 inches between the stovepipe and any combustible materials unless using approved heat shields or double-wall pipe.
After installation, regularly inspect and tighten all stovepipe connections to maintain a safe and efficient draft. Properly connecting and securing the stovepipe ensures your wood stove operates safely and effectively.
Seal Joints and Install Safety Features
You’ll want to securely seal all stove pipe connections using high-temperature cement and screws to prevent smoke leaks. Make sure to install a chimney cap with a spark arrestor to keep embers contained and block debris or animals from entering.
These steps are essential for maintaining safety and ensuring your stove runs efficiently. Taking the time to do it right will give you peace of mind and help your stove work better.
Secure Stove Connections
Although installing the stove is a critical step, sealing all joints and securing connections guarantees your wood burning stove operates safely and efficiently. First, make sure to use high-temperature, UL-listed furnace cement to seal every stove-to-stovepipe and pipe-to-chimney joint, ensuring airtight connections.
Secure each joint with at least three sheet metal screws to prevent leaks and maintain stability. Maintain proper air space around connections to avoid heat buildup and fire hazards.
Use approved fire-resistant gaskets around doors and access points to stop smoke and gas leaks. Finally, ensure all stovepipe connections are rigid, well-supported, and free of gaps or loose fittings.
These steps not only enhance safety but also improve your stove’s performance and longevity. Taking the time to get it right now will save you headaches later!
Install Chimney Safety Caps
After securing all stove and stovepipe connections, focus on installing chimney safety caps to protect your home and maintain proper venting. Installing these safety features ensures chimney safety and prevents hazards.
Start by sealing all joints with high-temperature furnace cement and securing them with sheet metal screws to avoid leaks. Next, install UL-approved chimney caps with mesh screens to keep debris and animals out.
Most importantly, fit a spark arrestor cap atop the chimney to prevent embers from escaping and reduce fire risk. Remember, regular inspection and replacement of damaged caps and seals keep your system safe and efficient.
Follow these steps for peace of mind:
- Seal and secure all stovepipe and chimney joints tightly.
- Install chimney caps with mesh screens for debris protection.
- Fit a spark arrestor cap to prevent ember escape.
Perform a Test Burn and Check Draft Performance
Start your test burn with small, dry kindling to ignite the fire and observe the draft flow. Watch the smoke carefully to verify it rises steadily through the chimney without backing up into the room.
Use a smoke pencil or incense stick around joints to check for leaks or draft issues before proceeding. This way, you can catch any problems early on. It’s a simple step but really important!
Initial Fire Ignition
Before you ignite your first fire, make sure the chimney or flue is clear and properly installed to guarantee a strong draft.
For a successful ignition, follow these steps carefully:
- Crumple 3-4 sheets of newspaper into small balls and place them on a log at the back of the stove as kindling.
- Cross small pieces of kindling over the newspaper to allow good oxygen flow and improve ignition.
- Light a match and ignite the paper from the back, then close the stove door partially to control airflow.
As the fire grows, observe the chimney’s draft performance. A steady upward airflow and a clean, efficient burn signal you’re ready to add larger firewood.
This ensures safety and warmth every time you use your stove. Easy, right? Just take it step by step!
Draft Flow Assessment
When you perform a test burn, you can quickly assess whether your wood burning stove’s draft is strong and steady by observing the smoke flow and adjusting vents accordingly. Start by lighting a small fire and watch the smoke flow smoothly up the chimney without backing into the room.
Use a smoke test, like a smoke match or incense stick near the stove’s top, to see if the smoke is drawn steadily upward—this confirms good draft flow. Measure the chimney’s draft pressure with a manometer; aim for a negative pressure of at least -0.02 inches of water.
If you notice smoke spillage or difficulty igniting the fire, check for obstructions or leaks. Adjust vent and damper settings to create a consistent, strong draft before regular use. It’s pretty straightforward once you get the hang of it!
Smoke and Leak Check
Although performing a test burn might seem simple, it’s essential for checking your wood stove’s draft and identifying any smoke leaks. Start with a small fire to observe smoke flow and ensure the draft pulls smoke upward efficiently.
During the smoke leak test, briefly open the stove door to see if smoke escapes into the room. Next, carefully inspect all seals around doors, seams, and connections.
To make sure everything’s tight and safe, follow these steps:
- Use a smoke pencil or incense stick around door gaskets and vent joints to detect leaks.
- Watch for steady, upward smoke flow confirming proper draft.
- Adjust vent controls or replace seals to fix leaks and improve draft performance.
This way, you’ll make sure your stove operates safely and efficiently. It really helps keep things running smoothly!
Learn Proper Fire Starting and Maintenance Techniques
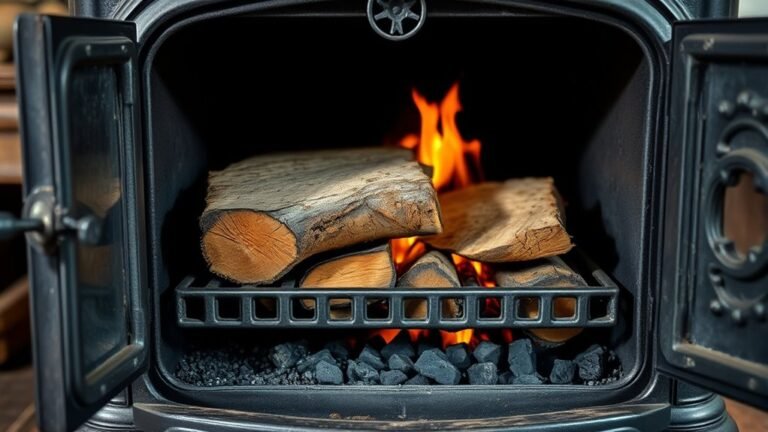
Since proper fire starting and maintenance are key to a safe and efficient wood stove, you’ll want to begin by placing crumpled paper and small kindling on a log inside the stove. Make sure there’s enough airflow to ignite the fire quickly.
The first thing you do is light the paper at the friction plate, leaving the door slightly open for oxygen. Once flames are steady, add larger firewood and close the door securely.
Adjust vents to control the burn rate. The Wood Stove Protection Association recommends using leather gloves when adding logs and regularly monitoring the fire to avoid smoldering or excessive embers.
| Step | Action |
|---|---|
| Start Fire | Paper & kindling on log |
| Ignite | Light at friction plate |
| Build | Add larger logs gradually |
| Maintain | Adjust vent; wear gloves |
Implement Safety Precautions and Emergency Procedures
Because using a wood burning stove involves open flames and heat, you must prioritize safety to protect yourself and your home. Whether your Wood Stoves are part of a new construction or a retrofit, following safety precautions is vital.
Always close the stove door when burning a piece of wood to prevent sparks and smoke from escaping. Install smoke and carbon monoxide detectors near the stove and test them regularly. Keep a fire extinguisher rated for wood fires within reach and ensure everyone knows how to use it.
- Regularly inspect and clean the chimney to prevent dangerous creosote buildup.
- Develop and practice an emergency evacuation plan with clear routes and safe spots.
- Never leave the stove unattended while in use.
Safety isn’t optional—it’s indispensable. Just take these simple steps, and you’ll keep your home safe and cozy.
Frequently Asked Questions
How to Start a Wood-Burning Stove Fire?
You start by placing crumpled paper on a small log, cross kindling on top, push the vent lever in fully, light the paper, and leave the door slightly open to guarantee good airflow and help the fire catch quickly.
It’s a simple process but super effective. Just make sure the airflow is good, and you’ll have your fire going in no time!
How to Install a Wood Stove in a Garage?
You’ll want to guarantee proper ventilation, install a UL-approved chimney extending above the roof, and use non-combustible floor protection.
Also, make sure to maintain clearances from combustibles. It’s really important to check local codes before installing your wood stove safely in the garage.
How to Install a Wood-Burning Stove in an Existing Fireplace?
You’ll line the chimney with a UL-approved stainless steel liner and remove old components. Then, install a flexible pipe from the stove through the damper.
Make sure to seal all connections properly. Add non-combustible floor protection too.
Also, double-check that clearances meet local codes. This keeps everything safe and up to standard.
Can You Install Your Own Wood-Burning Stove?
Yes, you can install your own wood-burning stove if you follow local codes, safety guidelines, and manufacturer instructions carefully.
Just guarantee proper clearances, venting, and floor protection, or consider hiring a professional for complex setups.
Conclusion
Now that you’ve mastered these 10 easy steps, your wood burning stove will be the heart of your home, radiating warmth and comfort like a cozy hug on a chilly night. With careful installation and proper care, you’ll enjoy crackling fires safely and efficiently for years to come.
Remember, a well-tended fire isn’t just heat—it’s a glowing symbol of home. Installing a wood burning stove correctly ensures safety and maximizes heat output, making your living space inviting and eco-friendly.
Stay safe, keep learning, and let your stove light up your life! Embrace the charm and practicality of your new wood burning stove, and enjoy countless cozy evenings ahead.