How Do You Craft a Sign in 7 Easy Steps
To craft a sign in 7 easy steps, start by choosing a clear design and message that fits your space. Picking the right wood, paint, stencils, and tools is key to making your sign stand out. These materials set the foundation for a creative and professional-looking project.
Next, prep your wood surface by sanding and cleaning it well. This helps the paint or vinyl stick better and last longer.
Then, create or get your stencil or vinyl design ready to apply.
Apply paint or vinyl carefully to bring your design to life.
Once dry, seal your sign to protect it from wear and weather.
Finally, add hardware for display or gift-wrapping.
Follow these steps closely, and you’ll soon create a beautiful, professional-looking sign with ease.
Key Takeaways
- Plan your design, message, and materials, ensuring wood is clean, smooth, and suitable for your sign’s environment.
- Create or obtain a precise stencil or vinyl design using software or cutting machines for clean lettering.
- Carefully apply the stencil or vinyl to the wood, smoothing out bubbles and ensuring proper positioning.
- Paint or apply vinyl to the wood, removing stencils while paint is tacky for crisp edges, then seal the design.
- Attach hanging hardware or stands for display, and protect outdoor signs with periodic resealing for durability.
Choose Your Design and Message
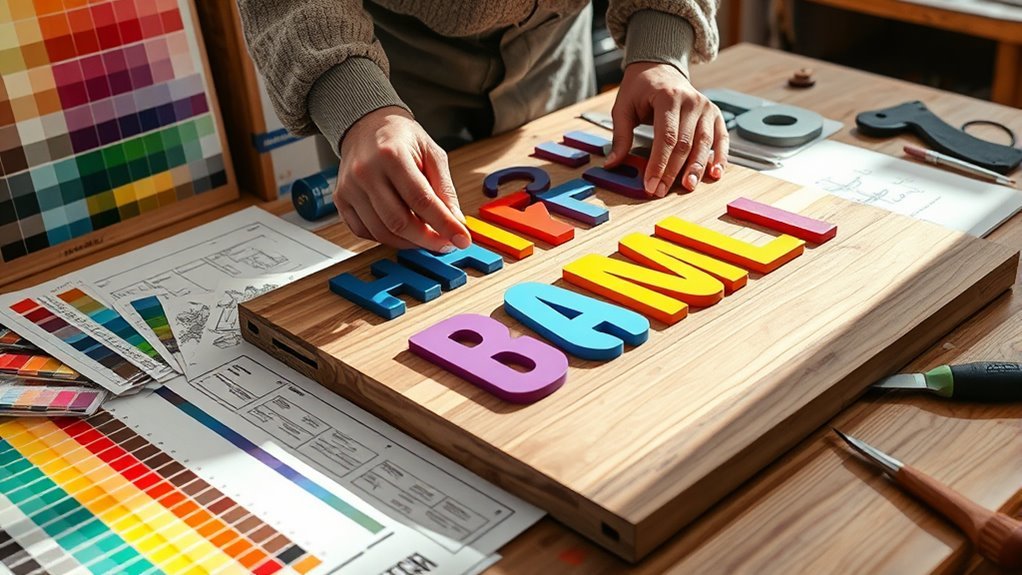
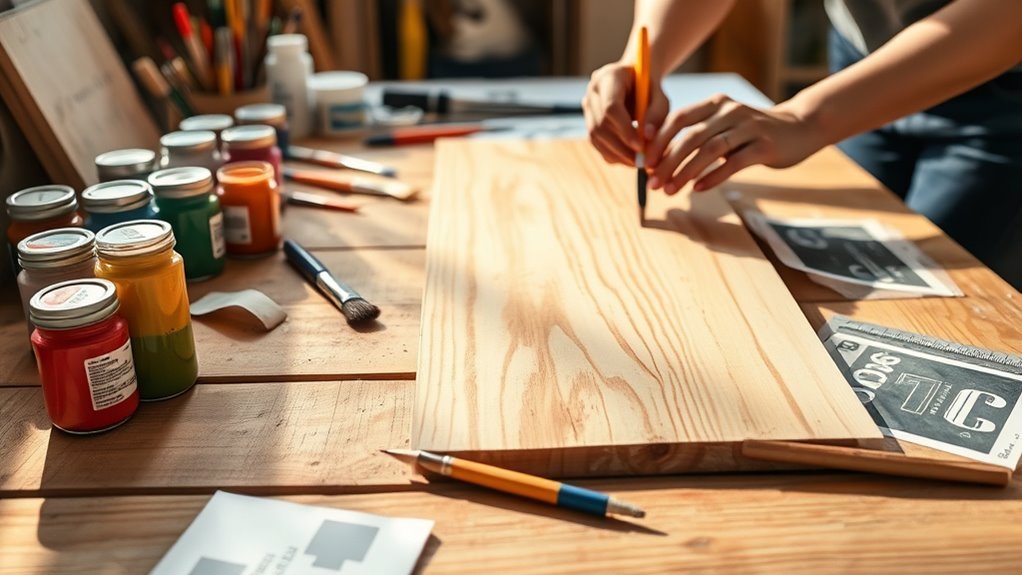
How do you decide what your sign should say and look like? Start by choosing a clear message that fits your space, like “Welcome” or “Home Sweet Home.”
Next, pick a font style that matches your decor—rustic, modern, or playful—to set the right tone. If you’ve just opened a new account with a design platform, use their templates to create a digital layout for precise text placement.
Consider the size and spacing carefully so your message is readable from a distance. When selecting your paint color, make sure it complements the background and enhances visibility.
Vinyl stencils can help you achieve sharp, professional-looking edges. By planning your design and message thoroughly, you’ll create a sign that’s both beautiful and effective.
Gather Materials and Tools
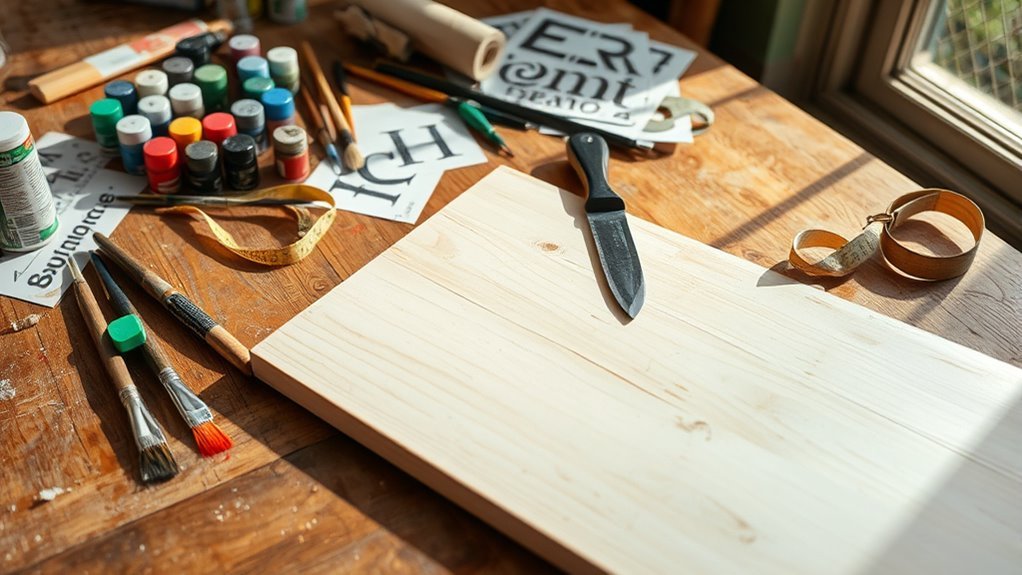
Once you’ve settled on your sign’s design and message, it’s time to gather the materials and tools needed to bring your vision to life. Start by collecting scrap wood, plywood, or reclaimed wood at least 1/2 inch thick to guarantee durability.
Begin by choosing sturdy wood—scrap, plywood, or reclaimed—at least ½ inch thick for lasting signs.
Next, grab essential tools like a table saw, miter saw, finish nailer, measuring tape, and clamps for accurate cutting and assembly. Don’t forget safety gear—goggles, masks, and gloves—to protect yourself during cutting, sanding, and painting.
Prepare your paint, stain, or finish supplies along with brushes or markers for decorating. If you plan to add lettering or designs, obtain vinyl stencils, transfer tape, and adhesive vinyl.
Having everything ready will make the crafting process smoother and more enjoyable. Trust me, it’s way easier when you’re not scrambling for stuff halfway through!
Select and Prepare Your Wood Surface
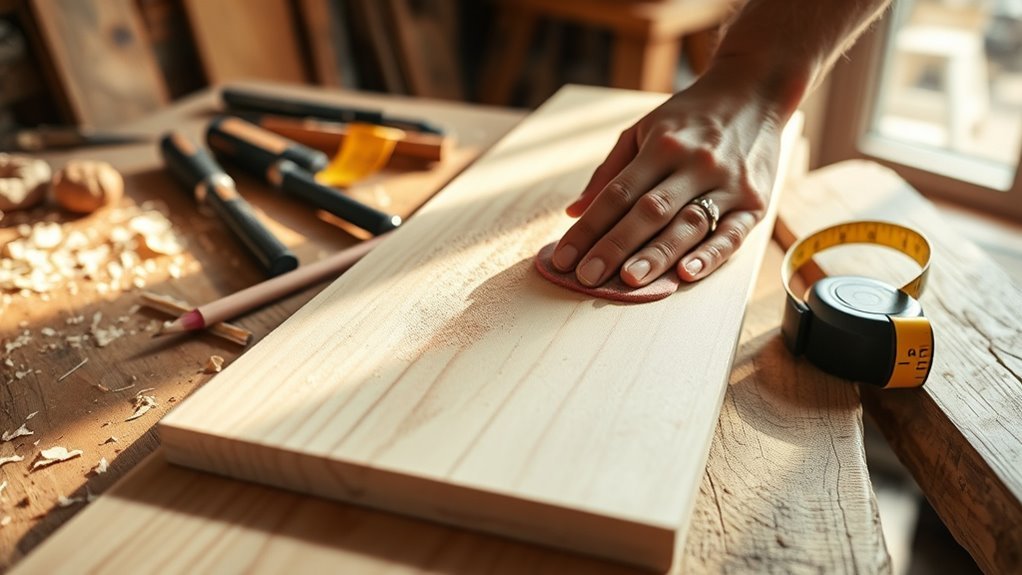
Start by choosing the right wood type based on where your sign will be displayed. Next, clean and sand the surface thoroughly to make certain paint sticks well.
Finally, prepare the wood by filling any cracks and wiping away dust before you begin painting. This way, your sign will look great and last longer!
Choosing Wood Types
Which wood type suits your sign best depends on where and how you’ll display it. For outdoor signs, plywood and redwood are excellent choices.
Plywood’s layered veneers make it strong and durable, while redwood offers natural rot resistance and a rich reddish hue that stands up well to the elements. If you want a sleek, modern look, maple’s fine grain and smooth surface are perfect for detailed designs.
Alternatively, reclaimed wood brings a charming, weathered appearance and is an eco-friendly option. Each wood type offers distinct aesthetics and durability, so consider your sign’s environment and style before deciding.
Preparing your chosen wood properly guarantees your design looks sharp and lasts long. It’s worth taking the time to get it right!
Cleaning and Sanding
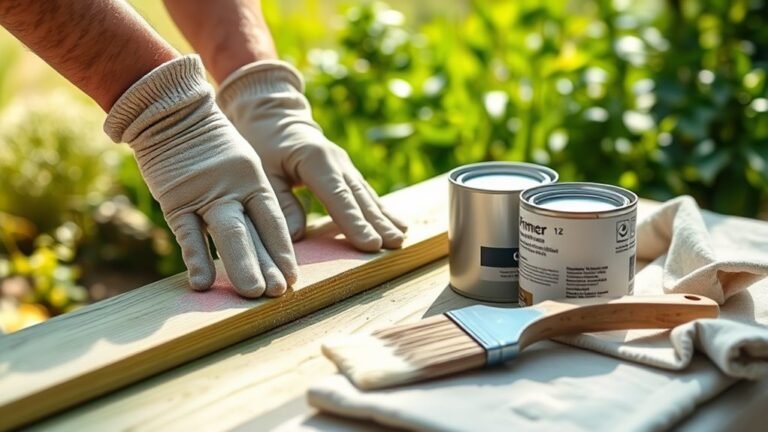
After selecting the right wood for your sign, you’ll want to clean and prepare its surface carefully. Start by wiping it down with a damp cloth to remove dust, dirt, and grease.
Take a good look at the wood for any cracks, knots, or rough spots. Fill these imperfections with wood filler to make sure the finish comes out smooth.
Next, sand the surface with 150-grit sandpaper. Always move with the grain to avoid scratches.
Once the surface feels even, switch to a finer grit—220 or higher—for a polished look.
After sanding, get rid of all the dust using a brush, cloth, or compressed air. Finally, wipe the wood with rubbing alcohol to eliminate oils and any leftover residue.
This thorough cleaning and sanding will prep your wood perfectly for painting or staining.
Surface Preparation Techniques
When selecting your wood surface, choose a smooth, flat piece like plywood, reclaimed wood, or MDF that fits your project’s indoor or outdoor needs. Start by cleaning it thoroughly with a damp cloth to remove dust, dirt, and oils.
Next, fill any cracks or knots with wood filler, then sand the entire surface evenly. Begin sanding with 150-grit sandpaper and work up to finer grits for a smooth finish. This step guarantees maximum adhesion for paint, stain, or vinyl.
After sanding, remove all dust using a brush, tack cloth, or compressed air. Finally, wipe the surface with isopropyl alcohol or a gentle cleaner to eliminate any leftover oils or debris. Let it dry completely before applying your finish.
Create or Acquire Your Stencil or Vinyl Design
How do you guarantee your sign’s design looks sharp and professional? Start by using design software or a cutting machine to create and cut your stencil or vinyl precisely.
Once cut, weed out excess vinyl or unwanted parts from the stencil, so only your intended design remains. If you’re working with vinyl, apply transfer tape with a grid over the design; this helps you position it accurately on your sign’s surface.
Carefully place the stencil or vinyl, pressing firmly to avoid air bubbles or gaps. For intricate designs, consider heat transfer vinyl and secure it with a heat press or iron.
These steps ensure your design is clean, crisp, and ready for the next phase of crafting your sign.
Apply Paint or Vinyl to the Wood
When you’re ready to apply paint or vinyl, choosing the right paint type makes a big difference in durability and finish. For vinyl, precise positioning and careful removal of transfer tape are key to a smooth look.
If you’re using stencils, timing your removal helps prevent smudging and keeps your design crisp. It’s all about being patient and attentive to the little details!
Choosing Paint Types
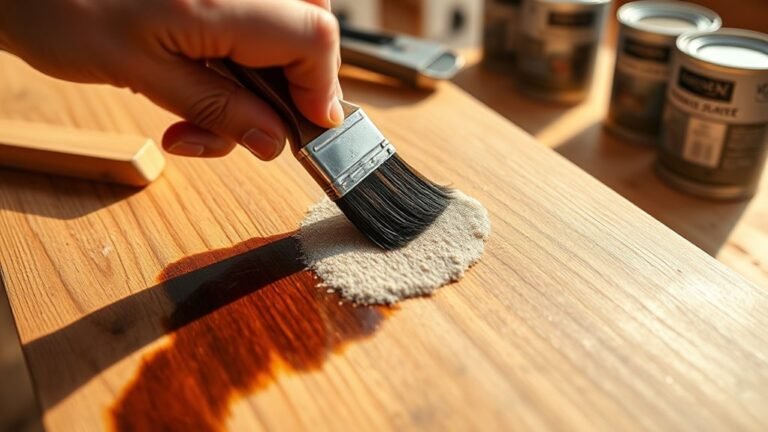
Why choose between paint and vinyl for your wood sign? Both have unique benefits that affect your sign’s look and durability. Acrylic paint offers vibrant colors that dry quickly and last long, but you’ll need multiple thin coats and a clear primer to avoid bleeding or chipping.
Vinyl decals provide crisp, precise edges without drying time—perfect for lettering or detailed designs. Here’s what to contemplate:
- Acrylic paint requires primer for better adhesion and longevity.
- Vinyl gives sharp, clean lines with no drying wait.
- Paint offers rich, customizable color but needs patience for even coats.
- Vinyl demands careful alignment to prevent bubbles or wrinkles.
Choose based on your desired finish, time, and detail level. It really depends on what look you want and how much time you have.
Vinyl Application Techniques
Where do you start applying vinyl to your wood sign for the best results? Begin by using a cutting machine to create precise vinyl stencils or decals with clean edges.
Next, apply transfer tape over the vinyl, burnishing it firmly to avoid bubbles and assure it sticks well before placing on the wood. Position the vinyl carefully on your prepared wood surface.
Then, smooth out air bubbles using a squeegee or credit card for an even finish. When ready, peel back the transfer tape slowly at a 45-degree angle, leaving the vinyl securely bonded without lifting or tearing.
Finally, seal the edges with a clear protective layer like Mod Podge or sealant to prevent paint bleed and boost durability. This technique guarantees a clean, professional-looking sign every time.
Stencil Removal Tips
After applying your vinyl stencil and paint to the wood, removing the stencil at the right moment guarantees clean lines and a polished look. You want to peel the stencil while the paint is still slightly tacky to avoid smudging or peeling.
Use a sharp craft knife or pin to lift the edges gently before peeling. Pull the stencil away at a 45-degree angle to keep the paint intact.
Here are four key tips for stencil removal:
- Remove vinyl stencils while paint is tacky for clean edges.
- Use a craft knife or pin to lift stencil edges carefully.
- Peel at a 45-degree angle away from the surface.
- For dried paint, mist edges with water to soften adhesive before removal.
Following these will keep your sign crisp and professional. Easy, right? Just take your time and you’ll get great results!
Seal and Protect Your Finished Sign
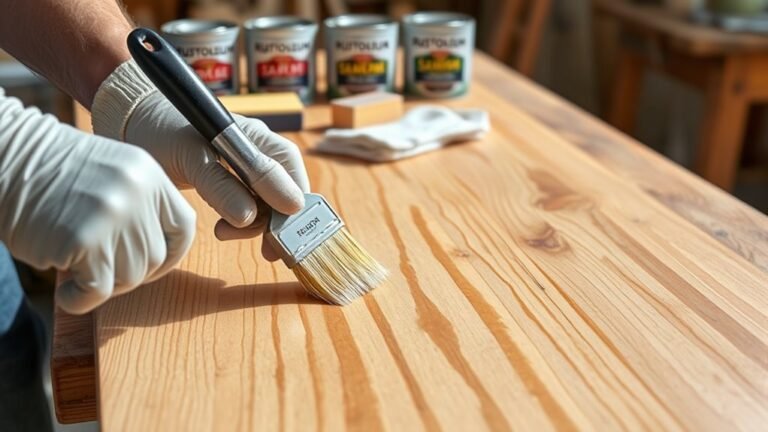
How can you guarantee your finished sign stays vibrant and durable over time? Start by applying a clear sealant like polyurethane, polycrylic, or epoxy resin to protect your paint and vinyl from moisture and damage.
Make sure you wait at least 24 hours after painting and applying vinyl so everything is fully dry. Use a foam brush or spray to apply light, even coats of sealant, preventing drips and ensuring a smooth finish.
Don’t forget to seal all edges and the entire surface, including the back, for full protection against wear and the elements. If your sign will be outdoors, plan to reapply sealant periodically to keep it looking fresh and strong over time.
Display or Gift Your Completed Sign
What’s the best way to showcase your finished sign? You can either display it proudly or gift it thoughtfully.
To display, attach wall hooks, sawtooth hangers, or D-rings to the back for secure hanging. Alternatively, place it on a stand or shelf for easy positioning.
If gifting, wrap your sign in protective packaging or decorative paper to keep it safe. Add a ribbon, bow, or personalized tag for a special touch.
Remember, if your sign goes outdoors, make sure the finish is weatherproofed.
- Attach hooks or hangers for secure wall display.
- Use stands or shelves to position signs easily.
- Wrap gifts with protective and decorative materials.
- Add ribbons or tags to personalize gift presentation.
Frequently Asked Questions
Where Can I Create a Sign for Free?
You can create a sign for free using online platforms like Canva, Adobe Express, or Crello. These tools are super user-friendly and have tons of templates to get you started.
You can also download templates from Pinterest or use free software like GIMP and Inkscape to design your sign yourself. It’s pretty cool because you get to customize everything exactly how you want it!
How to Craft a Wooden Sign in Minecraft?
You’ll gently combine one wooden plank with a stick in a vertical line on the crafting table. Place the plank below the stick, then grab your new wooden sign to share messages in your Minecraft world.
It’s pretty straightforward, right? Just a couple of items and you’re all set to make your mark!
How to Make a Simple Wooden Sign?
You cut a wooden plank and smooth its surface. Then, you paint or stain it.
Once it’s dry, add your message using stencils or freehand.
Finally, finish with a protective coat to make your simple wooden sign last longer.
What Is the Best Type of Wood to Use for Making Wooden Signs?
You’d think all wood’s perfect for signs, but plywood’s best for strength and cost. Redwood’s great if you want weatherproof charm, while maple’s smooth for details.
Choose wisely—you don’t want your masterpiece fading fast!
Conclusion
Now that you’ve crafted your sign step by step, you’ve proven that creativity and patience truly transform simple materials into something meaningful. It’s not just about making a sign—it’s about bringing your vision to life and sharing a message that matters.
Remember, every brushstroke or vinyl placement carries a piece of your story. So trust yourself, enjoy the process, and watch how your handmade sign can inspire and connect with others in ways you never imagined.
Crafting a sign is more than a project; it’s a journey of self-expression and creativity. By following these 7 easy steps, you’ve turned basic materials into a powerful piece of art that reflects your unique style. Keep experimenting, and you’ll see how crafting signs can be both fun and rewarding. Your handmade sign is ready to inspire!