Can You Stain Wood Filler?
You can stain wood filler, but it often absorbs stain differently than the surrounding wood. This difference can cause uneven color or patchiness, which is frustrating when you want a smooth, natural finish.
To get a natural look, you’ll need to pick a stainable filler and test it first. Using techniques like feathering and applying multiple thin coats really helps.
Keep in mind, sanding alone won’t fix issues like pore sealing or texture differences. So, blending and gradual color build-up are key to making the repair less noticeable.
Stick with it, and you’ll discover how to master a seamless finish that looks great every time.
Key Takeaways
- Most wood fillers close pores, making stain absorption uneven or impossible and causing color mismatches. So, you might end up with spots that just don’t look right.
- But don’t worry, stainable wood fillers exist. These are specially formulated to absorb stain more uniformly, which helps with getting a better match.
- You can also try pre-tinting the filler or applying stain after filling. This usually improves color matching and gives you a more consistent finish.
- It’s always a good idea to test the stain on the filler in a hidden area first. That way, you can see if they’re compatible and avoid any surprises.
- Plus, using some extra techniques like feathering, applying multiple coats, and blending can really help achieve a natural, seamless look. It’s all about patience and a bit of practice!
What’s Wood Filler : And How Does It Take Stain?
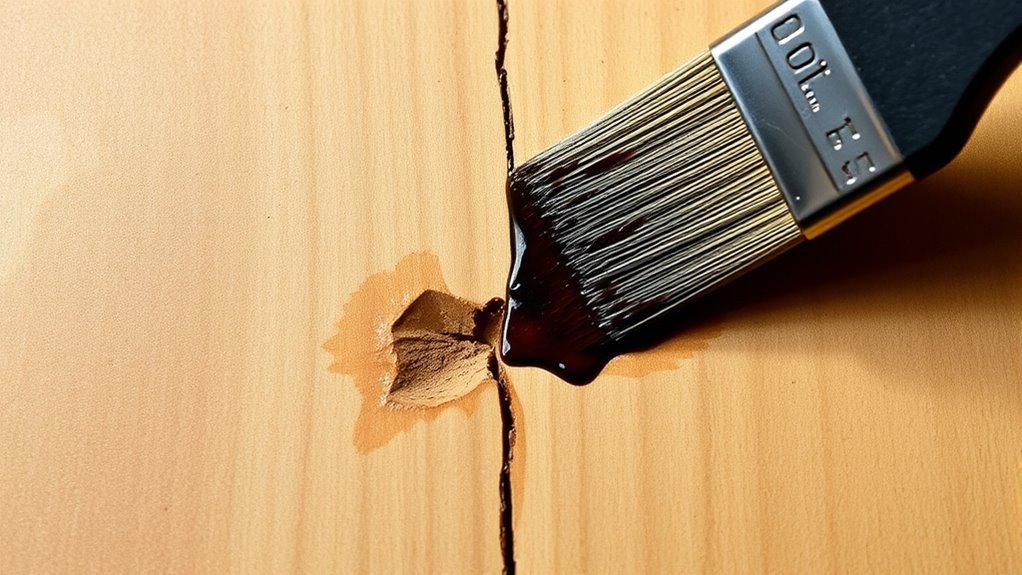
Although wood filler is essential for repairing holes and cracks, it doesn’t always take stain evenly. When you use stainable wood filler, you expect it to blend seamlessly with the surrounding wood.
However, many fillers close the wood’s pores as they dry, which can prevent stain absorption or cause color mismatches. Some fillers have a plastic-like texture that resists staining altogether, leaving light spots or patches that stand out.
The ability of stainable wood filler to match your wood depends on the filler type and the wood species. To get better results, you might try pre-tinting the filler or applying stain after filling.
Understanding how wood filler interacts with stain helps you choose the right product for a flawless finish.
Why Does Wood Filler Sometimes Stain Unevenly?

You’ll notice wood filler sometimes stains unevenly because it seals the wood’s pores, blocking stain absorption. The filler’s texture and porosity often differ from the surrounding wood, causing color mismatches.
Plus, if you don’t sand the surface smoothly, those irregularities can show up as light or uneven spots after staining. It’s all about how the filler interacts with the wood and the stain. So, taking your time to prep the surface really makes a difference.
Pore Closure Effects
When you apply wood filler, it often causes pore closure that stops stain from soaking in evenly, leading to patchy or lighter spots on the filled areas. This happens because many wood fillers create a sealed surface, especially thick or solvent-based ones, which blocks stain absorption.
Even sanding won’t fully fix pore closure, as some pores remain closed, causing uneven coloration.
| Filler Type | Pore Closure Level | Stain Absorption |
|---|---|---|
| Solvent-based | High | Low |
| Thick Paste | High | Low |
| Water-based | Medium | Medium |
| Light Putty | Low | Higher |
Understanding pore closure helps you predict where stains may not penetrate properly. It’s good to keep this in mind when choosing your filler, so you don’t get surprised by how your stain looks afterward.
Color Mismatch Issues
Because wood filler often blocks stain absorption by sealing pores, you might notice uneven color or mismatched patches after staining. This color mismatch happens because filler doesn’t absorb stain like natural wood does, leaving lighter or darker spots.
Some fillers even react chemically with the stain or wood tannins, causing unexpected discoloration. If you stain before the filler fully dries or use incompatible fillers, you’ll likely worsen these mismatches.
Even sanding the filler can’t always fix this, since it doesn’t restore the wood’s natural ability to absorb stain evenly. To minimize color mismatch, choose fillers designed to take stain well and allow them to dry completely before staining.
Otherwise, the repaired spots will stand out against the wood’s natural finish. So, it’s definitely worth taking the time to pick the right filler and be patient while it dries!
Sanding Limitations
Although sanding wood filler is a common step before staining, it doesn’t always guarantee an even finish. When you sand, you might expose uneven surfaces or damage the filler’s texture. This can make it harder for the stain to absorb uniformly.
Wood filler usually has closed pores or packed particles, which block stain penetration. This causes light spots or inconsistent coloring. Sanding too aggressively or against the grain can make things worse by roughening the filler’s surface. That prevents proper stain absorption.
Also, the size and texture of filler particles vary, and this affects how well the stain matches the surrounding wood. So, while sanding is necessary, it definitely has its limitations. Sometimes, you’ll need extra care or even alternative finishing techniques to get a consistent look.
How To Pick The Best Stainable Wood Filler

How do you choose the best stainable wood filler for your project? First, check the packaging to confirm the filler is stainable—most are, but it’s vital to verify. Look for brands like Minwax that offer consistent stain absorption and match well with specific woods such as oak or pine.
Texture matters too; fillers with a sandy or peanut butter-like feel spread easily and sand smoothly, making your job simpler. Color matching is key—you want a filler that either matches your wood’s natural color or takes stain well for a seamless finish.
Always test your chosen filler on scrap wood before applying it to your project. Some fillers can discolor or absorb stain differently than expected. This helps guarantee perfect results every time.
Best Stainable Wood Fillers For Different Woods
When choosing wood filler, you’ll want to match it to your specific wood type for the best stain results. For oak, Minwax Stainable Wood Filler works great.
On the other hand, Dap Plastic Wood-X suits pine better, even though it can be a bit tricky to stain. Using the right filler color and stain techniques will help you achieve a seamless finish every time.
Oak Wood Filler Options
Which wood filler works best for oak depends largely on how well it accepts stain and matches the wood’s natural color. Minwax Stainable Wood Filler is a top choice for oak because it stains evenly and blends well with oak’s warm tones.
While many fillers claim to be stainable, their performance on oak varies. For example, Dap Plastic Wood-X can darken oak with a cooler, mismatched tone, so you might want to avoid it if stain accuracy matters.
Fillers with a sandy texture generally absorb stain better on oak, giving a more natural look. Before tackling your project, always test your chosen wood filler on a hidden oak spot to make sure the stain matches perfectly and gives the finish you want.
Pine Wood Filler Choices
Just as oak demands careful filler selection to match its warm tones, pine requires wood fillers that complement its lighter color and unique grain. When choosing a wood filler for pine, you want one that stains well without causing discoloration.
Dap Plastic Wood-X and Elmer’s Carpenter’s Wood Filler are excellent choices because they blend smoothly and match pine’s lighter hues effectively. Keep in mind, pine wood fillers often darken or shift to cooler tones with darker stains, so selecting a filler designed for stain compatibility is essential.
You might need multiple coats and careful sanding to guarantee seamless blending. By focusing on stainable wood fillers that avoid discoloration, you’ll achieve a natural look that respects pine’s distinct character and makes your repairs nearly invisible.
Stain Matching Techniques
Although matching wood filler stain to your project can be challenging, choosing the right stainable wood filler makes a big difference. For effective stain matching, use fillers like Minwax, which are designed to accept stain and closely match woods like oak and pine.
Avoid fillers such as Dap Plastic Wood-X if you want lighter finishes since they tend to stain darker and cooler. Always pre-test stain on scrap wood or an inconspicuous spot to check color accuracy.
You can also use tinted stains or custom-mixed paints on the filler to fine-tune the color match. Remember, different woods react differently to fillers, so selecting a filler formulated for your specific wood type ensures the best stain matching results and a seamless finish on your project.
A Simple Step-By-Step Guide To Staining Wood Filler
Before you start staining wood filler, make sure it’s completely dry and sanded smooth for the best results. First, select a stainable wood filler to guarantee it absorbs the stain well.
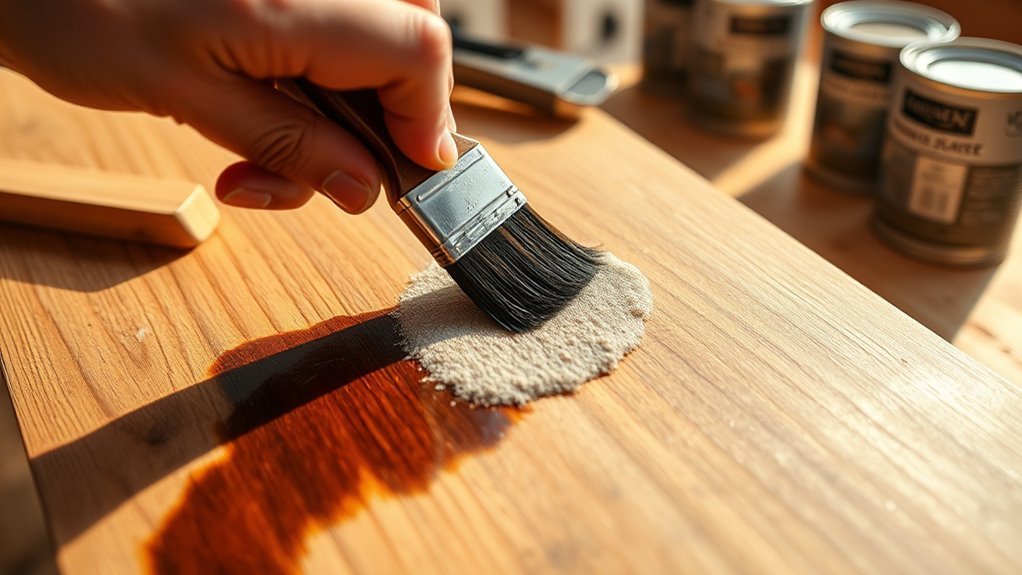
Next, test the stain on a small, hidden section of the filler to check how it reacts and blends with your stained wood. When you’re ready, use a fine brush or cloth to apply the stain evenly over the filler, working carefully to blend it into the surrounding wood.
Choose a stain compatible with your wood type, like oak or pine, to achieve a natural, seamless finish. Finally, let the stain dry completely before applying any protective coats to preserve your work and maintain a consistent look.
Tips For Matching Wood Filler Color To Your Stain
Achieving a seamless repair means paying close attention to how your wood filler color matches the stain. Start by selecting a filler close to your wood’s final stain color for easier matching.
You can create a custom blend by mixing small amounts of acrylic or oil-based paints into the filler to better match your stain. Before full application, test a small patch of tinted stain on the filler to see how the color reacts and adjust if needed.
During repair, feathering the edges with multiple shades of stain or paint helps the filler blend naturally with the surrounding wood. This careful testing and blending ensure your repair won’t stand out, giving your wood a flawless, professional finish.
Common Staining Issues : And How To Fix Them
When you stain over wood filler, you might notice uneven color or light spots because the filler closes the wood pores and absorbs stain differently than the surrounding wood. This often leads to discoloration that stands out.
To fix this, avoid sanding the filler too much or unevenly, as it can worsen stain acceptance and create inconsistent patches. Instead, consider mixing the stain directly with the filler before applying it. This helps achieve a more uniform color.
After staining, feather or blend the stain around the repaired area to camouflage any visible differences. These steps will help you tackle common staining issues and guarantee your wood filler blends more naturally with the stained wood.
Creative Ways To Blend Wood Filler With The Grain
Although blending wood filler with the grain can be tricky, you can create a seamless repair by applying multiple thin coats of stain or paint and feathering the edges carefully along the grain.
To mimic natural wood color, try mixing wood dust with stain or glue before filling—it helps match the grain pattern perfectly. Using irregularly shaped patches and varying stain shades adds depth, making the repair less noticeable.
Lightly sanding the filler and surrounding area in the grain’s direction enhances texture and realism.
For a more precise match, experiment with different stain shades or artist oil paints, customizing the blend to mirror your wood’s unique grain variations.
These creative techniques ensure your wood filler blends naturally, preserving the wood’s authentic look.
Pro Tips For Using Stainable Fillers On Bigger Repairs
Blending wood filler with the grain works well for small touch-ups, but bigger repairs need a different approach to look natural.
When tackling larger holes, start by choosing a stainable filler like Minwax that sands smoothly and matches your wood type. Before filling, apply a tinted stain or dye to prep the area for a seamless blend.
Once dry, sand thoroughly using finer grit sandpaper to smooth the surface. Then, use multiple thin coats of stain or color-matched paint, including a second coat, to match the wood’s tone and grain.
Remember these pro tips:
- Feather the edges of the filler for a less visible transition.
- Use a small brush for precise stain application.
- Build color gradually with thin layers for depth and realism.
Frequently Asked Questions
Can You Put Stain Over Wood Filler?
Yes, you can put stain over wood filler, but it depends on the filler type. Choose a stainable filler and test it first since some fillers don’t absorb stain well, which might affect the color match.
It’s a good idea to try a small patch before doing the whole project. That way, you’ll know for sure how the stain interacts with the filler. This helps avoid any surprises later on.
Is There Any Wood Filler That Can Be Stained?
About 99% of wood fillers can be stained, so yes, you’ll find stainable options like Minwax or Goodfilla.
Just pick the right one, apply carefully, and sand well to get a seamless finish matching your wood. It’s pretty straightforward once you get the hang of it!
Can I Tint Wood Filler With Stain?
Yes, you can tint wood filler by mixing a small amount of stain into it before applying.
Just make sure to test the mix on scrap wood first to get the color right and avoid surprises.
How to Add Color to Wood Filler?
You can add color to wood filler by mixing it with oil-based or acrylic paint, blending in wood dust, or applying tinted stains.
Use small brushes or markers for precise color matching and better blending with your wood.
This way, your repair will look much more natural and seamless. Give it a try, and watch your woodwork come to life!
Conclusion
Did you know that 70% of woodworkers say staining wood filler is the trickiest part of their projects? You can definitely stain wood filler, but it takes choosing the right product and technique.
By picking a stainable filler, prepping properly, and blending carefully, you’ll get a seamless look. Remember, patience and practice make perfect when matching filler to wood grain.
If you follow these tips, your repairs will look natural every time! Staining wood filler isn’t impossible—it just requires the right approach. With the right wood filler, proper preparation, and attention to detail, your wood projects will have smooth, flawless finishes that blend perfectly with the surrounding wood grain. So don’t be discouraged—staining wood filler can be mastered with a bit of patience and the right technique!