How Do You Disinfect Wood Floors in 5 Easy Steps?
To disinfect wood floors in five easy steps, start by gathering your supplies like a soft broom, pH-neutral disinfectant, and a microfiber mop. Cleaning wood floors properly is key to maintaining their beauty and longevity. Using the right disinfectant that’s safe for wood helps keep germs at bay without damaging your floors.
Next, remove all dirt with a gentle sweep or vacuum. This step ensures that you’re not rubbing grit into the wood when you mop.
Choose a disinfectant safe for wood and test it first. Apply it evenly with a damp mop, avoiding excess water.
Finally, let the floor dry completely to prevent damage. This keeps your wood floors looking great and helps them last longer. Keep going to find expert tips for lasting clean and care.
Key Takeaways
- Sweep or vacuum the floor to remove dirt and debris without scratching the surface.
- Choose a pH-neutral disinfectant made specifically for wood floors and test it on a small area first.
- Dampen a microfiber mop with the diluted disinfectant and clean the floor in small sections.
- Make sure to let the disinfectant sit the full recommended contact time so it works effectively.
- Finally, dry the floor thoroughly using a clean cloth.
Also, ensure there’s proper ventilation before you start walking on it.
Gather Necessary Cleaning Supplies

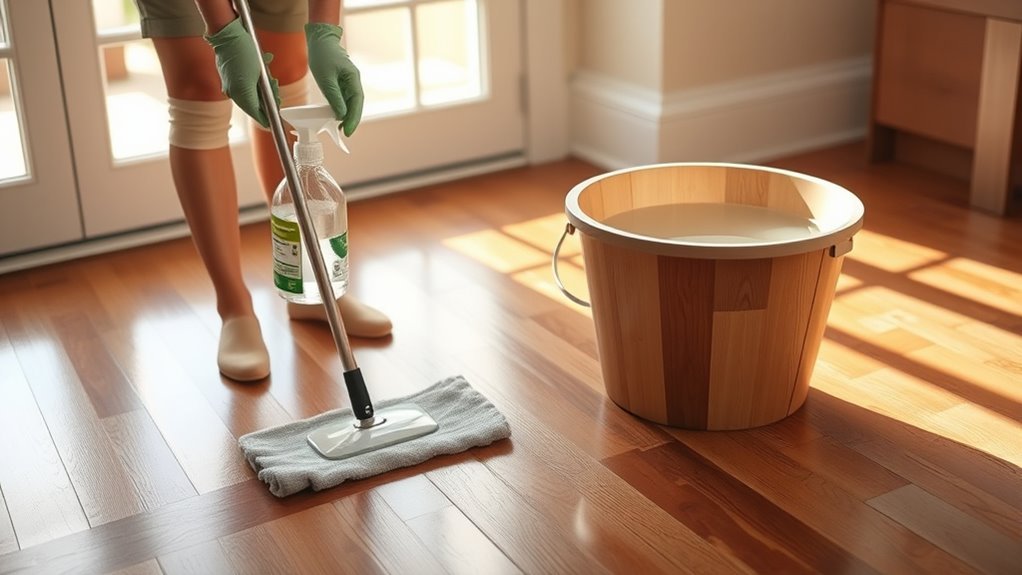
Before you begin disinfecting your wood floors, gather all necessary cleaning supplies to guarantee a smooth process. Start with a soft-bristled broom or a vacuum equipped with a hardwood floor attachment to handle dirt without causing damage.
Prepare a disinfectant solution that’s pH-neutral and specifically designed for wood floors, following the manufacturer’s instructions carefully. Have a microfiber mop or cloth dampened—not soaked—with the disinfectant solution, ready for use.
Keep a clean, dry towel handy to promptly dry each section after disinfecting. Don’t forget to wear gloves and safety glasses if the manufacturer recommends them for protection.
Collecting these cleaning supplies in advance ensures you’ll disinfect efficiently while preserving your wood floors’ finish and integrity. It really makes the whole process easier and safer.
Remove Loose Dirt and Debris
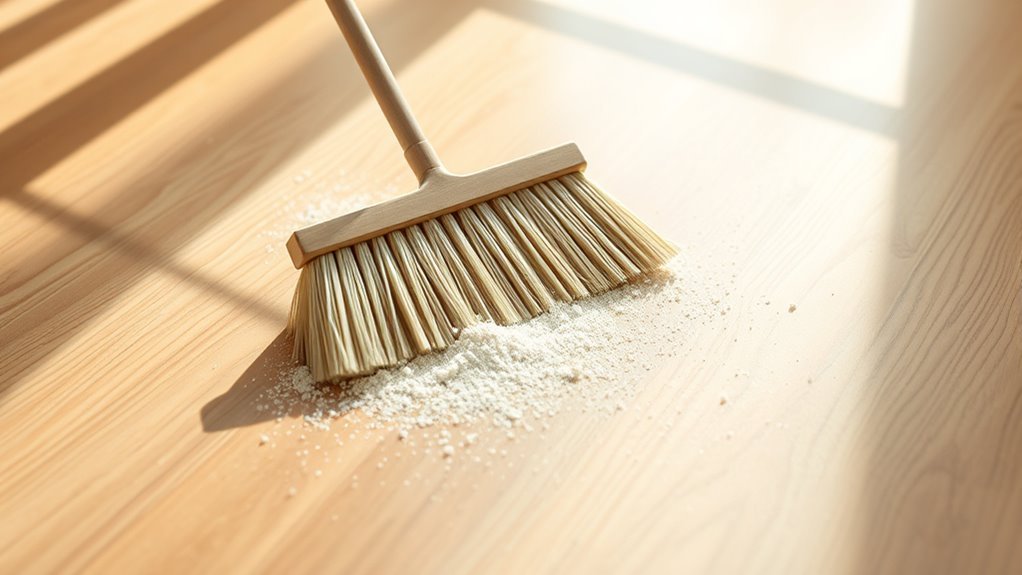
How do you guarantee your wood floors are truly ready for disinfecting? Start by removing all loose dirt and debris. Sweep or vacuum the floor thoroughly to loosen and lift dust, dirt, and loose particles.
Use a soft-bristle broom or a vacuum with a hardwood floor attachment to protect the finish from scratches. Pay special attention to corners, edges, and between planks where debris tends to accumulate.
Use a soft-bristle broom or hardwood floor vacuum to gently clean corners, edges, and between planks.
Make sure your vacuum or broom doesn’t have rough wheels or bristles that could damage the wood. Effective removal of loose particles not only prevents scratching but also ensures the disinfectant reaches the floor surface directly, maximizing its effectiveness.
This careful cleaning step sets the foundation for a successful wood floor disinfection. It’s a simple move that makes a big difference!
Choose a Suitable Disinfectant for Wood Floors
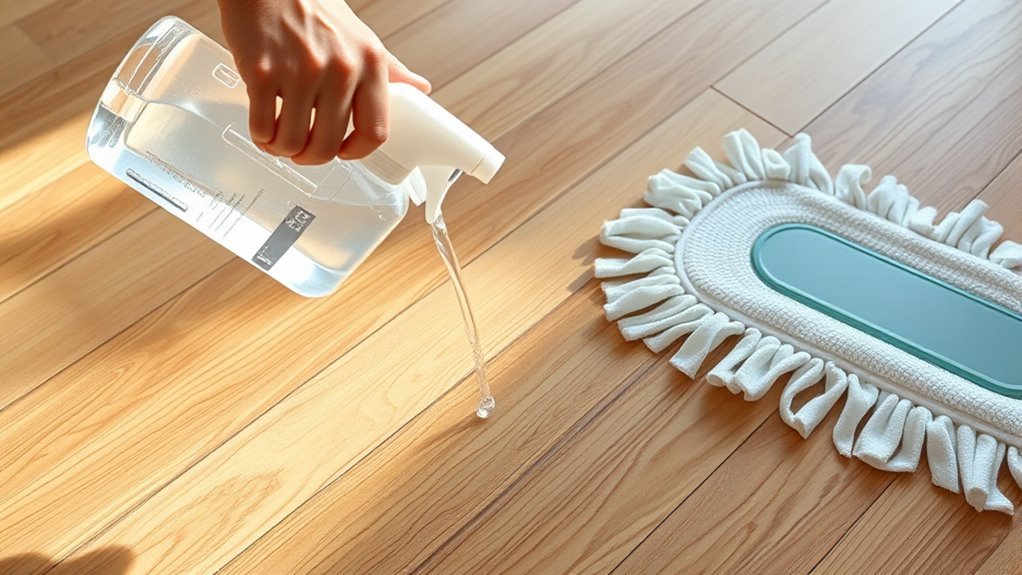
Once you’ve cleared away all loose dirt and debris, selecting the right disinfectant becomes your next priority. Choose a pH-neutral disinfectant designed specifically for wood floors to protect the hardwood’s finish and sealant.
Avoid harsh chemicals like bleach, ammonia, or abrasive cleaners, as these can damage or dull the wood surface. Always check the product label to ensure the disinfectant is compatible with sealed or finished hardwood floors.
Before fully applying, test the disinfectant on a small, hidden spot to confirm it won’t harm the finish. Following the manufacturer’s instructions for dilution and use is crucial to effective cleaning and disinfecting without risking damage from strong chemicals.
This careful selection helps maintain your wood floor’s beauty while keeping it hygienic. It’s worth taking these simple steps to keep your floors looking great and lasting longer.
Apply the Disinfectant Properly
When you apply the disinfectant, use a slightly damp mop to avoid soaking the wood. Excess water can cause swelling and damage.
Make sure to follow the manufacturer’s instructions carefully, especially regarding the correct dilution and recommended contact time. This is key for effective disinfection.
Work in small sections, spreading the disinfectant evenly to ensure thorough coverage across the floor. Don’t rush the process.
Allow the solution to sit on the surface for the full contact time specified. This helps maximize disinfection and avoid missed spots.
Allow the Floor to Dry Completely
Although disinfecting your wood floors is essential, you need to let them dry completely to prevent moisture from seeping in and causing damage. After disinfecting, use a clean, dry microfiber cloth or mop to absorb any remaining moisture on the floor surface.
Proper drying helps avoid warping or swelling caused by excess humidity. To speed up drying, ventilate the area by opening windows or doors, allowing fresh air to circulate.
Proper drying prevents warping; increase airflow by opening windows or doors to help wood floors dry faster.
Depending on the room’s humidity and ventilation, let the floor air dry for at least 30 minutes to an hour. Try to avoid walking on the floor or placing furniture back until it’s fully dry.
This careful drying process ensures your wood floor stays in great condition without moisture-related damage. It’s worth taking the time to do it right!
Frequently Asked Questions
How to Disinfect Wood Floors Without Ruining Them?
You should use a pH-neutral disinfectant and apply it with a damp mop, never soaking the floor. Sweep first, dry immediately after, and guarantee good ventilation to keep your wood floors safe and undamaged.
It’s super important not to let water sit on the floor because that can cause damage. Just a little moisture is enough to clean without ruining your beautiful wood. Plus, keeping the air flowing helps everything dry faster and prevents any dampness from lingering.
What Is a Safe Disinfectant for Wood Floors?
Think of Lysol® All-Purpose Cleaner as your wood floor’s best friend. You’ll want a pH-neutral disinfectant designed for wood, avoiding bleach or ammonia. Always test a small spot first to keep your floors shining safely.
What Is a Good Disinfectant for Wooden Floors?
You should use a pH-neutral disinfectant like Lysol® Clean & Fresh Multi-Surface Cleaner, designed for wood floors.
Avoid bleach or ammonia, and always follow the instructions to protect your floor’s finish while disinfecting effectively.
This way, you keep your wooden floors safe and clean without any damage. It’s a simple step that goes a long way!
What Kills Germs on Hardwood Floors?
Think of germs as tiny invaders, and disinfectants with quaternary ammonium compounds as your knights. They kill germs on hardwood floors when you let them sit properly, mop gently, and keep the wood dry and safe.
Just remember, don’t rush the process. Let the disinfectant do its job by sitting for a bit before wiping. And always be gentle with mopping to avoid damaging your wood floors.
Conclusion
Now that you’ve given your wood floors a gentle yet thorough refresh, you can enjoy the subtle sparkle of cleanliness that lifts your whole space. By following these simple steps, you’re not just cleaning—you’re nurturing your floors with care that whispers longevity.
Let them bask in a restful pause as they dry completely, ready to welcome your next footsteps with a quiet glow. Keep this routine, and your floors will thank you softly every day.
Disinfecting wood floors might sound tricky, but with the right approach, it’s simple and effective. Regularly disinfecting helps protect your floors from germs while preserving their natural beauty. So, make these easy steps part of your cleaning ritual, and you’ll maintain not only the shine but also the health and durability of your wood floors for years to come.