How Do You Sharpen a Wood Chisel in 10 Easy Steps?
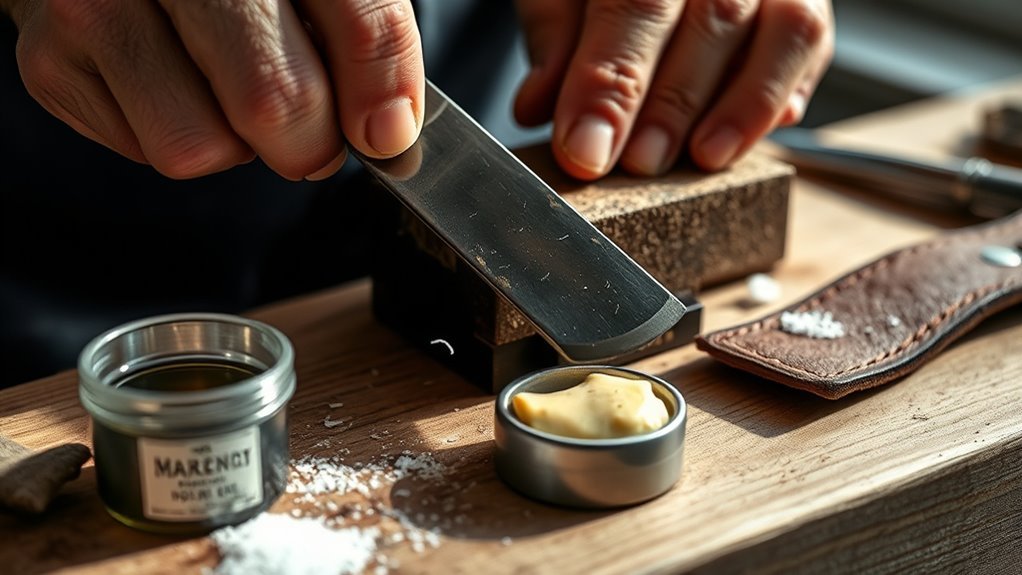
To sharpen your wood chisel effectively, start by soaking your waterstones. This step is key because it helps the stones work better and last longer. Gather all the necessary tools, like a honing guide and a nagura stone, before you begin.
Next, secure the chisel in the honing guide at a 25-30° angle. This angle is perfect for most woodworking tasks. Then, sharpen the edge on an 800-grit stone using even, consistent strokes.
Use the nagura stone to create a slurry on the surface of the waterstone. This slurry helps with polishing and refining the blade’s edge. After that, move on to finer grit stones to establish a microbevel, which sharpens the edge even more.
Don’t forget to flatten and polish the back of the chisel. This step is just as important as sharpening the bevel.
Finally, strop the edge to achieve razor-sharpness, then test it on a piece of wood. Adjust as needed, and you’ll quickly master the art of fine-edge sharpening.
Key Takeaways
- Soak waterstones for 5-10 minutes and secure the chisel at a 25-30° angle using a honing guide.
- Start sharpening with medium grit stones, making light, even passes to establish the bevel.
- Use a nagura stone to create slurry on the high-grit stone for enhanced cutting efficiency.
- Refine the edge by forming a microbevel with finer grits and flattening the chisel’s back.
- Finish by stropping on leather to polish the edge, then test sharpness by shaving wood or hair.
Gather Essential Sharpening Tools
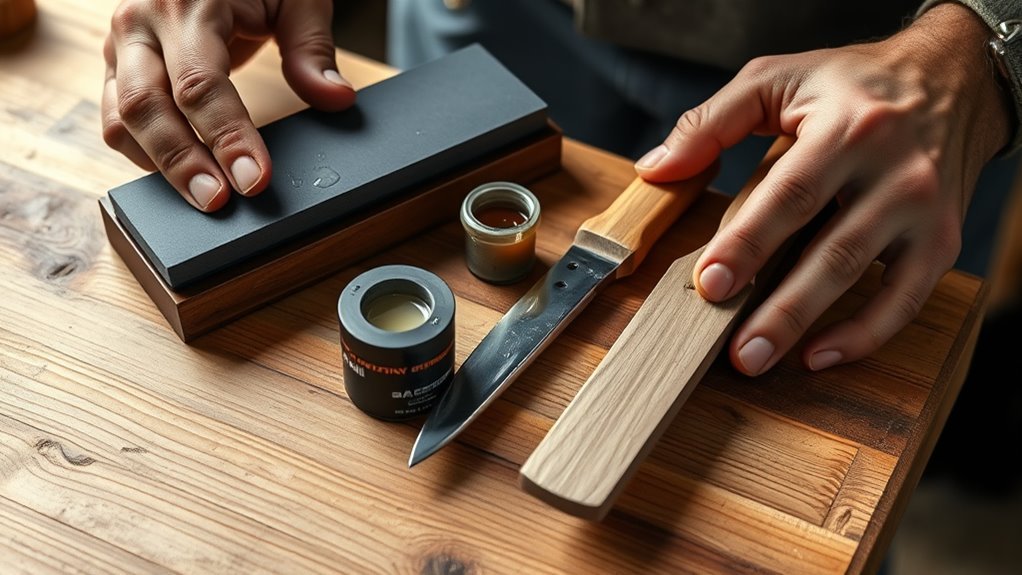
Before you begin sharpening your wood chisel, gather the essential tools to guarantee a smooth process. You’ll need a set of waterstones with grits ranging from 800 to 8000 to progressively refine the edge.
A honing guide is vital because it helps you maintain a consistent sharpening angle, usually between 25 to 30 degrees, ensuring even and precise results. Don’t forget a Nagura stone for creating a slurry on the waterstones, which boosts their cutting ability.
While waterstones are preferred, you can also use micro finishing paper on a flat surface as an affordable alternative. Additionally, tools like a leather strop and rust-preventive spray will come in handy later for refining and preserving your chisel’s sharp edge.
Having these ready sets you up for success. It’s all about having the right gear before you start!
Prepare and Soak Waterstones
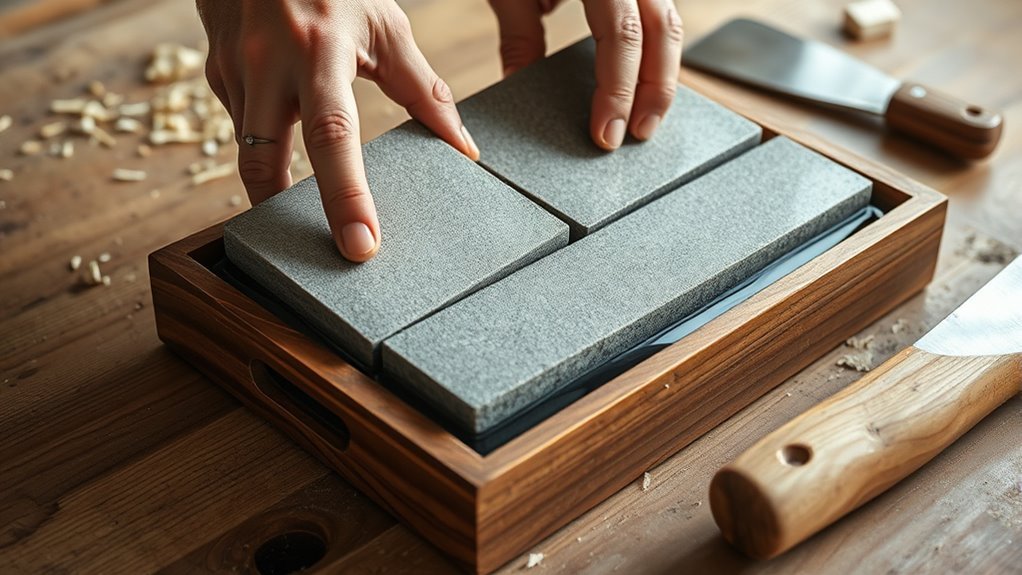
To get your waterstones ready, soak them in water for 5 to 10 minutes until fully saturated. This step guarantees the stones work effectively and produce the right slurry to sharpen your chisel’s edge.
Use different grits depending on your needs—higher grits like 1200 or 8000 are perfect for finishing and polishing. While working, keep your waterstones wet by regularly adding water, which helps maintain a smooth sharpening surface and prevents clogging.
Also, rinse the stones periodically to clear away metal particles and debris. After use, you can store your waterstones submerged if the manufacturer says it’s okay, but always double-check to avoid damaging them.
Proper preparation guarantees your waterstones perform at their best during sharpening.
Secure the Chisel in a Honing Guide
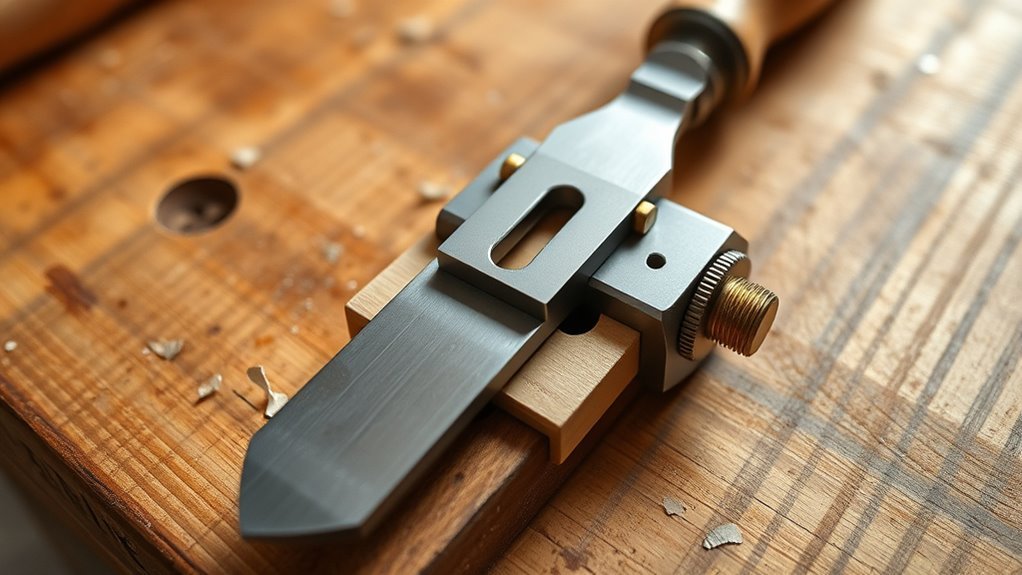
When you secure the chisel in a honing guide, you guarantee a steady, consistent angle that makes sharpening much easier and more effective. Start by inserting the chisel’s flat face into the honing guide, bevel facing down.
Loosen the locking mechanism to adjust the chisel until the bevel rests flat against the sharpening stones or abrasive surface. Then, tighten the guide firmly to lock the angle, usually between 25 and 30 degrees.
Use the guide’s adjustment features to precisely set and check the angle. Remember to keep the bevel evenly supported during sharpening.
Also, regularly verify contact with the sharpening stones. Make sure the locking mechanism holds the chisel securely. Adjust as needed for ideal bevel alignment.
This setup ensures consistent, accurate sharpening every time.
Begin Sharpening on an 800-Grit Stone
With the chisel secured firmly in your honing guide at the proper angle, it’s time to start sharpening on an 800-grit waterstone. First, soak your grit water stone for 5-10 minutes to ensure proper lubrication.
Place it on a stable, non-slip surface. Make sure your chisel is set at 25-30° and tighten the guide just enough for adjustments. Move the chisel forward and back with light, even pressure.
Perform 5-6 passes, checking bevel contact frequently to ensure an even sharpen.
| Step | Action | Tip |
|---|---|---|
| 1 | Soak waterstone | 5-10 minutes |
| 2 | Secure stone | Non-slip base |
| 3 | Set angle in honing guide | 25-30° |
| 4 | Sharpen with light pressure | 5-6 passes forward/back |
| 5 | Check bevel contact | Adjust guide if needed |
Use the Nagura Stone to Create Slurry
To create slurry, rub your Nagura stone in gentle, circular motions on the high-grit waterstone until a smooth, creamy paste forms. This slurry helps remove metal particles and sharpens the edge more effectively.
Keep reapplying it to maintain a lubricated surface and get the best results. It really makes a difference when you’re aiming for a keen edge!
Slurry Creation Technique
Although it may seem simple, creating slurry on your waterstone is a crucial step to sharpening your wood chisel effectively. To form this abrasive paste, rub the Nagura stone in gentle, circular motions against the high-grit waterstone.
This action releases tiny abrasive particles, creating a smooth slurry that enhances cutting efficiency.
Remember to use light pressure to avoid excess debris and maintain even coverage of slurry across the stone surface.
Also, be sure to reapply the Nagura stone periodically during sharpening. Keeping a consistent slurry will give you a polished, sharp edge every time.
Benefits of Slurry
Creating slurry with your Nagura stone doesn’t just prepare your waterstone—it actively boosts its sharpening power. When you rub the Nagura stone in circular motions on the waterstone, it produces a thick, muddy slurry that acts as both a lubricant and an abrasive.
This slurry enhances the waterstone’s cutting ability, allowing you to sharpen your wood chisel more efficiently. It helps remove tiny metal particles from the chisel edge, resulting in a finer, more polished finish.
Progress Through Higher Grit Stones
Start by moving your chisel through progressively finer grit stones to refine the edge smoothly. Keep using your nagura stone to create the right slurry, which helps with consistent sharpening.
Finish off by polishing the bevel to a mirror-like shine for a razor-sharp edge. It really makes a difference when you’re aiming for precision.
Sequential Grit Progression
When you progress through higher grit stones, you gradually refine the chisel’s bevel, moving from coarse to fine surfaces that sharpen and polish the edge. This grit progression on a waterstone guarantees each step removes scratches from the previous grit, creating a consistently sharp blade.
Start with a coarse grit like 800 or 500 to flatten and shape the bevel. Then advance to intermediate grits such as 1200 or 2000 for refining. Finish with high-grit stones (4000 or 8000) to polish and sharpen to a razor edge.
- Coarse grit shapes and levels the bevel
- Intermediate grit removes coarse scratches
- High grit polishes for a razor finish
- Clean stones and chisel between grits to avoid contamination
Slurry Creation Techniques
Although progressing through higher grit stones refines your chisel’s edge, applying a well-prepared slurry considerably boosts the sharpening process.
To create slurry, rub a Nagura stone in circular motions on your high-grit waterstone—like an 8000 grit—until a thick, glossy paste forms. This slurry mixes abrasive particles from the waterstone with the Nagura, enhancing the cutting action and polishing efficiency.
As you sharpen, reapply the slurry regularly to maintain a consistent abrasive layer that helps remove microscopic scratches. When switching to finer grits, add fresh slurry to keep refining the edge and improve overall sharpness.
Using slurry at this stage guarantees your chisel achieves a smoother, more precise edge before you move on to final polishing steps. It really makes a noticeable difference!
Final Edge Polishing
As you move through higher grit stones, such as from 4000 to 8000 grit, you’ll notice your chisel’s edge becoming considerably smoother and sharper. This final edge polishing step refines the bevel, producing a razor-sharp, micro-scratched finish.
To get the best results, use consistent, light pressure, and keep the bevel angle steady to avoid rounding the edge. Remember to rinse your waterstone regularly to clear away debris and slurry that can interfere with polishing.
- Maintain a steady bevel angle throughout polishing
- Apply light, even pressure for uniform smoothing
- Rinse stones frequently to remove abrasive slurry
- Look for a mirror-like shine indicating a polished edge
Finish by testing the chisel on softwood or shaving hair to confirm its sharpness after polishing. It’s a satisfying way to know you’ve nailed the perfect edge!
Establish a Microbevel on the Bevel Edge
Since a sharp edge depends on precision, you’ll want to establish a microbevel on the chisel’s bevel edge by raising the handle slightly and pushing it across your high-grit waterstone at a consistent 25-30° angle. Make multiple light passes to sharpen the microbevel evenly, watching for a thin, shiny line to form at the edge—that’s your sign you’re at the right angle.
As you sharpen, switch to finer grits like 4000 or 8000 to progressively refine and polish the microbevel, ensuring a razor-sharp finish. Remember to regularly check for and remove any burrs on the back of the chisel to keep the microbevel clean and effective.
This careful approach guarantees a durable, precise edge ready for fine woodworking. It might take a bit of patience, but the results are totally worth it.
Flatten and Polish the Back of the Chisel
Before you start sharpening the bevel, make sure the back of your chisel is perfectly flat and polished. A flat back ensures precise bevel sharpening and a clean cut. Use a flat, stable surface like a waterstone or float glass to maintain even contact.
Begin with a coarse grit and gradually move to finer grits to polish away scratches until you achieve a mirror-like finish. Keep light, consistent pressure and smooth strokes for uniform flattening. Regularly inspect your progress by checking the reflection or holding the chisel to light.
- Use a flat surface such as float glass or waterstone
- Start with coarse grit, move to finer grits up to 8000
- Apply consistent, light pressure with smooth strokes
- Check flatness frequently by inspecting reflections or light gaps
This polished flat back will make bevel sharpening much easier. You’ll notice the difference when your chisel slices through wood cleanly and smoothly.
Strop the Edge for a Razor-Sharp Finish
Once you’ve sharpened the bevel, you’ll want to strop the edge to achieve a razor-sharp finish that cuts smoothly and cleanly. Use a leather strop coated with stropping compound to polish the chisel’s edge and remove any leftover burrs.
Hold the chisel at about a 15° angle and draw it steadily across the leather, maintaining consistent pressure. Move it back and forth evenly to realign and straighten the microscopic teeth, enhancing the cutting ability.
Stropping ensures your chisel is sharp enough for precise woodworking and prolongs the edge’s life, reducing how often you need to sharpen. Regularly stropping after sharpening keeps your chisel ready for clean cuts, making your work easier and more efficient.
Test Sharpness on Wood and Adjust as Needed
After stropping the edge for a polished finish, it’s important to test your chisel’s sharpness on a piece of soft wood. Use a honing guide to maintain a consistent angle while honing, then try slicing into scrap wood. You want smooth, resistance-free cuts that create shiny, clean lines without tearing.
Gently check the edge by dragging your thumbnail at a 45° angle—if it catches, your chisel is sharp enough. If the cut feels rough or resists, continue to hone and re-test until the edge performs perfectly. Remember, regular testing during sharpening prevents under-sharpening and guarantees your chisel works efficiently.
- Test cuts reveal true sharpness beyond visual inspection
- Use the honing guide to keep consistent bevel angles
- Feel the edge gently to avoid dulling it prematurely
- Adjust honing based on test feedback for ideal results
Frequently Asked Questions
How Can I Sharpen a Chisel Without Using a Stone?
You can sharpen a chisel without a stone by using wet/dry sandpaper on a flat surface. Keep a consistent bevel angle, use finer grits progressively, and check sharpness regularly for a clean, sharp edge.
It’s pretty straightforward once you get the hang of it. Just make sure your sandpaper is laid flat, and don’t rush the process. Taking your time here really pays off!
How Much Does It Cost to Sharpen a Chisel?
Sharpening a chisel typically costs around $130 if you buy basic waterstones, honing guides, and accessories.
But you can spend less using sandpaper and glass plates, which still give you a sharp edge without breaking the bank.
It’s all about finding the method that works best for your budget and needs.
What Are Essential Techniques for Using Wood Chisels?
Don’t bite off more than you can chew; control your grip and angle, use steady pressure, and always cut away from yourself.
Keep the chisel sharp and let the tool do the work, not your muscles. It really makes a difference!
What’s the Best Way to Sharpen Wood Chisels?
You sharpen wood chisels best by maintaining a consistent 25-30 degree angle, using progressively finer grits on a flat stone. This helps you get a smooth, sharp edge that lasts longer.
Next, create a microbevel to refine the cutting edge even more. It’s a small step but makes a big difference.
Finally, test sharpness by slicing thin shavings. This guarantees you have a razor edge ready for precise woodworking.
Conclusion
Now that you’ve mastered sharpening your wood chisel, you’re armed like a knight with a trusty sword, ready to carve with precision. Keep your stones soaked and your technique steady, and your tools will serve you well.
Remember, a sharp chisel isn’t just about ease—it’s about respect for your craft. Maintaining a sharp edge means smoother cuts and better control in your woodworking projects.
So, keep sharpening your wood chisels regularly. This simple habit ensures your tools stay in top shape, making every cut clean and effortless.
Embrace the process, and your woodworking skills will shine through every project. With well-sharpened chisels, you’ll cut through challenges smoothly and beautifully every time!