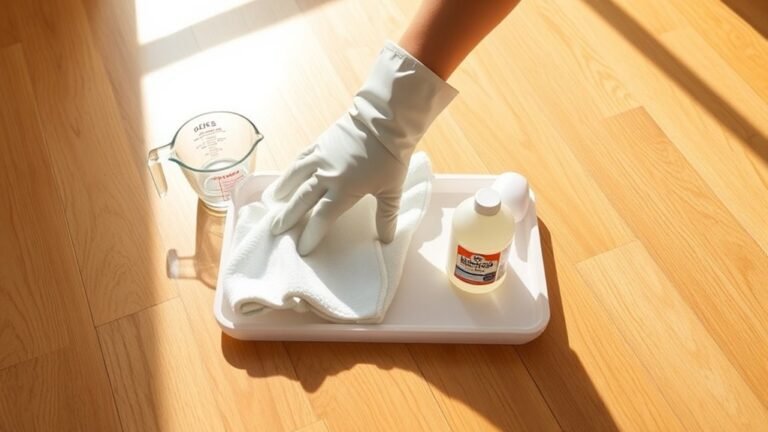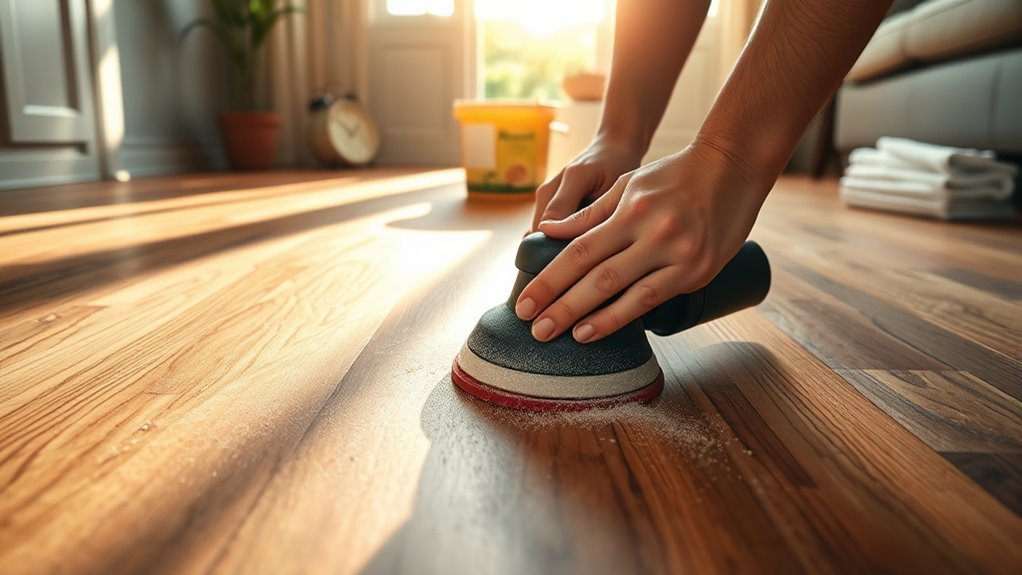
How You Can Refinish Engineered Wood Floors
You can refinish engineered wood floors by first checking the veneer thickness to guarantee sanding is safe—thin veneers need recoating instead. It’s important to know this upfront because sanding too much can damage the floor.
Make certain the subfloor is dry to avoid moisture damage, then lightly sand or screen the surface. This step helps remove old finish and prepares your floor for a fresh look.
Choose a water-based polyurethane finish for fast drying and strong protection.
Avoid heavy drum sanding to prevent damage to the veneer. Taking these steps helps restore your floor’s beauty and durability.
Understanding finer details can make the process even smoother and ensure your engineered wood floors look great for years to come.
Key Takeaways
- Assess veneer thickness before refinishing; avoid sanding if less than 2mm, and opt for recoating or light screening instead. This helps protect the floor from damage and keeps it looking great.
- Thoroughly clean and prepare the floor surface, repairing damage and removing old finishes for better adhesion. Taking time here really pays off when you want a smooth, lasting result.
- Test and manage subfloor moisture to prevent cupping or delamination before any sanding or refinishing. Moisture issues can cause big problems down the line, so it’s best to catch them early.
- Use water-based polyurethane finishes for quick drying, durability, and preserving the wood’s natural appearance. These finishes are easier to work with and give your floor a beautiful, natural look.
- Hire professionals for veneer evaluation and dust-controlled sanding to avoid damage and ensure optimal refinishing results. They have the right tools and experience to do the job safely and effectively.
How to Check Engineered Wood Floor Veneer Thickness
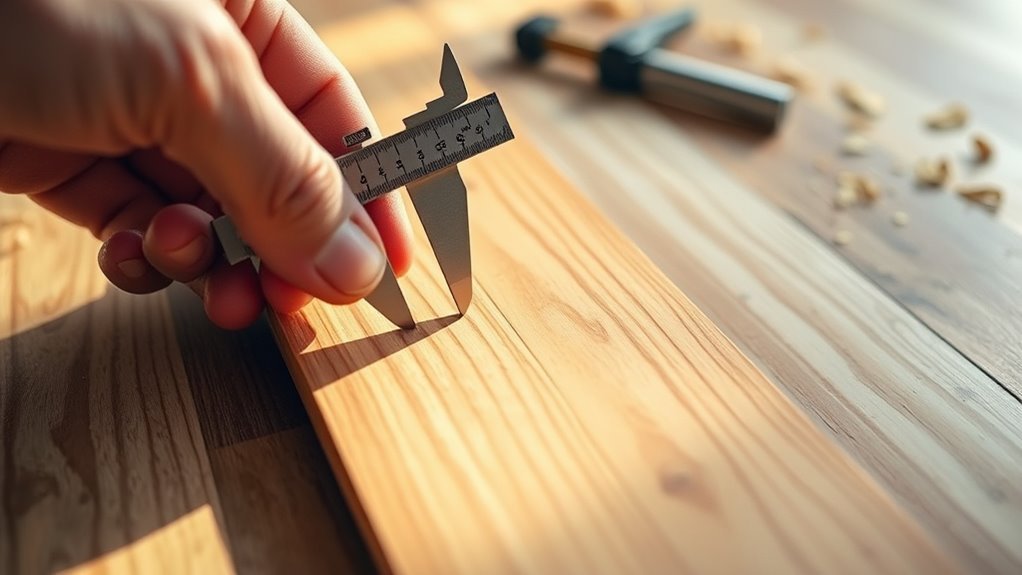
Before refinishing your engineered wood floors, you need to check the veneer thickness to determine how much sanding they can handle. Start by removing a heat register or baseboard to access the flooring’s edge and inspect the layered cross-section.
This view reveals the veneer thickness, which is key to deciding your approach. If the veneer is less than 2mm thick, avoid sanding and opt for recoating to protect the core. For veneers between 2mm and 3mm, you can usually perform one or two light sandings using fine abrasives.
You can also estimate thickness with a caliper or veneer gauge. When unsure, contact the manufacturer or a pro installer—they can precisely measure veneer thickness or remove a small sample to evaluate the layered cross-section safely.
When Should You Sand Engineered Wood Floors?
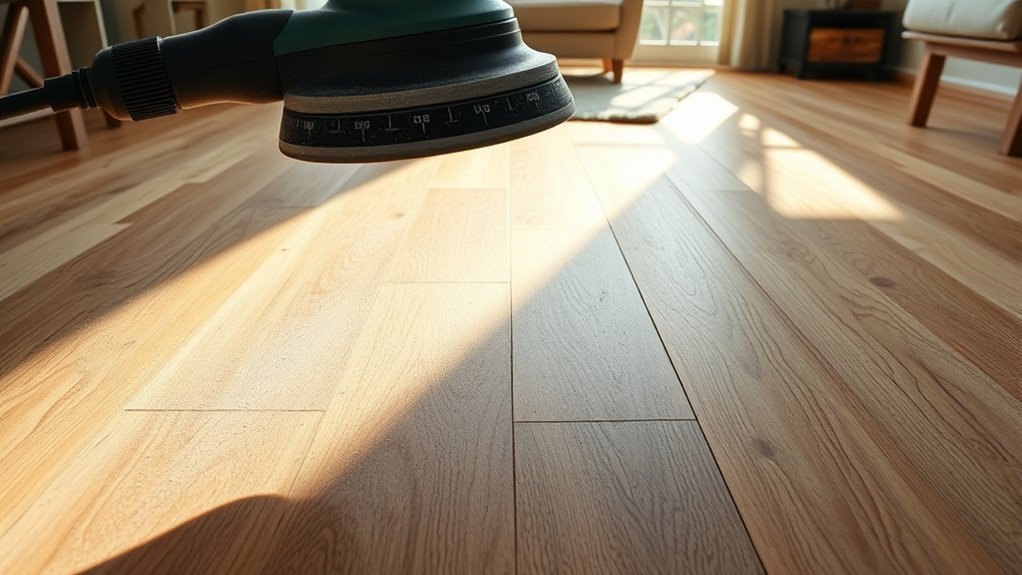
You should only sand engineered wood floors if the veneer thickness is at least 2mm to avoid damaging the surface. If the veneer is thinner, light screening and recoating are safer options to refresh your floor.
Also, consider moisture levels and subfloor conditions before deciding on sanding. This way, you can guarantee the best results.
Veneer Thickness Importance
How do you know when engineered wood floors are ready for sanding? It largely depends on the veneer thickness. Floors with veneers between 2mm and 3mm can usually handle one or two refinishing cycles using fine abrasives.
If your veneer is thinner than 2mm, sanding isn’t recommended—you should opt for recoating instead to avoid damage. For thicker veneers, around 4mm to 6mm, you can expect three to five refinishing cycles, much like solid hardwood floors.
To avoid exceeding sanding limits, check the veneer depth by inspecting baseboard edges or removing a heat register. Remember, sanding too aggressively on thin veneers risks exposing the core, so understanding your floor’s veneer thickness is essential before you start refinishing.
Refinishing Method Options
When your engineered wood floor has a wear layer of at least 2mm, sanding becomes a viable option to restore its appearance. This thickness allows for one or two refinishing cycles without risking damage.
If your veneer thickness is under 2mm, however, sanding isn’t recommended since it could expose the core and ruin the floor. Instead, opt for recoating or light screening, especially if the surface damage is minimal or the finish looks dull.
Heavy drum sanding is generally unsuitable for thin veneers due to the risk of burn-through. Always have a professional assess your floor’s veneer thickness before deciding. This way, you’re sure to pick the right refinishing method—sanding for thicker veneers or recoating for thinner ones—keeping your engineered wood floor looking its best.
Moisture And Subfloor
Since excess moisture in the subfloor can cause cupping or delamination, it’s essential to test for and address any moisture issues before sanding engineered wood floors. Start with moisture testing of the subfloor—whether concrete or wood—to verify levels are within safe limits for refinishing.
If you discover high moisture, don’t skip installing or verifying a vapor barrier; it prevents moisture vapor from rising into the flooring during and after sanding. Ignoring hidden moisture can damage the wood veneer, leading to costly repairs and premature floor failure.
Only proceed with sanding once you’re confident the subfloor is dry and protected. Proper moisture management safeguards your engineered floors, ensuring a smooth refinish and long-lasting results.
What Makes Engineered Wood Floors Different for Refinishing

You’ll find engineered wood floors differ from solid wood because of their layered construction, with a thin hardwood veneer on top. This veneer thickness directly affects how much sanding and refinishing you can do without damaging the floor.
Understanding these refinishing challenges is key before you start any work. It’s important to know what you’re dealing with so you don’t accidentally ruin your floors.
Construction And Veneer
Understanding the construction and veneer of engineered wood floors is essential before refinishing them. Engineered floors consist of multiple core layers, usually high-density plywood, bonded under heat and pressure.
This design boosts stability and resists warping from seasonal changes. The top veneer surface is real hardwood, like oak or maple. Its thickness determines how many times you can sand and refinish the floor.
| Aspect | Details |
|---|---|
| Core Layers | High-density plywood or composite |
| Veneer Surface | Genuine hardwood, thickness varies |
| Stability Design | Cross-grain pattern reduces warping |
Knowing these factors helps you figure out if your floor can handle refinishing without getting damaged. It’s always good to check before you start!
Refinishing Challenges
Although engineered wood floors offer great stability, they pose unique challenges when it comes to refinishing. Unlike solid hardwood, their grain structure is cross-layered, which helps prevent expansion but complicates sanding.
Since the veneer is thinner—often under 2mm—you risk sanding through to the core if you’re not careful. You must avoid heavy drum sanding; it can quickly burn through the thin wear layer, exposing bare wood and causing irreversible damage.
Instead, use fine-grit sandpaper with a gentle touch to preserve the veneer. Before you start, assess the veneer thickness and subfloor moisture to guarantee the floor can handle refinishing.
If the veneer’s too thin, recoating may be your only option rather than sanding. So, take your time and be cautious to keep that beautiful floor looking great!
How to Spot and Manage Moisture Problems Before Refinishing
Before you refinish your engineered wood floors, it’s crucial to check for moisture issues that could undermine your efforts. Moisture can wick through concrete subfloors, causing your wood veneer to swell, buckle, or even develop mold.
Look closely for dark spots or warped planks—these signs often point to underlying moisture problems. To protect your floors, test the concrete subfloor’s moisture levels before applying a fresh coat.
Installing a vapor barrier or moisture mitigation system helps control humidity and prevents damage. Addressing these issues early ensures your refinishing project is actually going to last, avoiding cupping or delamination.
Taking these steps before sanding or recoating prolongs your floor’s lifespan and guarantees a smoother, more durable finish. It’s definitely worth the extra effort!
How to Prepare Engineered Wood Floors for Screening and Recoating
When preparing your engineered wood floors for screening and recoating, you’ll want to start by thoroughly cleaning the surface to eliminate dirt, dust, and debris that could prevent the new finish from adhering properly.
Next, tape off walls, baseboards, and furniture to protect them from dust and scratches during the process.
Inspect the floor carefully for any damage or uneven spots and repair them before moving forward.
Lightly screen the floor using a fine abrasive mesh to remove the existing finish and create a rough texture that helps the new coating bond better.
If needed, apply specialized solvents designed to soften factory finishes without harming the veneer. This ensures the new finish adheres securely and lasts longer.
This preparation sets the stage for a smooth, durable recoating.
Which Finishes Work Best on Engineered Wood Floors
Choosing the right finish for your engineered wood floors greatly impacts their durability and appearance. Water-based polyurethane finishes are your best bet because they dry quickly and offer strong protection, making them ideal for everyday wear.
Avoid oil-based finishes, as they tend to peel and fail over time, which can damage your floors. Make certain the finish you pick matches the thickness of your floor’s veneer to prevent issues during recoating or refinishing.
For high-traffic areas, a high-quality UV-cured finish gives a durable, glossy look that lasts. If your floor only has minor surface wear, screening and recoating with compatible finishes can refresh the surface without stripping the entire floor.
Selecting the right finish ensures your engineered wood floors stay beautiful and protected. It’s all about choosing what works best for your floor’s specific needs.
Why Professional Refinishing Matters for Engineered Wood Floors
Selecting the right finish is only part of the process—how your engineered wood floors get refinished makes a big difference in their longevity and appearance. Professionals carefully evaluate veneer thickness, subfloor conditions, and moisture levels to choose the safest refinishing method.
They use specialized equipment to contain dust and guarantee a clean, smooth finish without compromising indoor air quality. If you try to refinish floors yourself or hire inexperienced crews, you risk sanding through thin veneer layers or causing delamination.
That can lead to expensive repairs or even replacement. By trusting certified experts, you guarantee that the refinishing process respects the engineered wood’s delicate construction and applies the ideal techniques and finishes.
Ultimately, this extends your floors’ life and preserves their beauty.
How to Extend the Life of Your Engineered Wood Floor After Refinishing
Although refinishing restores your engineered wood floors, you’ll need to care for them properly to keep that fresh look longer. Regularly clean with gentle, pH-neutral products to maintain the finish and prevent premature wear.
Use furniture pads and avoid sharp heels to reduce scratches and dents, extending the time between refinishing. It really makes a difference in keeping your floors looking great.
Place area rugs or mats in high-traffic zones to protect the surface from damage. Every few years, apply a fresh coat of finish to restore shine and add protection.
Finally, control indoor humidity levels to prevent the wood from expanding and contracting, which can damage the veneer. By following these steps, you’ll help your refinished floors stay beautiful and durable for years to come.
Frequently Asked Questions
Can You Refinish Pre-Engineered Hardwood Floors?
Yes, you can refinish pre-engineered hardwood floors if the wear layer is thick enough, usually 2mm or more.
You’ll need to check the veneer depth first. It’s a good idea to have a professional take a look before you start sanding.
How Much Does It Cost to Refinish 1000 Sq Ft of Hardwood Floors?
Refinishing 1,000 square feet of hardwood floors typically costs between $3,000 and $6,000. You’ll save some cash with simple screening or recoating, but full sanding and sealing will push the price higher.
It really depends on the condition of your floors and the finish you want. So, if you’re looking to refresh your space without breaking the bank, screening might be the way to go. But if your floors are pretty worn out, a full refinish is probably worth the investment.
What Is the Best Time of Year to Refinish Hardwood Floors?
You should refinish hardwood floors in spring or summer when humidity is stable. Or, you can do it in fall when indoor heating helps finishes cure.
Try to avoid winter. Cold and moisture swings can cause warping and uneven results.
Is It Cheaper to Refinish a Wood Floor or Replace It?
Refinishing your wood floor is like giving an old book a fresh cover—it’s usually cheaper than replacing it. You’ll save on labor and materials, especially if the wear layer is thick enough for sanding and sealing.
Plus, refinishing can bring back the original charm of your floor without the hassle of a full replacement. It’s a smart choice if you want to refresh your space on a budget.
Conclusion
Refinishing engineered wood floors can breathe new life into your home. But did you know that nearly 70% of homeowners skip professional help, risking damage?
By checking the veneer thickness and managing moisture, you can avoid costly mistakes and extend your floor’s beauty. Proper prep and the right finish really make all the difference.
Taking these steps guarantees your floors stay stunning for years. This saves you time and money in the long run. Remember, when it comes to engineered wood floors, a little care goes a long way. So, always check your floor’s condition before refinishing and choose the best products for a lasting finish. That way, your floors will look beautiful and last longer, making your home feel warm and inviting.