5 Easy Steps to Do Yourself Wood Floor Cleaner
First, identify your floor type to avoid damage by testing a hidden spot for wax or finish. This step is super important because different wood floors need different care. You don’t want to accidentally ruin your beautiful floors!
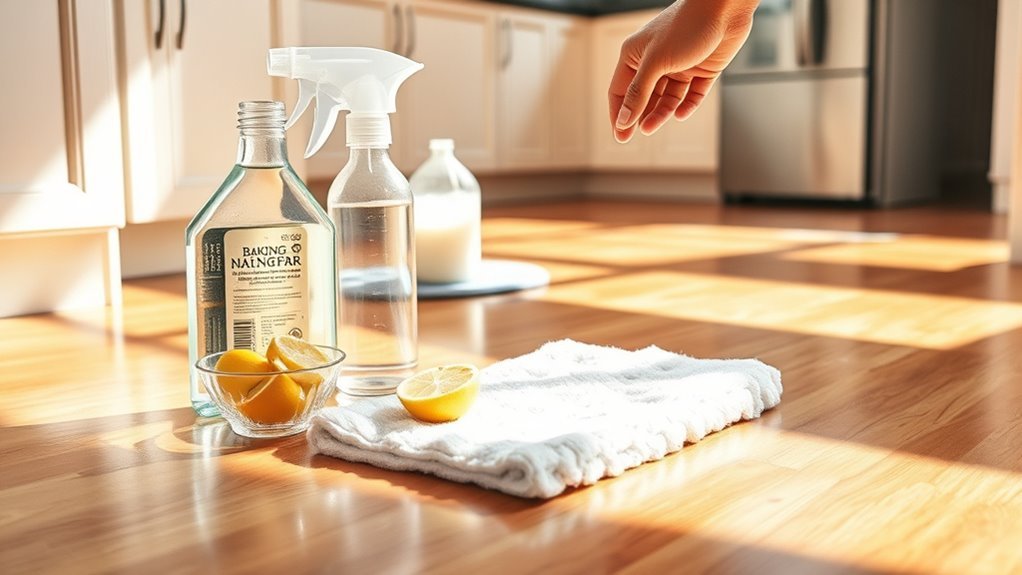
Next, gather safe ingredients like water, vinegar, mild soap, and optional essential oils. These are easy to find and work wonders without harsh chemicals. Mixing your own wood floor cleaner is simple and budget-friendly.
Mix your cleaner using a teaspoon of castile soap with warm water in a spray bottle, adding a drop of oil for scent. It smells great and cleans gently. Before you go all in, test the solution on a small area and wait to check for any changes.
Then, clean regularly with a damp microfiber mop to maintain shine. Keeping up with this routine makes your floors look amazing for longer.
Keep going to discover simple tips for ongoing floor care!
Key Takeaways
– Identify your wood floor type and finish to choose the appropriate cleaning method and avoid damage.
This step is super important because using the wrong cleaner can mess up your floors.
– Gather safe ingredients like water, mild soap, and optional essential oils for a gentle homemade cleaner.
You’ll want to keep it simple and natural to protect your wood.
– Mix 1 teaspoon castile soap with 4 cups warm water and a few drops of essential oil in a spray bottle.
This combo makes a nice, mild cleaner that’s easy to use.
– Test the cleaner on a small hidden floor area and wait 24 hours to check for adverse reactions.
Better safe than sorry, right? This way you can make sure it won’t harm your floors.
– Regularly sweep, use a damp microfiber mop with the cleaner, and avoid excess moisture to maintain floors.
Keeping up with this routine helps your wood floors look great and last longer.
Know Your Floor Type Before Cleaning
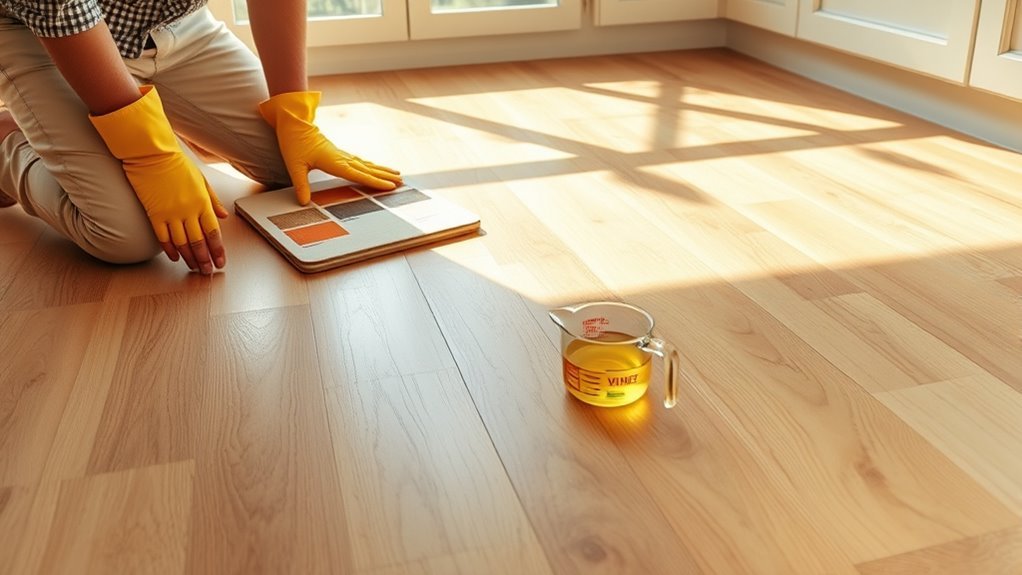
Before you start cleaning your wood floor, you need to know what type of finish it has. The finish affects how you clean and protect your floors.
For example, sealed hardwood floors have a smooth, plastic-like finish, often polyurethane. This makes them more resistant to water and suitable for DIY cleaning.
You can test your floor’s finish by rubbing a damp cloth on a hidden spot. If it dulls or streaks, it’s likely waxed or unfinished.
Waxed floors feel greasy and smudge easily, so they require special care. Always check the manufacturer’s guidelines or original documentation before cleaning to avoid damage.
Knowing your floor’s finish through proper testing helps you choose the right method and products. This way, you protect your wood and keep it looking beautiful longer.
Gather Ingredients for a Safe Wood Floor Cleaner
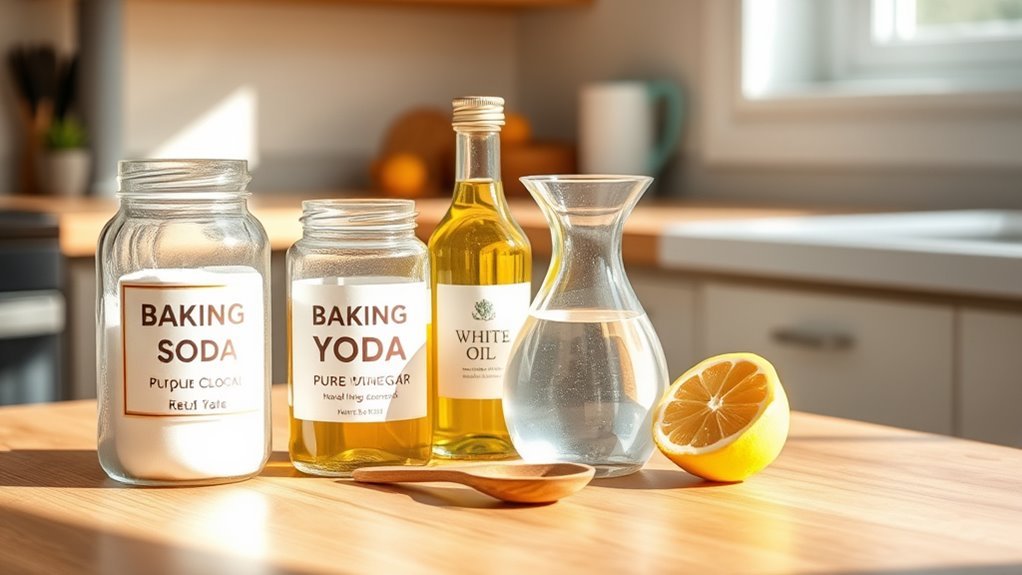
When you’re ready to clean your wood floors safely, gather simple ingredients like water, white distilled vinegar, and a small amount of mild dish soap. These basics form the foundation of an effective homemade wood floor cleaner.
For added gentle cleaning power, consider using castile soap as a natural alternative. If you want a pleasant scent, add 5 to 10 drops of essential oils such as lavender, lemon, or eucalyptus.
Avoid harsh chemicals like bleach or undiluted vinegar, which can harm your hardwood floors. Use a clean spray bottle or bucket to prepare and store your cleaning solutions, ensuring they remain safe and ready for use.
Gathering these ingredients carefully helps you maintain beautiful, well-cared-for floors with your homemade cleaner. It’s pretty easy once you have everything on hand!
Mix Your Cleaning Solution the Safe and Easy Way
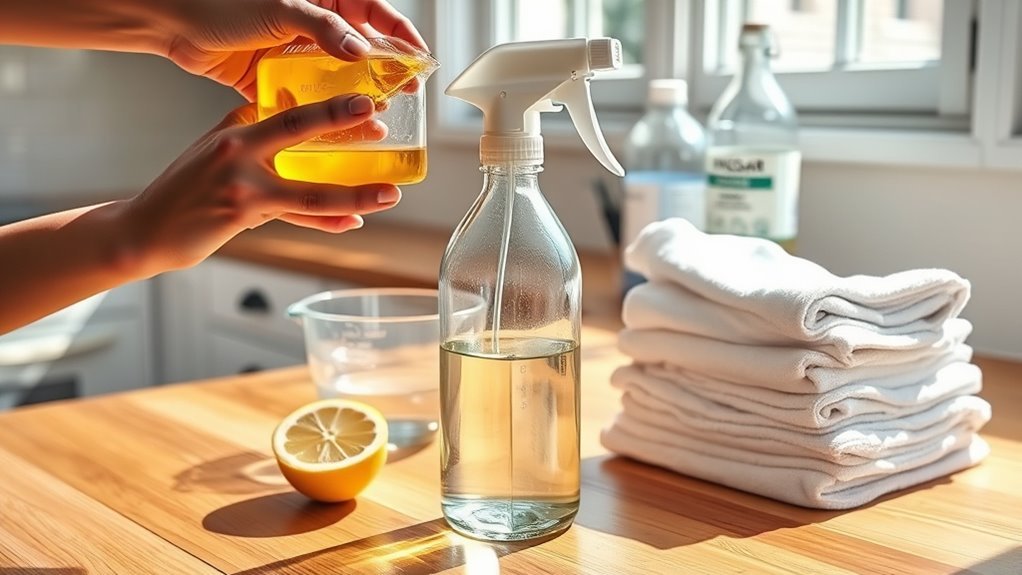
Since you’ve gathered all your ingredients, you can easily mix a gentle cleaning solution by combining a teaspoon of castile soap with four cups of warm water in a spray bottle.
Add 1-2 drops of your favorite essential oil, like lemon or lavender, for a fresh scent. Shake the bottle well to blend everything thoroughly.
Enhance your cleaning solution with a few drops of lemon or lavender essential oil for a refreshing scent.
When you’re ready to clean, use a microfiber mop dampened with your cleaning solution. Just be careful not to over-saturate the floor, as too much moisture can damage wood surfaces.
This gentle cleaning method helps maintain your floors’ natural beauty without harsh chemicals. Remember, always prepare your solution fresh and handle it with care to get the best results.
Test the Cleaner on a Small Floor Area First
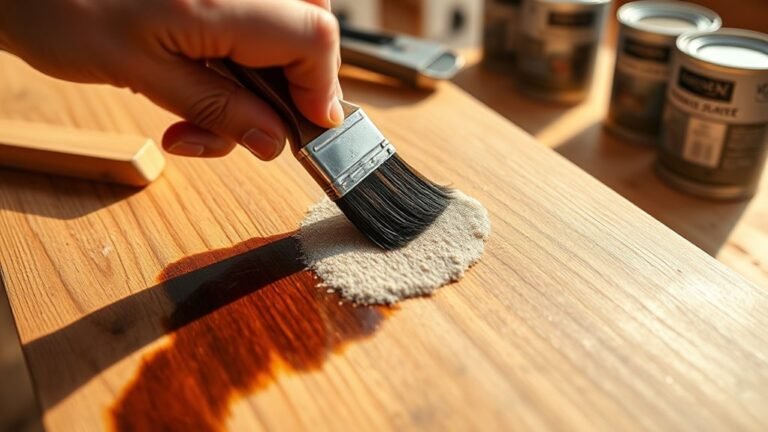
After mixing your cleaning solution, you’ll want to test it on a small, hidden section of your wood floor. Apply a small amount of the cleaner using a soft cloth or sponge and let it sit for a few minutes.
This test helps you observe any immediate reactions like discoloration or streaks. Wait at least 24 hours to check for damage or dullness in the finish.
Make sure to inspect the test area closely for any changes in gloss, color, or texture before using the cleaner on the entire floor. If your floor has varying finishes or wear, repeat this process on different small areas to guarantee the cleaner is safe and compatible across the whole surface.
Taking this step protects your floor from unwanted damage. It’s a simple precaution that can save you a lot of trouble later.
Clean and Maintain Your Wood Floors Properly
To keep your wood floors looking their best, you need to clean and maintain them regularly using the right techniques. Start by sweeping or vacuuming to remove dirt and debris that can cause scratches.
Use a microfiber cloth or mop with a gentle floor cleaner recipe—adding a few drops of essential oils for a fresh scent. Just make sure to avoid excess moisture, as standing water can cause wood to warp or swell.
When trying new cleaning products, test a small, hidden area first to guarantee they won’t damage the finish. Focus on high-traffic spots more often to prevent dirt buildup that dulls the wood.
Frequently Asked Questions
What’s the Best and Easiest Way to Clean Hardwood Floors?
You clean hardwood floors best by sweeping first, then using a damp microfiber mop with a gentle DIY cleaner.
Avoid soaking the floor, spray the solution lightly, and work in small sections to protect the finish.
This way, you’ll keep your floors looking great without damaging them. It’s simple and effective!
What’s the Best Homemade Wood Cleaner?
The best homemade wood cleaner combines water, a small amount of white vinegar, and a few drops of mild dish soap. You’ll cut grime effectively without harming your finish.
Just remember to test it first on a hidden spot. It’s always better to be safe than sorry!
Can I Clean My Wood Floors With Just Water?
You can clean wood floors with just water, but studies show 75% of wood floor damage comes from moisture.
How to Wash Hardwood Floors With Vinegar?
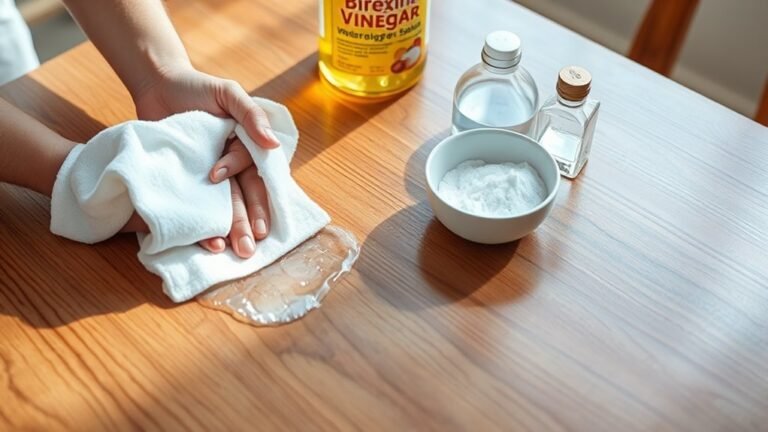
You mix one part vinegar with ten parts water, then dampen a microfiber mop with the solution. Mop gently along the wood grain, avoid soaking, rinse often, and dry immediately to keep your hardwood floors clean and shiny.
It’s super important not to soak the floor because too much water can damage the wood. Just a damp mop is enough to get the job done. And don’t forget to dry right away to keep that shine!
Conclusion
Just like tuning a guitar keeps its strings singing sweetly, caring for your wood floors with the right cleaner keeps them looking their best. Remember, knowing your floor type and testing your solution first is like tuning before you play—it prevents any sour notes.
By following these simple steps, you’ll protect your floors and enjoy their beauty for years. So, grab your supplies and give your floors the care they deserve!
Taking care of your wood floors with an easy DIY wood floor cleaner not only saves money but also ensures your floors stay shiny and healthy. When you use the right cleaner and techniques, your wood floors will maintain their natural charm and durability. With just a little time and effort, you can keep your floors looking fresh and inviting, making your home feel cozy and well cared for. So, why wait? Try these simple steps today and enjoy the lasting beauty of your wood floors!