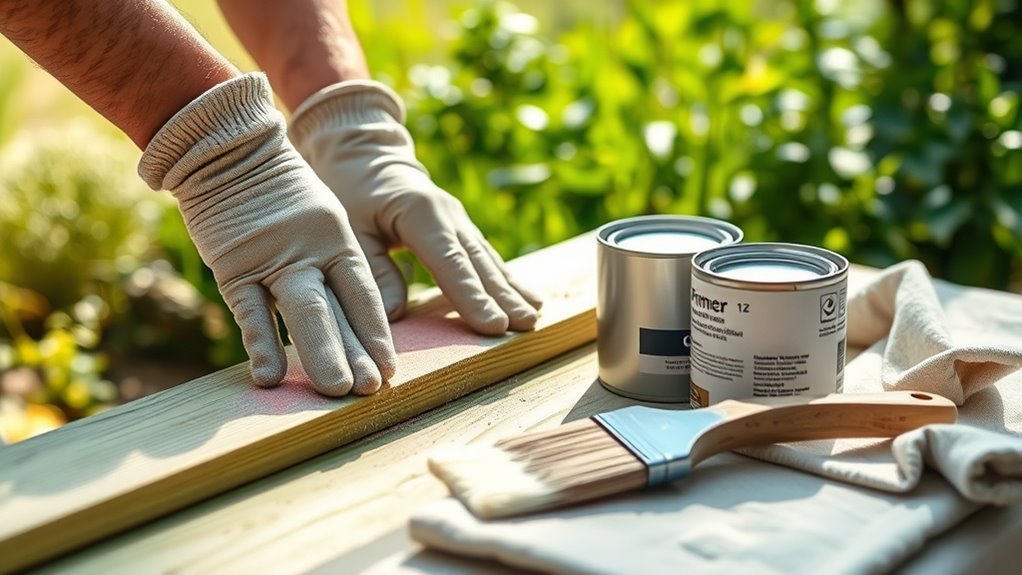
How to Paint Pressure Treated Wood Step by Step
To paint pressure-treated wood properly, the first step is to make sure its moisture content is 15% or less. You can check this using a moisture meter or even a simple water droplet test. This is super important because painting wood that’s too wet can cause the paint to peel or bubble later on.
Next, clean the wood thoroughly to get rid of any dirt, mold, or mildew. A good scrub with soapy water or a wood cleaner does the trick. Once it’s clean and dry, sand the surface smooth to help the primer and paint stick better.
After prepping, apply a high-quality latex primer that’s specially designed for pressure-treated wood. Let it dry completely between coats for the best results.
Then, finish up with two coats of 100% acrylic exterior paint—this will give you a durable, long-lasting finish. Proper preparation and using the right materials are key, so stick around for more tips on drying times, product choices, and maintenance!
Key Takeaways
- Confirm wood moisture content is 15% or less using a moisture meter before starting to paint.
- Thoroughly clean and sand the wood surface to remove dirt, mold, and residues for better primer adhesion.
- Apply a high-quality latex primer designed for pressure-treated wood in thin, even coats, allowing full drying between coats.
- Use 100% acrylic exterior paint, applying at least two coats for weather resistance and durability.
- Perform annual maintenance by inspecting, cleaning, and reapplying paint every 3-5 years to protect the wood.
Moisture Checking and Preparation of Pressure-Treated Wood
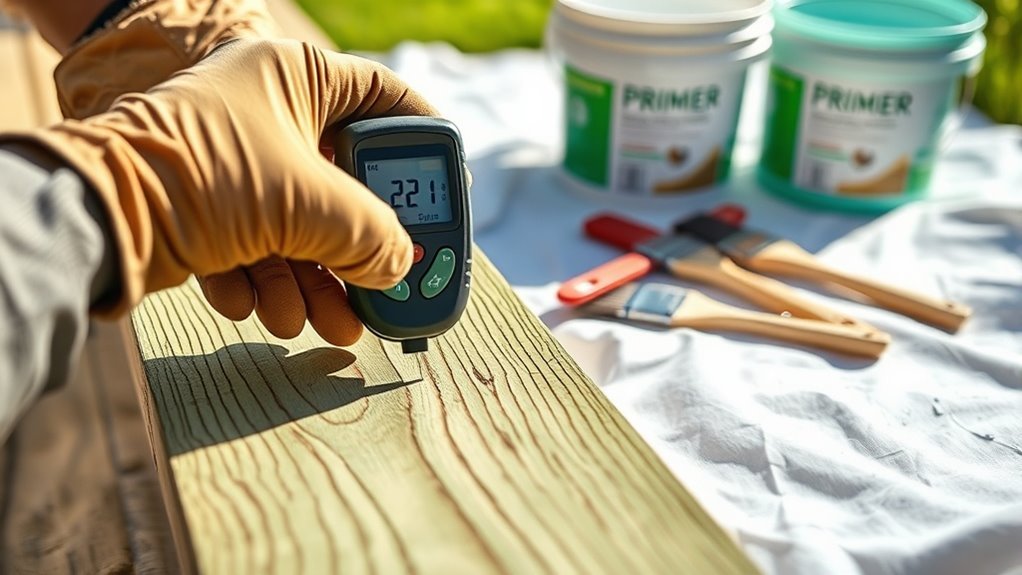
Before you start painting pressure-treated wood, you need to make sure it’s dry enough by checking its moisture content. Use a moisture meter to confirm the wood’s moisture content is 15% or less before applying any paint or stain.
Ensure pressure-treated wood is dry with moisture content at 15% or less before painting or staining.
You can also perform the water droplet test: if water beads on the surface, the wood isn’t dry enough. If it absorbs, it’s ready for finishing.
New pressure-treated wood requires a drying time of at least 2-4 months, depending on your climate. To promote even drying, store pressure-treated wood properly indoors or in a covered, well-ventilated spot with stickers every four feet.
Before painting, make sure to clean and dry the wood thoroughly using water, mild detergent, and a stiff brush. This preparation guarantees your finish adheres well and lasts longer.
Drying Pressure-Treated Wood: When and How
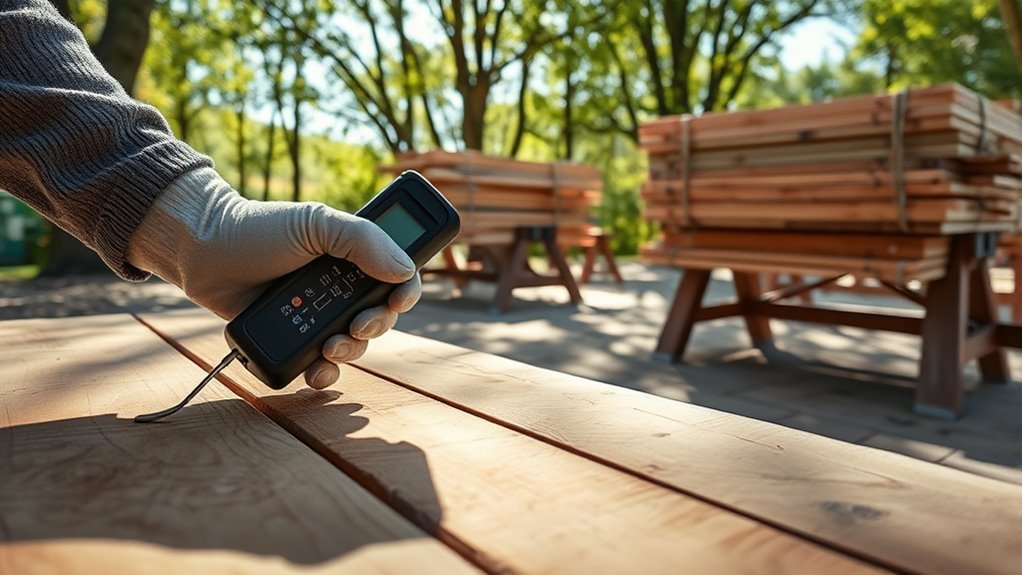
Once you’ve confirmed your pressure-treated wood is clean and mostly dry, understanding how long and under what conditions it needs to dry fully is key. Typically, wood with high moisture content requires 6 to 8 months to dry completely, but kiln-dried lumber (KDAT) dries faster and can be painted sooner.
To help the wood dry evenly, stack it with spacers to allow air circulation on all sides. Check moisture content using a meter—aim for 15% or less.
You’ll know the wood is ready when water beads no longer form or absorb into the surface. If water beads stay on the wood or the wood absorbs the water, it still contains too much moisture and needs more time to dry before painting.
Cleaning and Sanding Pressure-Treated Wood Before Priming
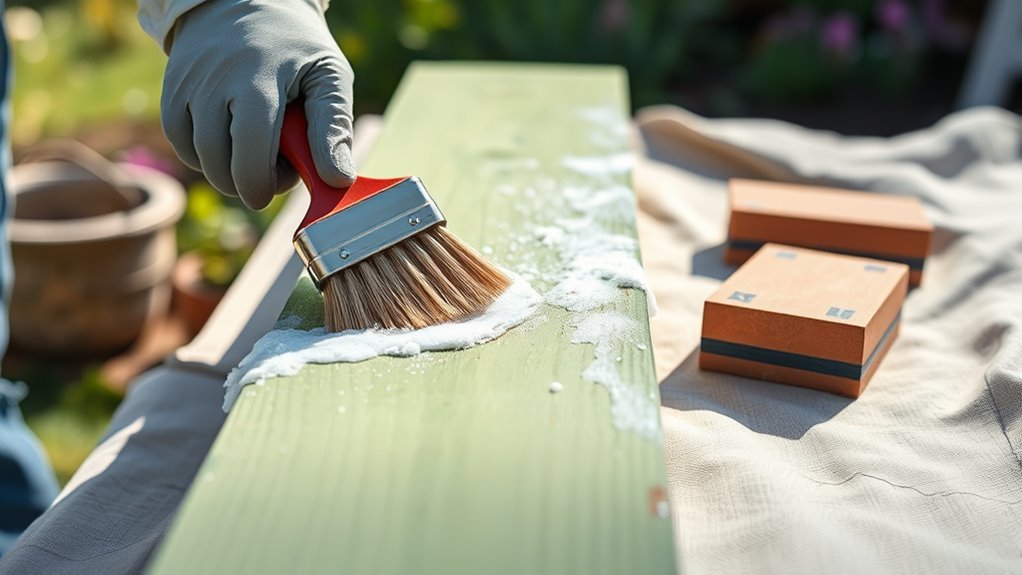
Although your pressure-treated wood may look clean, you’ll need to remove dirt, mold, and any leftover chemicals by scrubbing it with a stiff-bristled brush and a mild cleaner like oxygen bleach. Thorough cleaning guarantees the surface is free of contaminants that could affect primer adhesion.
After scrubbing, rinse the wood well with clean water and let it dry completely. Once dry, sanding is essential.
Use medium-grit sandpaper to smooth rough spots, splinters, and any old paint or stain residues. Always sand along the wood grain to avoid damaging fibers and to create an ideal surface for primer application.
Proper cleaning and sanding are vital preparation steps that will help your pressure-treated wood accept primer evenly and improve the durability of your paint job. It’s worth taking the time to do these right!
Choosing the Right Primer and Paint for Pressure-Treated Wood
Since pressure-treated wood contains chemicals and retains moisture, you’ll need to choose primers and paints designed specifically for these conditions to guarantee proper adhesion and durability. Use a high-quality latex primer, like Zinser 123 (Bullseye 1-2-3), applying at least two coats to make certain the primer can penetrate the wood and bond effectively.
Make sure the wood’s moisture content is below 15% before priming to prevent peeling and adhesion problems. For the topcoat, select a 100% acrylic exterior paint for excellent weather resistance and longevity.
Oil-based primers and paints are also beneficial because they penetrate pressure-treated lumber better, enhancing durability. If you’re repainting, remove old coatings completely before priming to ensure the new primer and paint adhere properly and last longer on your pressure-treated wood.
How to Apply Primer and Paint for Long-Lasting Results
Start by cleaning the wood thoroughly to remove any dirt or mold before you apply primer. Use a high-quality exterior primer and make sure to let it dry fully for the best adhesion.
When painting, choose durable 100% acrylic exterior paint. Apply it in thin, even coats for long-lasting protection.
Primer Application Tips
Before you apply primer to pressure treated wood, make sure the surface is clean, dry, and free of dust or debris. This helps guarantee proper adhesion.
Stir the primer thoroughly to get an even consistency before you start priming. Using a high-quality exterior latex primer, like Zinser 123, is a good choice.
Apply at least two coats for the best results. When working on detailed areas and end-grain, brush the primer on carefully.
For larger flat surfaces, rolling or spraying works well. Let the primer dry completely between coats—usually 1-2 hours.
This helps promote strong adhesion and durability. Following these steps ensures your paint will bond properly and last longer, protecting your wood against weather and wear.
Choosing Durable Paint
Once you’ve properly primed pressure treated wood, selecting a durable paint becomes the next step to protect your work. Since pressure treated wood often repels water and stains penetrate unevenly, using high-quality paint with UV protection is essential.
Make sure the wood is dry enough before you apply paint or stain to prevent peeling and mold. Follow these key tips for long-lasting results:
- Use a 100% acrylic topcoat for excellent weather resistance.
- Apply at least two coats, allowing proper drying time between them.
- Choose paint designed specifically for exterior wood to withstand water exposure.
- Consider applying a stain first if you want natural wood tones but still need UV protection.
Tips for Maintaining Your Painted Pressure-Treated Wood
Although pressure-treated wood is designed to resist decay, maintaining its painted surface requires regular care to keep it looking great and protected. To maintain painted pressure-treated wood, perform an annual inspection to spot any peeling or cracking.
Address these issues promptly to preserve the protective layer. Clean the surface gently each year to remove mold, mildew, and dirt that can degrade your paint.
Reapply a high-quality exterior primer and paint every 3-5 years to ensure strong adhesion and durability. Also, guarantee proper drainage around the wood to prevent water pooling, which accelerates paint deterioration.
Using mildew-resistant, UV-stabilized paints will further prolong the finish. By following these steps, you’ll keep your painted pressure-treated wood looking fresh and well-protected for years.
Frequently Asked Questions
How to Wait to Paint Pressure Treated Wood?
You’ll want to wait at least six months after installation, checking moisture with a meter or water bead test.
Only paint when the wood absorbs water within 10 minutes and moisture content drops below 15%.
Can I Paint Straight Onto Treated Pine?
You can’t paint straight onto treated pine without prep. Wait until it’s dry, clean, and sanded.
Then, apply a quality exterior primer before painting to guarantee proper adhesion and prevent peeling or flaking over time.
What Kind of Paint Sticks to Pressure Treated Wood?
Oil-based paints stick well to pressure-treated wood, while latex paints excel if the wood’s dry.
You can’t rush—choosing the right paint means balancing durability with preparation to avoid peeling or flaking down the line.
What Color Stain Should I Use on Pressure-Treated Lumber?
You should pick a semi-transparent stain to highlight the wood grain or a solid color stain if you want full coverage.
Choose exterior, UV-protected stains designed for pressure-treated lumber to guarantee long-lasting beauty and protection.
This way, your wood not only looks great but also stands up to the elements better.
It’s all about finding the right balance between style and durability!
Conclusion
Now that you know how to properly paint pressure-treated wood, you’re set for success. Did you know that improperly painted pressure-treated wood can peel within just a year?
Taking the time to dry, clean, and prime your wood carefully can extend its life and keep it looking great for years. Follow these steps, and you’ll enjoy a beautiful, durable finish that stands up to the elements.
By prepping your pressure-treated wood correctly and applying paint with care, you protect your project from peeling, cracking, and weather damage. This not only enhances the appearance but also ensures the wood’s longevity. Remember, painting pressure-treated wood isn’t just about aesthetics—it’s about preserving the wood and maximizing your investment. Stick to these guidelines, and your project will boast a lasting quality that truly deserves the effort.