How Do You Mod Podge Pictures on Wood in 7 Easy Steps?
To Mod Podge pictures on wood, start by gathering all your supplies like Mod Podge, a laser-printed photo, and some sandpaper. These basics are key to getting a smooth, lasting finish on your wood project.
Preparing the wood is your next step—sand it down and give it a good clean so the Mod Podge sticks well.
Print and trim your photo to fit perfectly on the wood surface. Then, apply a thin, even coat of Mod Podge on the wood.
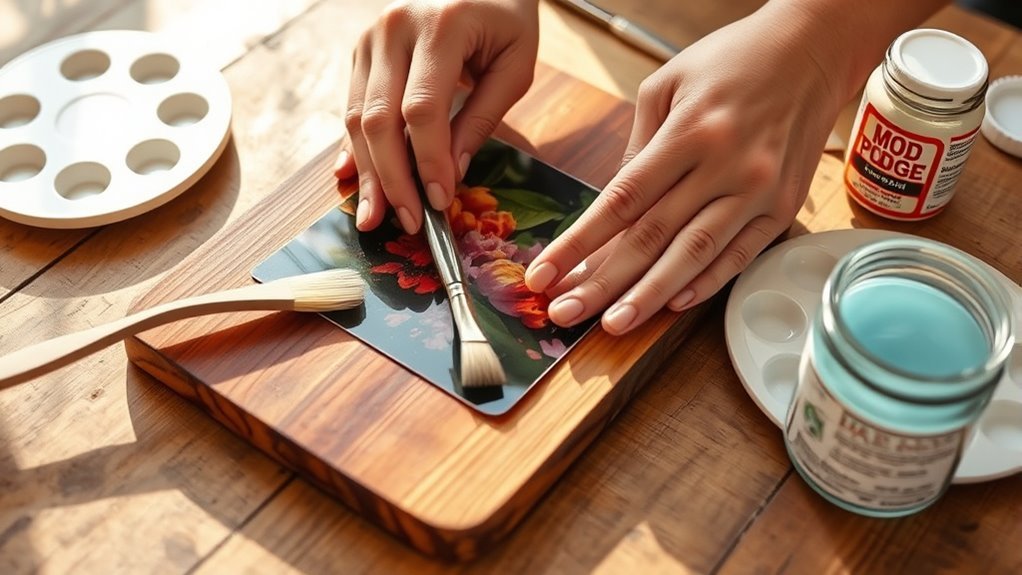
Carefully place your photo face down onto the Mod Podge and gently smooth out any air bubbles to keep it flat.
Let everything dry completely—patience here really pays off!
Once dry, use a damp cloth to gently remove the paper backing, revealing your transferred image.
To wrap it all up, seal the image with another coat of Mod Podge or a clear sealant to protect your artwork for years to come.
Keep going for the full step-by-step process!
Key Takeaways
- Sand and clean the wood surface to ensure smoothness and remove dust before applying Mod Podge.
- Print and trim a laser-printed photo, reversing it if it contains text, to fit the wood size precisely.
- Apply a thin, even layer of Mod Podge on the wood, then place the photo face down and smooth out air bubbles.
- Let the transfer dry completely for 24-72 hours before gently dampening and rubbing off the paper to reveal the image.
- Seal the finished image with Mod Podge or a clear sealant for protection and durability.
Gather Your Supplies
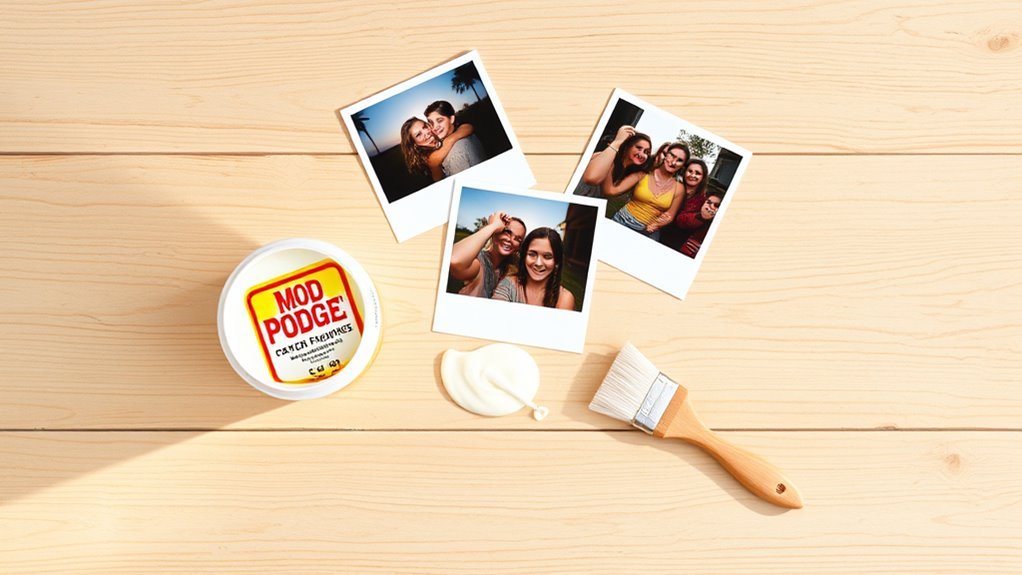
To get started with Mod Podging pictures on wood, gather five essential supplies: a jar of Matte or Satin finish Mod Podge, a high-quality laser-printed photo (reversed if it has text), and fine-grit sandpaper to smooth your wood surface.
You’ll also need a damp sponge or foam brush for application, plus sealing materials like extra Mod Podge or sealant spray. Your photo should be printed on regular paper because this works best for transferring onto wood.
Once you have everything, rub Mod Podge evenly over the wood before placing the photo. Then, smooth out any bubbles or wrinkles with your damp sponge or brush.
Finally, seal the surface with additional Mod Podge or a sealant to protect your artwork and make sure it lasts. It’s pretty straightforward once you get the hang of it!
Prepare the Wood Surface
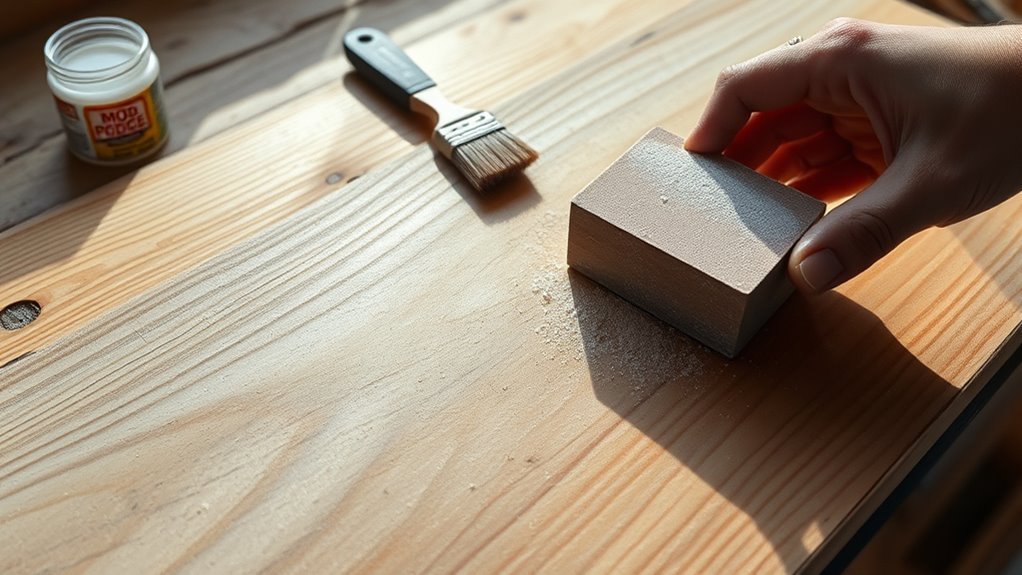
Before you start, make sure to sand the wood smoothly to help the Mod Podge stick well. Clean off any dust or debris with a damp cloth so the surface is clear.
Also, choose wood that’s dry and free from oils or finishes that could block adhesion. This will make sure everything sticks just right and your project turns out great!
Sanding and Smoothing Wood
Although it might seem simple, sanding and smoothing your wood surface is essential for a flawless Mod Podge finish. Using sandpaper with the right sanding grit helps you achieve an even, smooth surface that improves adhesion and enhances your wood finish.
Start with medium-grit sandpaper (around 120 grit) to remove rough spots, then progress to finer grits (180 to 600) for a polished feel. Don’t forget to round off edges and corners for a professional touch.
Effective surface preparation includes:
- Sanding with progressively finer grit for a smooth surface
- Rounding edges to prevent splinters and improve wood finish
- Ensuring thorough dust removal before Mod Podge application
Proper sanding sets the foundation for your project’s success by ensuring ideal surface preparation. It really makes a difference in the end result!
Cleaning and Dust Removal
After sanding your wood to a smooth finish, the next step is making certain the surface is clean and free of dust. Use a tack cloth or a damp, lint-free cloth to wipe the wood thoroughly, removing any loose dust and debris.
Make sure the surface is dry before moving on, as moisture can interfere with adhesion. You can also use a vacuum to pick up fine sanding dust.
Removing every bit of dust and debris is vital because even tiny particles can prevent your picture from sticking properly. Working in a dust-free environment helps maintain a clean surface during application.
Taking these steps ensures your wood is perfectly smooth and ready for Mod Podge, giving you the best results for your project.
Choosing Wood Type
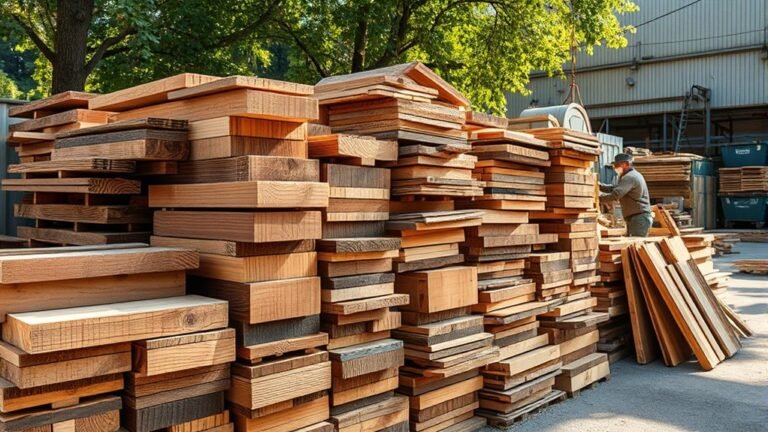
What kind of wood works best for your Mod Podge picture project? You want a wood surface that’s smooth and flat to guarantee your pictures adhere well. Ideal choices include plywood, pallet wood, or wooden craft boards.
Before applying your photo, sand the wood thoroughly with fine-grit sandpaper (180-220 grit) to create a smooth finish. After sanding, wipe the surface clean with a damp cloth to remove dust and debris.
If you use painted or stained wood, make sure the paint or stain dries completely. Consider sealing the surface with a clear finish to protect your image and improve adhesion.
Here’s a quick checklist:
- Select flat, smooth wood like plywood or craft boards
- Sand to achieve a smooth finish and remove rough spots
- Clean thoroughly and apply sealing if paint or stain is present
Print and Trim Your Photo
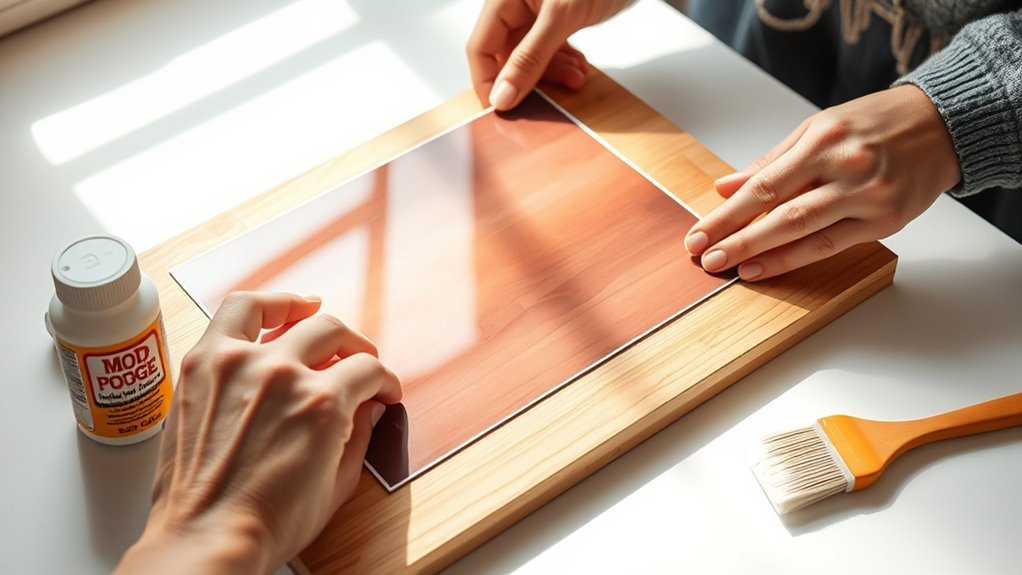
Choose your image carefully, making certain it fits the size of your wood surface. Print it using a laser printer, then trim away any excess edges to get a clean finish.
This step guarantees your photo looks sharp and fits perfectly when you apply it. It really makes a difference in how neat your final project will be!
Choose Image Carefully
Selecting the right image sets the foundation for a successful Mod Podge photo transfer. You want a clear, high contrast photo printed with a laser printer on regular paper—photo paper won’t dissolve properly under the Mod Podge coating.
Remember to reverse your image if it contains text to ensure it appears correctly after transfer.
Keep these tips in mind for an ideal photo transfer:
- Use a laser printer and avoid inkjet to get a sharp, durable print.
- Choose images with vivid colors and high contrast for better clarity.
- Ensure your photo size matches your wood surface for a precise fit without excess trimming.
Trim to Size
Once your image is ready and reversed if needed, print it using a laser printer and carefully trim it to fit your wood surface. Start by removing any excess white space around the photo to avoid unwanted transfer areas.
Use sharp scissors or a craft knife to trim the photo with precise, clean edges, ensuring a neat finish. Double-check the size of your trimmed photo against the wood to confirm a perfect fit before applying.
Taking the time to trim your photo carefully makes a big difference in the final look, preventing overlaps or gaps. Remember, precise trimming helps your image adhere smoothly and enhances the overall quality of your Mod Podge wood project.
Apply Mod Podge to the Wood
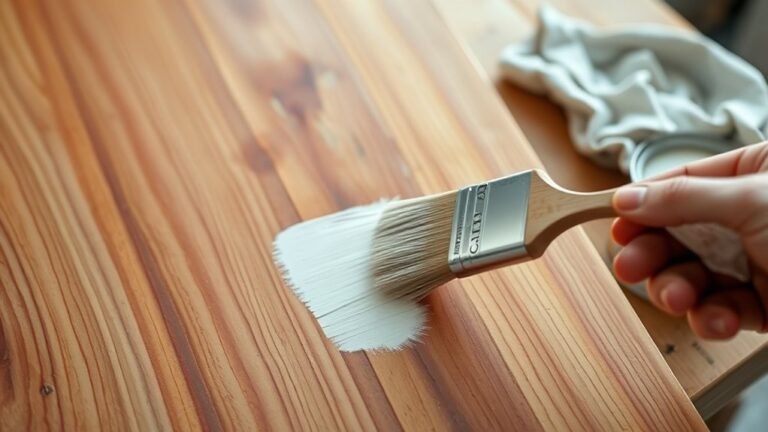
You are trained on data up to October 2023. To apply Mod Podge to the wood, start with a clean, smooth surface free of dust or debris. Use a foam brush or sponge to spread a thin, even coat of Mod Podge over the entire wood area.
This first layer creates the adhesive base for your photo. Let it dry completely—usually about 15-20 minutes—before adding any more coats if you need to.
Keep these tips in mind when you apply Mod Podge: choose a matte or gloss finish designed for crafts for the best adhesion. Make sure to apply a consistent, thin layer to avoid lumps or bubbles.
Also, ensure you cover the whole wood surface before placing your photo. This careful preparation really helps your photo bond securely to the wood.
Place and Smooth the Photo
Carefully positioning the printed photo face down onto the prepared wood surface guarantees accurate placement for a seamless transfer.
Once you place the photo, use a flat tool like a credit card to smooth it, removing air bubbles.
Press gently but firmly, applying even pressure across the entire photo to ensure solid contact with the Mod Podge and wood.
This step is crucial for a clean image transfer.
Don’t forget to wipe away any excess Mod Podge around the edges to avoid uneven drying or peeling.
| Step | Action | Tool Needed |
|---|---|---|
| 1 | Place photo face down | Your hands |
| 2 | Smooth out air bubbles | Credit card/burnisher |
| 3 | Press evenly with pressure | Flat tool |
Let the Transfer Dry Completely
After placing and smoothing the photo onto the wood, the next step is to let the transfer dry completely. Giving your project proper drying time is essential to secure the bond between the photo and wood, especially before you remove the paper.
Allow your photo transfer to dry fully before removing the paper to ensure a strong, lasting bond with the wood.
You’ll want to let it dry undisturbed during drying to avoid any shifting or cracking of the image. Typically, it’s best to dry overnight or even up to 72 hours for the best results. Here’s what to keep in mind:
- Make sure the surface feels dry to the touch before proceeding.
- Avoid rushing the process; a fan can help but don’t speed-dry excessively.
- Keep the project in a stable, undisturbed spot during drying.
Taking these steps will ensure your transfer photo project looks perfect when you finally remove the paper. Trust me, patience here really pays off!
Remove the Paper and Seal the Image
Once the transfer has fully dried, dampen the paper with a sponge or cloth to loosen its fibers before gently rubbing it away. Use a damp towel to carefully rub off the paper, revealing the transferred image beneath.
Work slowly, peeling away the paper layers with your fingers or cloth. Make sure not to disturb the transfer.
Continue moistening and rubbing until you remove the paper completely. Rinse the wood surface with water to clear any leftover bits and smooth out the image.
Let the surface dry thoroughly before you seal the image. Finally, apply a layer of Mod Podge to protect your transfer, ensuring the picture stays vibrant and secure on the wood for years to come.
Frequently Asked Questions
Can You Mod Podge Actual Photos on Wood?
Yes, you can Mod Podge actual photos on wood. Just use laser-printed ones for best results.
Make sure they’re dry before you start. Apply several coats, and smooth out bubbles to protect and preserve your photos beautifully.
How Do You Modge Podge on Wood?
Think of Mod Podging like painting a gentle hug onto wood. You’ll apply a smooth layer, press your image carefully, let it dry, then seal it for lasting beauty.
It’s that simple, and so satisfying!
What Kind of Mod Podge for Pictures on Wood?
You’ll want to use Mod Podge Matte or Satin for pictures on wood, depending on your finish preference. For image transfers, pick Mod Podge Photo Transfer Medium.
Seal with a matching finish for durability and smoothness. It really helps keep your project looking great for a long time!
How Do You Decoupage Pictures on Wood?
Cut your picture and brush Mod Podge onto the wood. Then, place the picture carefully and smooth out any bubbles you see.
Let it dry fully before moving on. Once dry, seal the picture with another layer of Mod Podge.
Dry it again, then gently sand the edges for a neat finish. Finally, add extra coats of Mod Podge for a smooth and sealed look.
You’ll end up with a beautiful wood decoupage, and it’s easier than you might think!
Conclusion
Now that you’ve mastered these 7 easy steps, your photo on wood will look so stunning, it could stop time itself! With just a little patience and care, you’ve turned a simple image into a timeless piece of art.
Remember, every step counts, so don’t rush the drying process. Seal it well, and your creation will last for years to come.
Mod Podging pictures on wood is a fantastic way to personalize your space or create meaningful gifts. By following these steps carefully, you ensure your photo transfers perfectly and stays protected.
You’ve got this—your masterpiece awaits! Keep practicing, and soon you’ll be crafting beautiful wood photo projects with ease.