How You Stain Wood Veneer Step by Step
To stain wood veneer, start by figuring out if your veneer is raw or already sealed. You can do this easily with simple water and alcohol tests. This step is super important because it helps you know how the stain will absorb.
Next, clean the surface thoroughly to get rid of any dust or grime. Then, lightly sand the veneer using fine-grit sandpaper. Remember to sand with the grain—that way, you avoid any damage or scratches.
Before you dive into staining, test your stain on a hidden spot. This little trick helps you see how the color will look.
When you’re ready, apply thin, even coats of stain. Wipe off any excess to avoid blotches, which can mess up the finish.
Once the stain is dry, seal it with a clear topcoat for protection. Follow these steps carefully, and you’ll get a smooth, rich finish every time.
Stick around, and you’ll find more tips to make your wood veneer staining job perfect!
Key Takeaways
– Test veneer type using water, alcohol, or sanding to determine if staining is possible and how to prepare the surface.
This step is key because not all veneers take stain well, so you want to know what you’re working with before diving in.
– Clean and sand veneer carefully with fine-grit sandpaper, removing dust to ensure even stain absorption.
Taking your time here really pays off in the final look, so don’t rush through the sanding.
– Apply stain in thin coats along the grain, wiping excess after a few minutes, and allow proper drying between coats.
Applying too much at once can lead to blotches, so thin layers are your friend.
– Seal stained veneer with 2-3 thin, even coats of clear polyurethane or varnish, sanding lightly between coats.
This protects your work and gives it a nice, smooth finish.
– Maintain controlled humidity and temperature, avoid extreme conditions, and patiently allow drying to prevent blotches and streaks.
A little patience goes a long way here to keep your stain looking flawless.
Can You Stain Wood Veneer? What You Need to Know
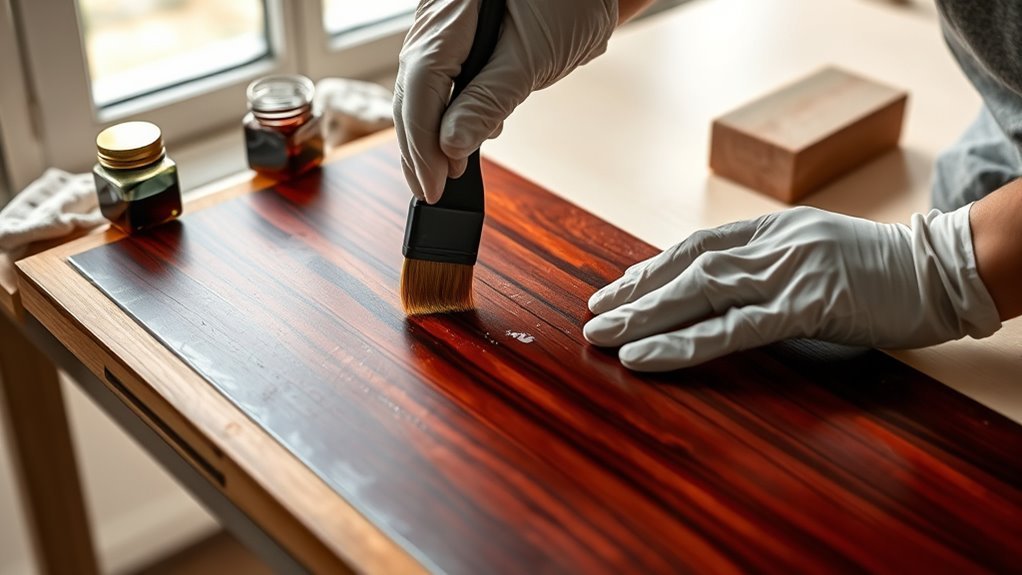
Although staining wood veneer is possible, the outcome depends largely on the veneer’s thickness, finish, and wood species. Since veneer is thin sliced real wood, it accepts stain similarly to solid wood when unfinished.
You’ll want to start with proper surface preparation—cleaning and light sanding—to avoid uneven color or blotching. Thicker veneers handle sanding and the application process better, while thinner ones risk sanding through.
Using a wood conditioner before staining can help achieve a more uniform absorption, especially on tricky grain patterns. Test your veneer with a water drop to check if it’s sealed; raw surfaces darken quickly, while sealed ones repel water.
How to Identify Your Veneer Type
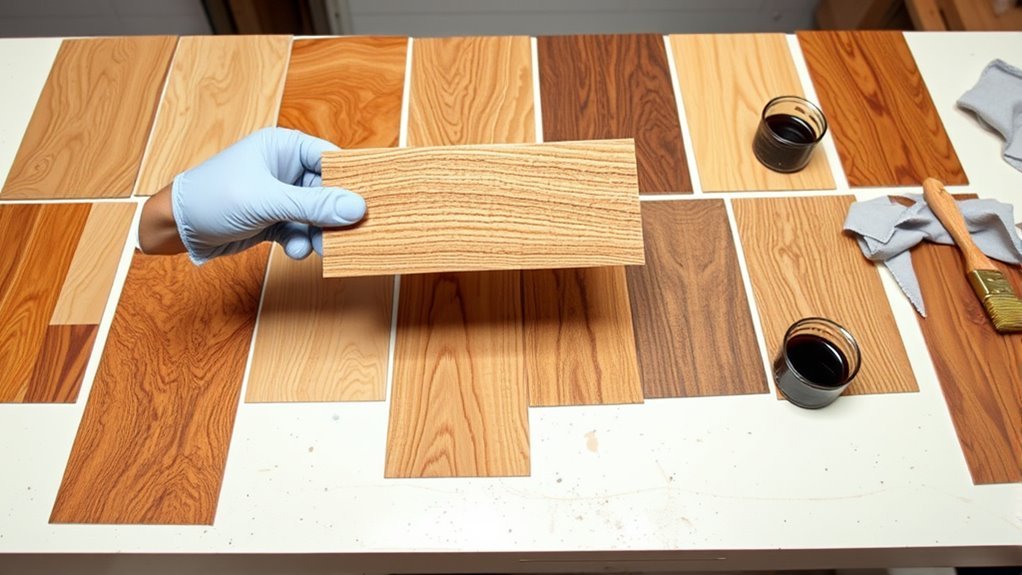
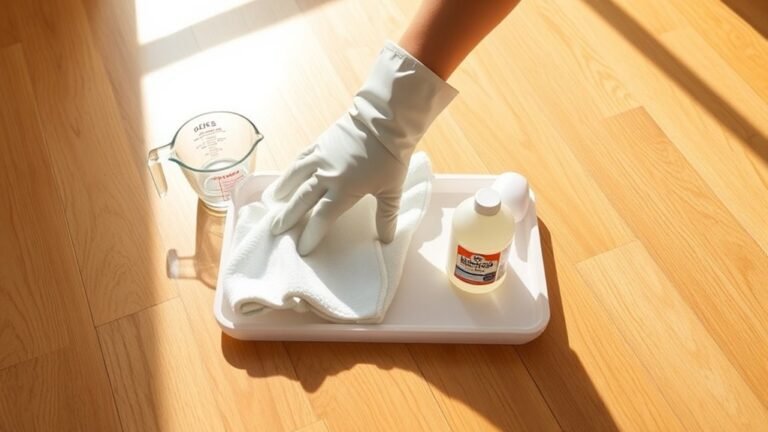
How can you tell if your wood veneer is raw or sealed before staining? Start with a water test: if water soaks in and darkens the surface within 30-60 seconds, you likely have raw veneer. If water beads up, the surface is sealed.
Check the finish and edges for signs of sealant—a glossy, smooth surface often means sealed veneer. You can also use an alcohol-based test with a cotton swab to see if shellac or lacquer dissolves.
Finally, try sanding a small, hidden area; raw veneer sands easily, revealing natural grain.
| Test Method | Raw Veneer Result | Sealed Veneer Result |
|---|---|---|
| Water Test | Water absorbs, darkens surface | Water beads, doesn’t soak |
| Surface Finish | Matte, natural wood grain | Glossy or smooth finish |
| Sanding | Sands easily, reveals grain | Difficult to sand, coated layer |
How to Clean and Prep Veneer for Staining
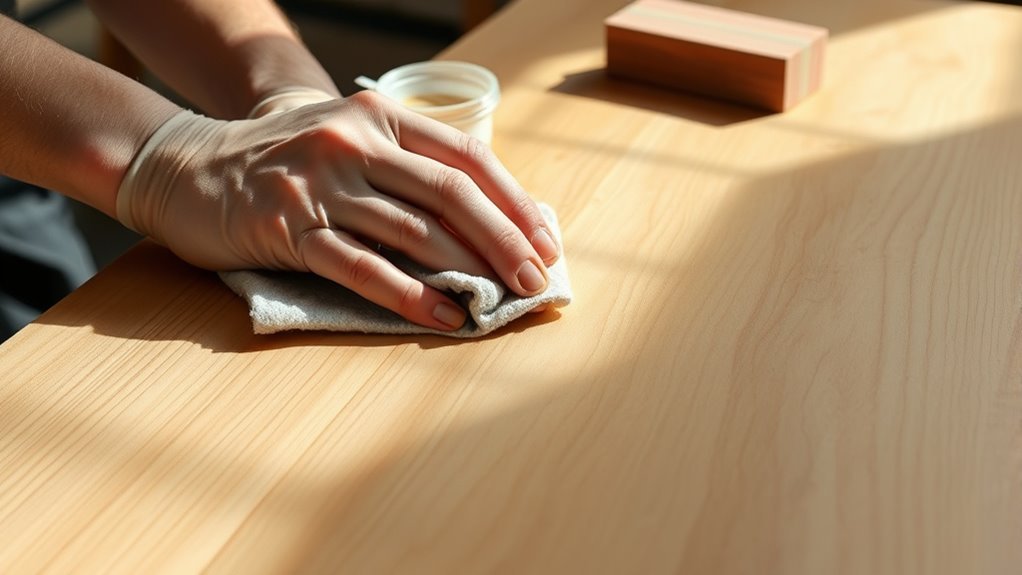
Before you stain, make certain to clean the veneer surface thoroughly using a degreaser or mineral spirits to remove any oils and dust.
Then, lightly sand with fine-grit paper, always following the grain to avoid damage and ensure even stain absorption.
Finally, perform a simple water drop test to check if the veneer is sealed or ready for staining.
Surface Cleaning Methods
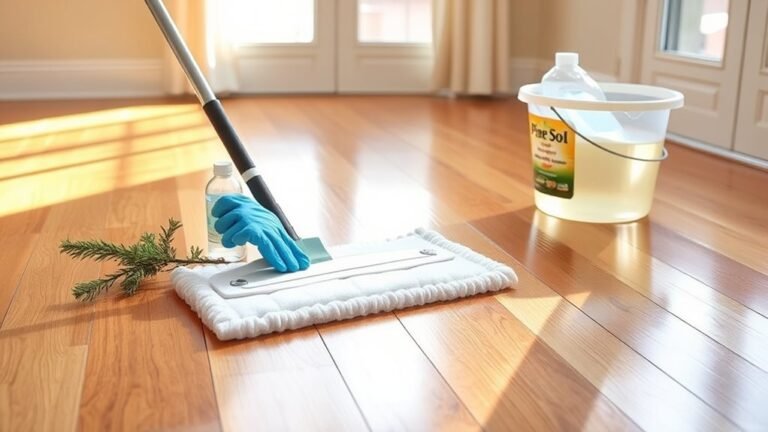
To achieve a smooth, even stain on your wood veneer, you’ll need to clean and prep the surface thoroughly. Start by removing any dust, oils, or residue using a degreaser or mineral spirits. These solvents effectively clean the veneer without leaving a film that could block stain absorption.
Avoid silicone-based polishes or waxes, as they create barriers that prevent proper staining. After cleaning, gently wipe the surface with a damp cloth to remove leftover dust.
If your veneer is pre-finished, strip the finish first using chemical strippers or sanding before cleaning. Once dry, you’re ready for the next step. Proper surface cleaning guarantees the stain adheres evenly, enhancing your veneer’s natural beauty and preventing blotchy or uneven results.
Sanding Techniques Overview
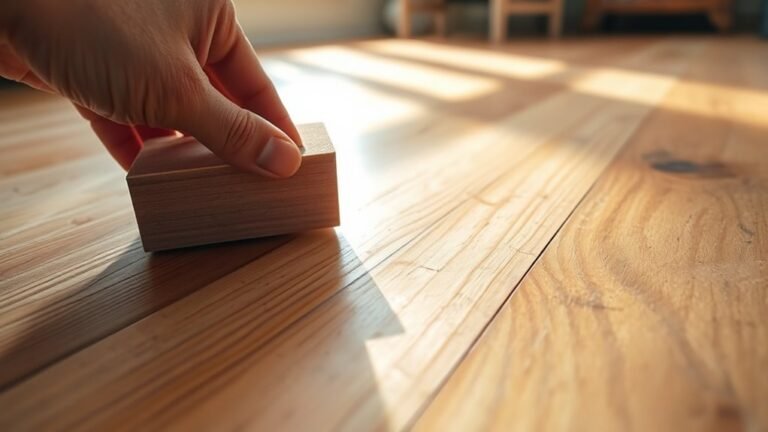
Although sanding veneer requires a delicate touch, using fine-grit sandpaper will help you smooth the surface and prepare it for stain absorption. Always sand with the wood grain, applying light pressure to avoid damaging the thin veneer.
Focus on removing surface imperfections and open up the wood pores for even staining. Be extra careful sanding edges to prevent sanding through the veneer. Once done, remove dust thoroughly using a tack cloth or vacuum.
| Step | Sandpaper Grit | Key Tip |
|---|---|---|
| Initial sanding | 120-grit | Sand gently with wood grain |
| Smooth the veneer | 180-grit | Focus on surface imperfections |
| Final sanding | 220-grit | Open up the wood pores |
| Clean surface | N/A | Remove dust before staining |
Stain Test Importance
Sanding sets the stage for staining, but you’ll want to make sure the veneer is properly cleaned and tested before applying any color. Start by thoroughly cleaning the veneer surface with a degreaser or mineral spirits to remove oils and residues that can hinder stain absorption.
Lightly sand with fine-grit paper to open the pores for even penetration. Next, conduct a water drop test to check if the veneer is sealed.
Always test the stain on a small, inconspicuous area or scrap piece to preview the final color and absorption. This step lets you see how the veneer reacts and prevents surprises.
How to Lightly Sand Veneer Without Damage
When you lightly sand veneer, you need to use fine-grit sandpaper—between 120 and 220 grit—to prevent damaging the delicate surface. Always sand in the direction of the grain to avoid scratches and maintain an even finish.
Apply gentle, consistent pressure to smooth out any surface irregularities without sanding through the veneer layer. Focus on opening the pores and refining the surface, but steer clear of aggressive sanding, especially near edges where the veneer is thinnest.
Regularly check the veneer’s thickness, particularly if it’s under 0.6mm, to make sure you don’t over-sand. By carefully sanding the veneer this way, you prepare a smooth, even surface that will absorb stain evenly and result in a professional-quality finish every time.
How to Test Stain on Veneer for Best Results
To guarantee your stain looks just right on veneer, start by testing it on a small, hidden spot or a scrap piece of the same wood. This lets you preview the color and absorption without risking the main surface.
Try applying a drop of water or stain to see how the veneer reacts—if water darkens within 30-60 seconds, that means the wood is porous. Always let the test area dry completely before judging the final color, because wet stain can be misleading.
Apply water or stain to test veneer porosity; dry fully before judging color for accurate results.
Make sure to check the stain under different lighting to get a true sense of how it will actually look.
- Test on a small area or scrap piece
- Observe absorption with water or stain
- Let the test spot dry completely before evaluating color
- Preview stain color in varied lighting conditions
Doing this careful test helps ensure your stain on veneer turns out flawless.
How to Apply and Wipe Off Stain Evenly
Although applying stain evenly might seem tricky, focusing on following the grain and using the right tools makes a big difference.
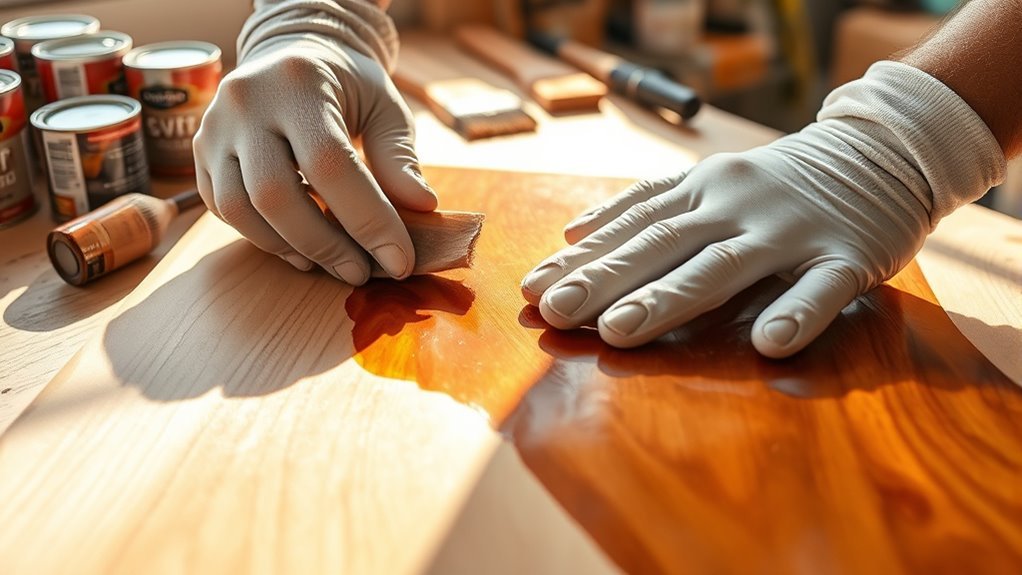
To apply stain on veneer, use a brush, cloth, or foam sponge and always follow the wood’s grain pattern. Apply light, even coats to avoid streaks and blotching.
After letting the stain sit for a few minutes, gently wipe off excess with a clean, lint-free cloth, moving along the grain. Avoid over-wiping to maintain uniform color.
Work in small sections, keeping edges wet to prevent lap marks. It’s all about patience and attention to detail.
| Step | Tip |
|---|---|
| Apply Stain | Follow grain with brush |
| Let Sit | Few minutes per product |
| Wipe Off Excess | Use lint-free cloth gently |
How to Seal and Protect Stained Veneer
Since the stain needs time to fully dry and cure, you’ll want to wait at least 24 hours before sealing your veneer. This gives the stain enough time to set properly and ensures a better finish.
To protect your work and achieve a professional finish, choose a clear topcoat like polyurethane or varnish as your protective sealant. When you apply the sealant, use thin coats and follow the wood grain for even coverage.
Allow each coat to thoroughly dry before moving on. Between coats, lightly sand with fine-grit paper to keep the surface smooth. For best results, complete the process with 2-3 thin coats of protective finish.
- Use a brush, roller, or spray to apply the sealant.
- Apply thin coats to avoid drips and uneven texture.
- Lightly sand between coats for a flawless finish.
- Guarantee each coat is thoroughly dry before reapplying.
How to Avoid and Fix Common Staining Mistakes
When you stain wood veneer, mistakes like blotching, streaking, or uneven color can quickly ruin your project. To avoid blotching, focus on thorough surface preparation—clean off waxes or silicone residues that cause adhesion issues.
Properly preparing your wood veneer surface is key to avoiding blotching and achieving an even stain finish.
Don’t overdo sanding; using coarse grit or sanding too much can damage veneer edges, leading to uneven absorption. It’s all about finding that sweet spot.
Apply multiple thin coats of stain rather than thick layers. Make sure you allow proper curing time of 24-48 hours between coats.
Also, keep an eye on the environment. Low humidity and temperatures above 55°F help prevent streaking and incomplete drying.
If blotching does happen, don’t panic. Just lightly sand the affected areas and reapply the stain in thin, even coats.
Frequently Asked Questions
Can Veneer Wood Be Stained?
Yes, you can stain veneer wood since it absorbs color like solid wood. Just prep the surface carefully, test your stain first, and avoid over-sanding so you get an even, beautiful finish without damaging the thin veneer.
It’s pretty similar to staining regular wood, but you do need to be a bit more gentle. Take your time with the prep, and you’ll get great results!
What Is the Correct Order for Staining?
You start by preparing and sanding the surface, then test the stain on a hidden spot.
Apply stain evenly with thin coats, wipe off excess, and let it dry.
After that, finish with a clear protective topcoat. It really helps protect your work and makes it last longer.
What’s the Best Stain for Veneer?
Think of your veneer as a delicate canvas—water-based stains suit softwoods and indoor charm. They’re easy to clean up and dry quickly, which is great for a smooth finish.
Oil-based stains, on the other hand, deepen color for tougher wear. They soak in nicely and give your veneer a rich, lasting look.
Gel stains help you control drips on vertical surfaces. This makes your project shine effortlessly without the mess.
How to Change the Color of Wood Veneer?
You change wood veneer color by cleaning, sanding lightly, and testing stain on a scrap.
Apply stain evenly along the grain, wipe off excess, and let it dry fully.
If you want a deeper color, just add more coats. Once you’re happy with the shade, seal it for protection.
Conclusion
Staining wood veneer might seem tricky, but with the right prep and care, you’ll bring out its natural beauty like a painter with a fresh canvas. Remember to test your stain first and apply it gently to avoid damage.
Sealing your work well will protect that gorgeous finish for years. With patience and attention, your veneer will shine, turning ordinary wood into a masterpiece that tells your story.
By following these simple steps to stain wood veneer, you can enhance its appearance and durability. Proper preparation, gentle staining, and careful sealing are key to achieving a beautiful, long-lasting finish. So take your time, enjoy the process, and watch your wood veneer transform into a stunning piece that adds warmth and character to any space.