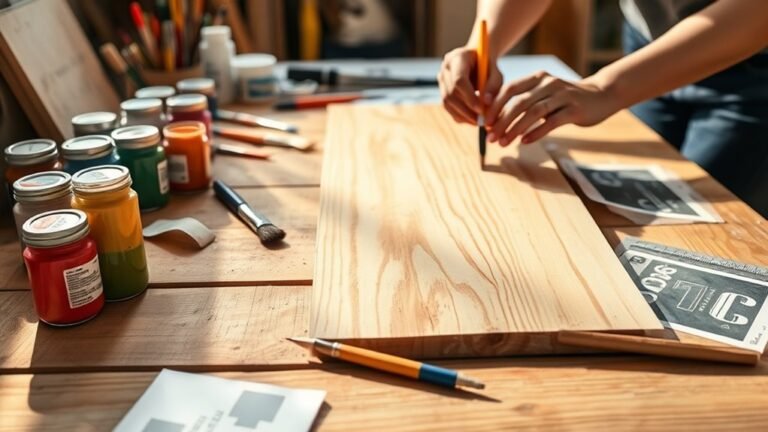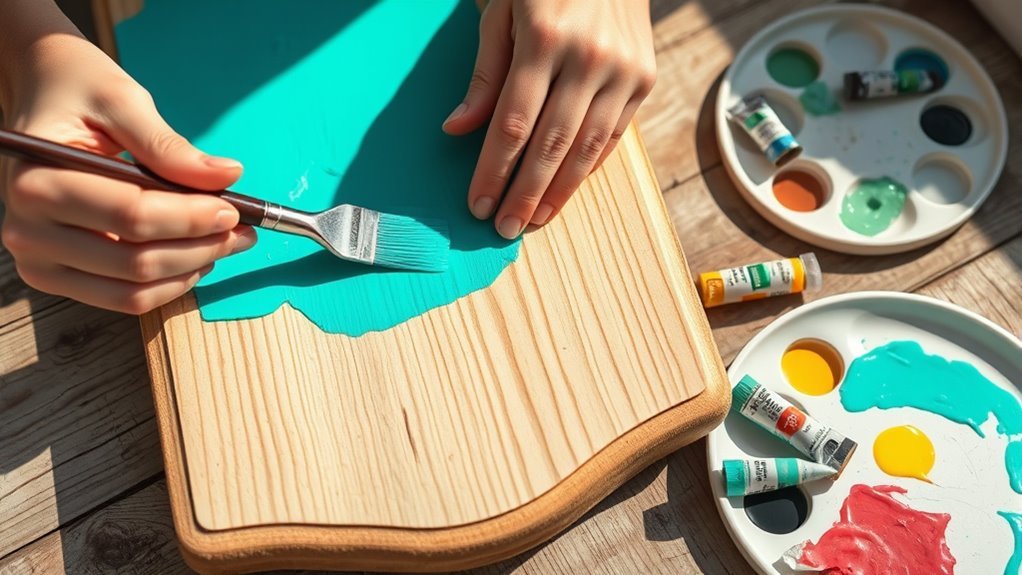
How You Use Acrylic Paint on Wood Step by Step
To use acrylic paint on wood, start by sanding the surface smooth. This helps the paint stick better and makes your project look professional. Make sure to clean off any dust or grime after sanding—no one wants bumps under their paint!
Next, apply a primer that’s suited for your wood type. This step is super important because it improves adhesion and helps your paint last longer.
When you’re ready, paint in thin, even layers. Don’t rush—let each coat dry completely before adding the next one.
A little trick is to lightly sand between coats. This gives you a nice, smooth finish that looks great.
Once your painting is completely dry, seal it with a clear protective coat. This will boost durability and keep the colors vibrant for years.
Following these simple steps guarantees your acrylic paint on wood project will turn out beautifully and last a long time.
There’s always more to learn, but this is a great way to get started!
Key Takeaways
– Sand and clean the wood surface thoroughly, removing dust, oils, and stains before painting.
This step is super important because it helps the paint stick better and last longer.
– Apply a suitable primer evenly, allowing it to dry and sanding lightly for better paint adhesion.
Priming creates a nice base, so your colors pop and don’t peel off later.
– Use thin, even coats of acrylic paint, applying multiple layers with drying time between each.
Patience here pays off! Thin layers dry faster and look smoother.
– Lightly sand between coats for a smooth finish and avoid rushing to prevent smudging or cracking.
Taking your time and sanding gently will make your project look professional.
– Seal the painted surface with a clear acrylic or polyurethane finish to protect and extend durability.
This final step locks in your hard work and keeps the paint looking fresh for years.
Why Use Acrylic Paint on Wood?
Why should you choose acrylic paint for your wood projects? Because it provides a durable finish that stands up well to wear and water. You’ll appreciate how quickly acrylic paint dries, speeding up your work compared to oil-based options.
It clings strongly to properly prepped wood, especially when you prime first, ensuring your design lasts longer. Plus, acrylic paint comes in a wide range of vibrant colors, giving you plenty of creative freedom.
When you’re done, cleanup is a breeze—you just need soap and water. This user-friendly nature makes acrylic paint perfect for both beginners and experienced crafters looking to achieve a professional-looking, durable finish on wood surfaces without hassle.
How to Prepare Wood Surfaces for Acrylic Paint
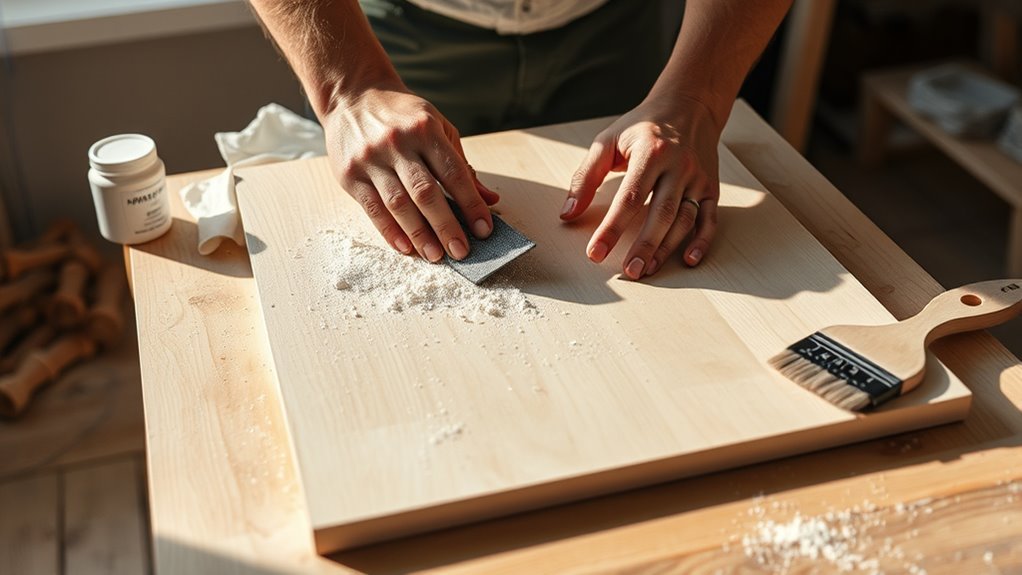
Before you start painting, make sure to clean the wood thoroughly and sand it with 120-grit paper to create a smooth surface. Removing any loose paint and wiping away dust will help the paint stick better.
You want to get the surface just right. Finally, applying the right primer will protect the wood and improve paint adhesion.
Cleaning And Sanding
How should you prepare your wood surface to guarantee acrylic paint sticks well? Start by thoroughly cleaning the wood with a non-soapy cleaner like TSP to remove dirt, dust, and mildew. Let the wood dry completely before moving on.
Next, focus on sanding: lightly sand the surface with 120-grit sandpaper to smooth rough spots and create a texture that helps paint adhere better. After sanding, wipe away all dust with a damp cloth or tack cloth to ensure a clean surface.
If you notice stains or knots that might bleed through, consider applying a stain-blocking sealer before painting. These steps in cleaning and sanding set a solid foundation for your acrylic paint to stick and last beautifully on wood.
Applying Primer Correctly
When should you apply primer to your wood surface for acrylic paint? You should prime after thoroughly cleaning and sanding your wood to guarantee the primer adheres well and creates a smooth base.
Follow these steps to apply primer correctly:
- Clean the wood with a non-soapy cleaner like TSP to remove dirt, dust, and mildew.
- Sand the surface with 120-grit sandpaper to smooth it and enhance primer adhesion.
- Remove loose paint or splinters, then wipe away dust with a damp cloth.
- Apply a high-quality primer evenly with a brush or roller. Choose water- or oil-based depending on your wood and finish.
Let it dry completely before painting with acrylics.
Applying primer properly ensures your acrylic paint sticks well and lasts longer on wood. It really makes a difference!
Which Primer Works Best for Acrylic Paint on Wood
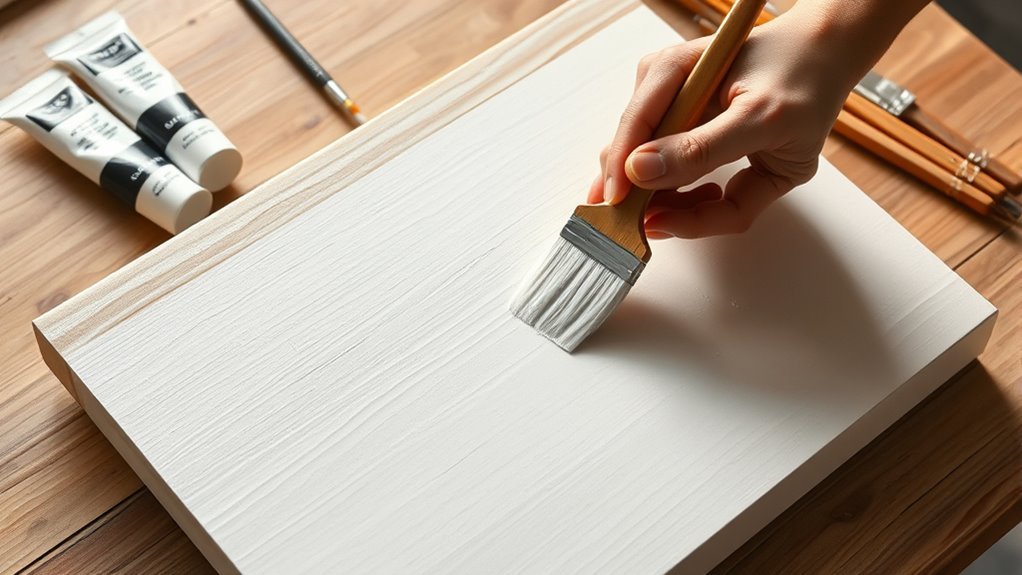
Since the type of primer you choose directly affects how well acrylic paint sticks to wood, selecting the right one is essential. For interior wood, a water-based primer works best, while oil-based primers are ideal for exterior wood, offering weather resistance.
Tinted acrylic or specialty primers improve adhesion and color coverage, especially on uneven or stained surfaces. Using a high-quality, stain-blocking primer helps prevent bleed-through from knots or stains, ensuring a clean finish.
Remember to prepare the wood by cleaning and sanding before priming, as this boosts primer adhesion. It’s best to apply multiple thin coats of primer rather than one thick layer. This creates a smooth, durable base for your acrylic paint and sets you up for a long-lasting, professional-looking result.
How to Apply Acrylic Paint on Wood Step by Step
Before you start painting, make sure to clean and sand the wood for a smooth surface. This step is super important because it helps the paint go on evenly.
Next, apply a suitable primer to help the paint stick and last longer. Trust me, skipping this can mess up your finish.
Finally, use thin, even coats of acrylic paint and seal your work for lasting protection. Taking your time here really pays off!
Surface Preparation Essentials
Although it might seem tempting to start painting right away, preparing your wood surface properly is essential for a smooth finish and long-lasting results. Surface preparation sets the foundation for your acrylic paint to adhere well and look professional.
Follow these steps for effective surface preparation:
- Clean the wood thoroughly using a non-soapy cleaner like TSP to remove dirt, dust, and mildew.
- Sand the surface with 120-grit sandpaper to create a smooth, yet textured base for the paint.
- Wipe away all sanding dust using a damp cloth or tack cloth to leave the surface clean.
- Make certain the surface is completely dry before moving on to primer application.
Proper surface preparation guarantees your acrylic paint job will last and look flawless. So, take your time with these steps—you’ll be glad you did!
Primer Application Tips
When you’re ready to move on from surface preparation, applying a primer is essential for ensuring your acrylic paint adheres smoothly and lasts longer on wood. For the best primer application, choose a suitable type—water-based or oil-based—depending on your project.
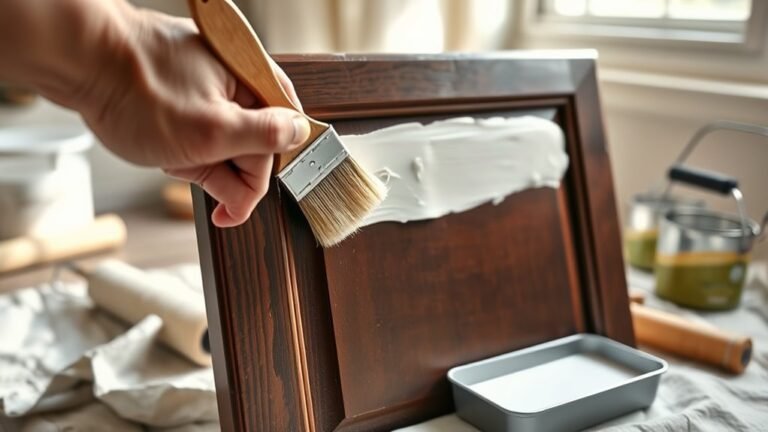
Use a brush, roller, or sponge to spread thin, even coats, covering every inch of the clean, sanded surface. Let the primer dry fully, usually 1-2 hours, before adding more coats or paint.
Once dry, lightly sand the primed surface with 180-grit sandpaper to create a smooth base. Don’t forget to remove all dust and debris before painting.
These primer application tips will help you achieve a flawless finish and make your acrylic paint bond perfectly with the wood. Easy, right? Just take your time, and you’ll get great results!
Painting and Finishing
Since you’ve prepped your wood surface and applied primer, you can now start painting with acrylic paint using a high-quality brush or roller. To achieve even coverage and a smooth finish, follow these steps:
First, apply thin, even coats of acrylic paint using a ‘W’ motion to spread the paint consistently. This helps avoid streaks and gives a nice, smooth look.
Let each coat dry for about an hour before moving on. Patience here really pays off!
Next, lightly sand the surface with 180-grit sandpaper between coats to remove any imperfections. This step makes a big difference in the final finish.
Once the final coat is dry, go ahead and apply a clear acrylic sealant or varnish if you want extra durability or water resistance. It’s a great way to protect your work and keep it looking fresh for longer.
Recommended Number of Coats for Acrylic Paint on Wood
To achieve good coverage on wood, you’ll typically need two coats of acrylic paint, but you might require more if the surface is darker or uneven. Each coat should dry completely—usually about an hour—before you apply the next to guarantee proper adhesion and avoid cracking.
Applying thin, even coats helps prevent drips and creates a durable finish. You can lightly sand between coats with 180 grit sandpaper to smooth the surface and enhance paint adhesion for the following layer.
The number of coats depends on the wood type, desired opacity, and color intensity. By following these guidelines, you’ll achieve a smooth, vibrant finish that highlights your project’s beauty without wasting paint or effort.
Tips to Make Acrylic Paint Stick and Last on Wood
Although acrylic paint sticks well to wood, you’ll get the best results by properly preparing the surface and using the right techniques.
To make acrylic paint stick and last on wood, follow these tips:
- Properly prepare the wood by cleaning it first. Then, sand with 120-grit sandpaper and remove all dust to guarantee a smooth surface.
- Apply a suitable primer, like water-based or oil-based. This really helps boost paint adhesion.
- Use thin, even coats of acrylic paint. Make sure each layer dries fully before adding the next one.
- Avoid painting on damp or oily wood. Moisture and contaminants will stop the paint from bonding properly.
Do You Need to Seal Acrylic Paint on Wood for Protection?
Getting your acrylic paint to properly adhere to wood is just the first step. To truly protect your painted surface, you should apply a sealant after the paint has fully dried and cured.
While acrylic paint hardens on its own, adding a clear varnish, polyurethane, or lacquer creates a durable barrier that shields against water, dirt, and UV damage—especially important for outdoor pieces.
This sealant helps prevent chipping, cracking, and fading, keeping your artwork or project looking fresh longer. For best results, pick a sealant compatible with acrylic paints to guarantee proper adhesion.
Sealing your painted wood not only extends the finish’s life but also enhances its resilience, making your hard work last through time and exposure.
How to Maintain and Clean Painted Wood Surfaces
When you want your painted wood surfaces to stay vibrant and intact, regular cleaning is key. To clean painted wood surfaces effectively, follow these steps:
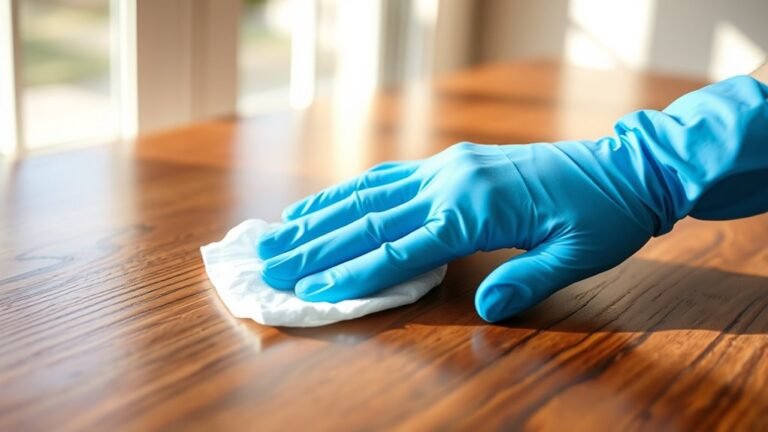
Use a soft, damp cloth to wipe away dust and dirt gently. For stubborn grime, apply a mild soap solution and wipe carefully—avoid abrasive cleaners.
Steer clear of harsh chemicals or solvents that can damage or discolor the acrylic paint. Periodically reapply a clear acrylic sealant or varnish to protect and preserve the finish.
Additionally, promptly touch up any chips or scratches with matching acrylic paint to prevent further damage. By maintaining and cleaning your painted wood surfaces this way, you’ll keep them looking fresh and vibrant for years to come.
Common Acrylic Painting Mistakes on Wood
Keeping your painted wood surfaces clean and well-maintained helps preserve their look, but avoiding common mistakes during the painting process is just as important. One major error is applying acrylic paint directly onto unprimed or dirty wood, which can cause peeling and uneven coverage.
Make sure to sand and clean the surface thoroughly before painting. Using thick coats or too much paint leads to cracking and longer drying times, often leaving visible brush marks.
Also, skip rushing between coats; insufficient drying time can cause smudging, bubbling, or lifting. Finally, don’t ignore using a proper primer on dark or oily woods, or you risk color bleeding and uneven pigmentation.
Avoid these mistakes to achieve a smooth, lasting finish every time.
Frequently Asked Questions
Can We Paint Wood With Acrylic Paint?
Yes, you can paint wood with acrylic paint. Just make sure you prepare the surface well by cleaning and sanding.
Then, apply primer for better adhesion. Multiple thin coats will give you a smooth, durable finish.
It’s really about taking your time and layering carefully to get the best results. You’ll love how it turns out!
What Is the 70/30 Rule in Painting?
The 70/30 rule means you use 70% of a main color and 30% of a contrasting color to keep your painting balanced. It helps you avoid overwhelming viewers and creates a harmonious, visually appealing composition.
Think of it like a recipe for color harmony. By sticking to this ratio, your artwork feels just right—never too busy or too dull. It’s a simple trick to make your painting pop without going overboard.
How Long to Let Wood Dry Before Painting?
You should let wood dry for 24 to 48 hours before painting. Make sure it feels completely dry.
Or, you can use a moisture meter to check. Just confirm the moisture content is below 15%. This helps ensure the paint sticks well and gives you a smooth finish.
What Is the Best Way to Paint Basswood?
The best way to paint basswood is to sand it smooth and apply a wood primer first. This helps the paint stick better and gives you a nice, even surface.
Next, use thin, even layers of acrylic paint. It’s important to let each coat dry fully before adding the next one so you don’t end up with smudges or uneven spots.
Once you’re happy with the color and coverage, finish up with a clear sealant. This will make your paint job more durable and protect it over time.
Conclusion
Using acrylic paint on wood is like giving your project a fresh breath of life. By prepping the surface well, choosing the right primer, and applying paint carefully, you’ll create a vibrant, lasting finish.
Remember, sealing your work protects it from wear and tear, while proper maintenance keeps it looking sharp. Avoid common mistakes, and your painted wood will shine like a masterpiece for years to come.
You’ve got this—happy painting! Using acrylic paint on wood is a fantastic way to add color and personality to your projects. Just take your time with each step, from preparation to sealing, and you’ll enjoy a beautiful, durable result. Keep your painted wood looking great by maintaining it properly, and it’ll stand up to the test of time. So grab your brushes and get started—your creative masterpiece awaits!