How to Use a Router Table in 5 Easy Steps
To use a router table in 5 easy steps, start by securely mounting your router and preparing it carefully. Make sure the bit is set at the right height before you begin. This setup is crucial for smooth, accurate cuts and helps you work safely.
Next, pick the right bit for your project and install it firmly. Tighten it well to avoid any slipping during use.
Then, adjust both the bit height and the fence position for precise cutting.
Now, place your workpiece against the fence and feed it steadily toward the spinning bit. Keep a firm grip and maintain control throughout.
Finally, power on the router, work carefully, and turn it off safely when you’re done.
Stick around for more detailed tips to help you perfect your router table technique!
Key Takeaways
- Securely mount and level the router and fence before plugging in. This step is crucial for safety and stability during use.
- Choose and install the correct bit, making sure to tighten the collet. Adjust the bit height precisely to get accurate cuts.
- Set the bit height and fence position carefully. Then, lock them in place to ensure consistent and repeatable routing.
- Position the workpiece firmly against the fence. Feed it against the bit’s rotation, and use push blocks if needed for extra control.
- Power on the router and wait for it to reach full speed. Feed the workpiece steadily, then turn off the router and wait for the bit to stop before removing it.
Secure and Prepare the Router
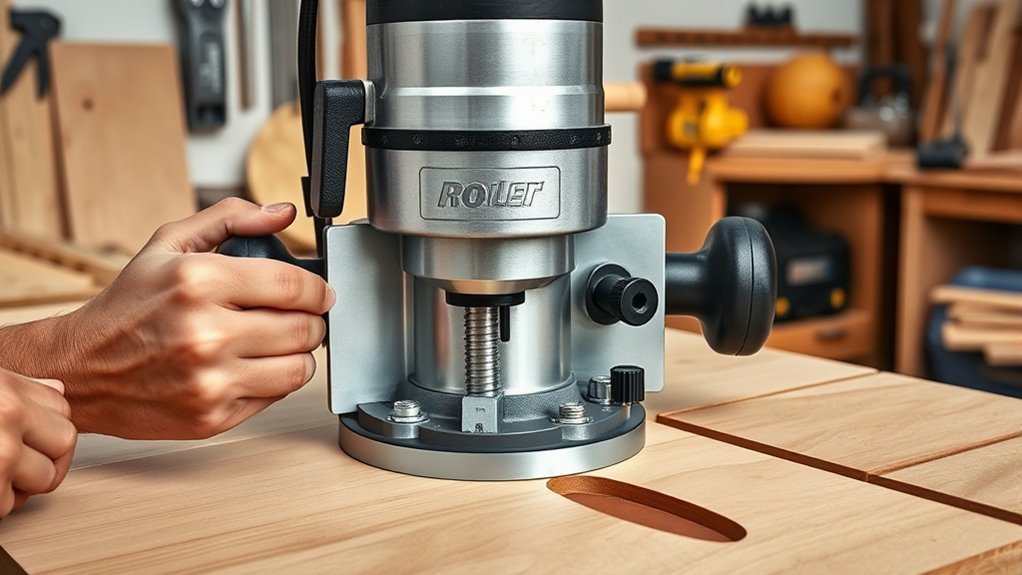
Before you start, make sure the router is unplugged and properly mounted beneath the table with the bit set at the height you need. Begin by adjusting the bit height carefully to match your project’s requirements.
Use a square or digital gauge for precision. Next, level the insert plate with the table surface; you can use shims or set screws to ensure it’s flush and smooth.
Check that the router table fence is securely positioned and aligned to the correct distance from the bit’s centerline. Tighten all mounting hardware firmly to prevent any movement during operation.
Double-check the stability of your setup before plugging in the router. Securing and preparing your router this way ensures safe, accurate routing every time.
Choose and Install the Right Bit
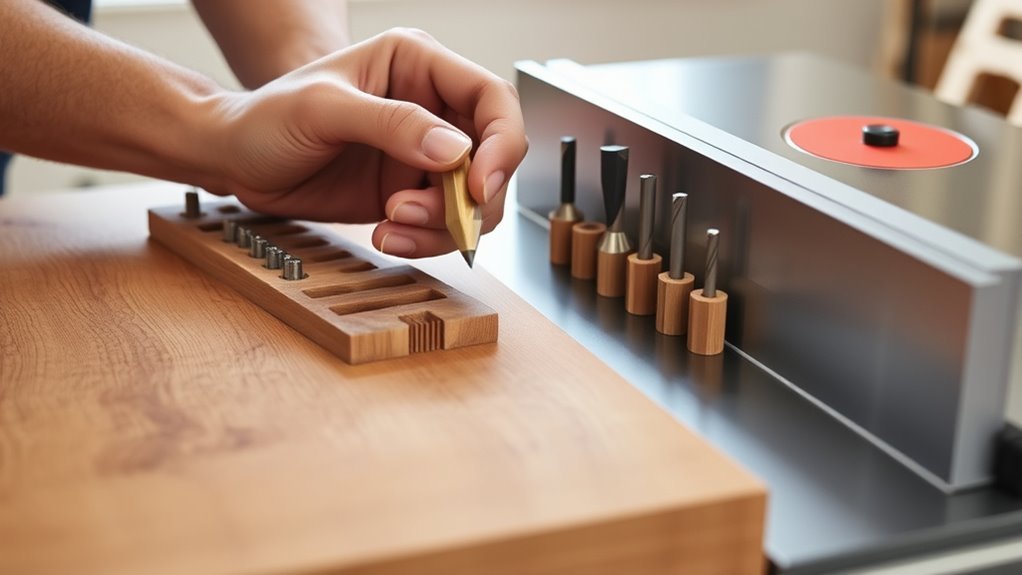
When selecting a router bit, choose one that matches both your project needs and your router’s collet size. This guarantees a proper fit and better performance.
Installing a bit correctly is vital for safety and precision. The router table makes edge profiling, rabbeting, and other cuts smoother when the bit is secure and properly positioned.
Proper bit installation ensures safety and precision, making edge profiling and rabbeting smoother on the router table.
Keep these tips in mind: Confirm the router bit fits snugly in the router collet without wobble. Then, tighten the collet firmly to prevent slippage during operation.
Adjust the bit height to control the depth of cut precisely. Also, make sure the router base plate sits flat with the bit centered.
Before powering up, spin the router bit manually to check for true rotation. This careful setup helps you achieve clean, accurate cuts every time.
Adjust Bit Height and Fence Position
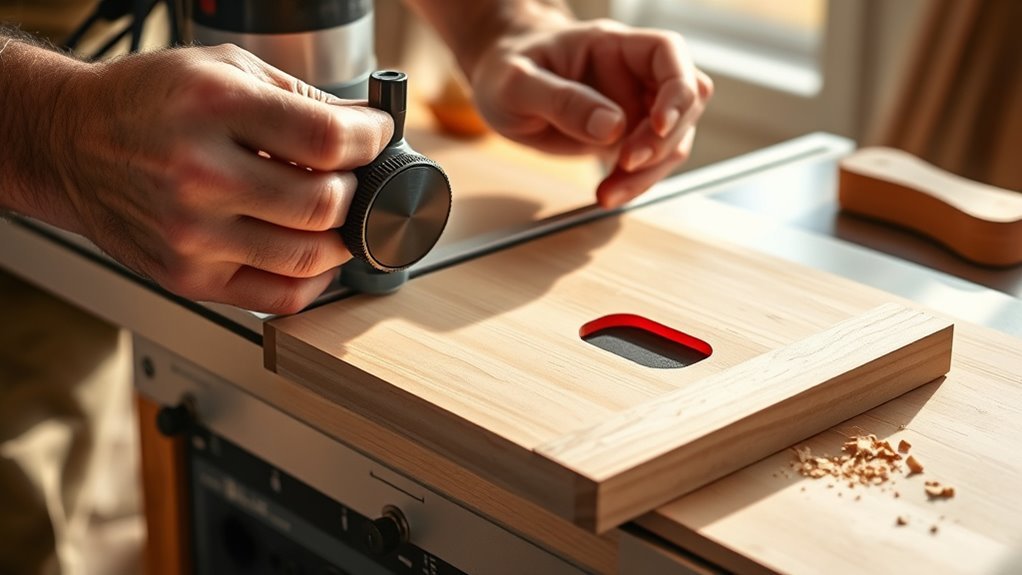
Although setting up your router bit height and fence position might seem tricky at first, you can achieve precise cuts by measuring carefully and making secure adjustments. Start by measuring the desired bit height from the table surface using a square or digital gauges for precision.
Loosen the lock nut, then raise or lower the cutter to the exact height, ensuring it fully extends through the table. Tighten the lock nut securely to hold the bit height in place.
Next, adjust the fence position by measuring the distance from the bit’s centerline to the fence. Lock the fence firmly once accurate.
Use shims or stops to fine-tune fence alignment, ensuring consistent clearance and precision during cuts. Proper fence adjustment and bit height setup guarantee clean, repeatable results.
Position and Feed the Workpiece
Since proper positioning sets the foundation for safe and accurate cuts, always place your workpiece firmly against the fence and stops before you start feeding it into the router bit. Maintain the correct feed direction by moving the workpiece against the bit’s rotation, which helps you keep control and avoid kickback.
Firmly position your workpiece against the fence and feed it against the bit’s rotation for safe, controlled cuts.
Use push blocks for narrow pieces to keep your hands safe and ensure a steady feed. For larger stock, auxiliary fences or roller stands provide the necessary support to stabilize the workpiece throughout the cut. Keep consistent pressure and watch the distance between your hands and the bit at all times.
- Always position the workpiece against the fence and stops
- Feed steadily against the bit’s rotation for control
- Use push blocks with small or narrow pieces
- Support large stock with auxiliary fences or stands
- Keep consistent speed and pressure to stabilize the cut
Power On and Complete the Cut Safely
Before you power on the router table, double-check that the bit is securely installed and set to the correct height. Also, make sure your workpiece is firmly positioned against the fence with your hands clear of the bit path.
Turn on the dust collection system for added safety. Power on the router table and wait until the bit reaches full speed before starting your cut.
Feed the workpiece steadily at a controlled feed rate, maintaining firm contact with the fence to ensure accuracy. Once you complete the cut, turn off the router.
Wait until the bit has completely stopped spinning before removing the workpiece. Following these steps will help you maintain safety and achieve a clean, precise cut every time.
Frequently Asked Questions
How to Use a Router Table Properly?
You set the bit height, secure your workpiece, and feed it against the cutter’s rotation smoothly. Keep hands clear, use push sticks for safety, and always turn off the router before adjusting or removing the piece.
It’s all about control and safety here. Take your time and make sure everything is steady before you start. This way, you get clean cuts and avoid any accidents.
How to Use a Router for a Beginner?
You’ll start by securely mounting the router, setting the bit height, and adjusting the fence. Then, feed your workpiece steadily against the bit’s rotation.
Keep control and safety in mind as you guide it through. It might seem a bit tricky at first, but with practice, you’ll get the hang of it!
Which Way to Feed Wood on a Router Table?
Think of the bit as a spinning dancer—you feed wood against its twirl, from right to left, pressing firmly against the fence.
This keeps your cut steady, safe, and smooth, avoiding dangerous kickbacks or slips.
What Are Some Fun Things I Can Make With a Router Table?
You can create decorative moldings, custom signs, dovetailed boxes, and turned legs with your router table. It’s perfect for adding intricate details and building unique furniture pieces.
These projects really show off your woodworking skills. Plus, using a router table makes the process smoother and more precise. It’s a great way to get creative and make something truly special.
Conclusion
Using a router table is like steering a ship through precise waters—you’re in control every step of the way. By securing your router and choosing the right bit, you set the foundation for a smooth operation.
Next, adjust your setup carefully to match your project needs. Feeding your workpiece slowly and steadily helps you navigate the cut with precision.
Remember to stay focused and power on safely to finish strong. These simple steps ensure you carve out perfect edges and shapes.
With a router table, you can turn rough wood into polished craftsmanship with confidence and ease. By following these easy steps, you’ll master the art of using a router table to create flawless woodworking projects every time.